DIY Decorative Shelves for Small Spaces
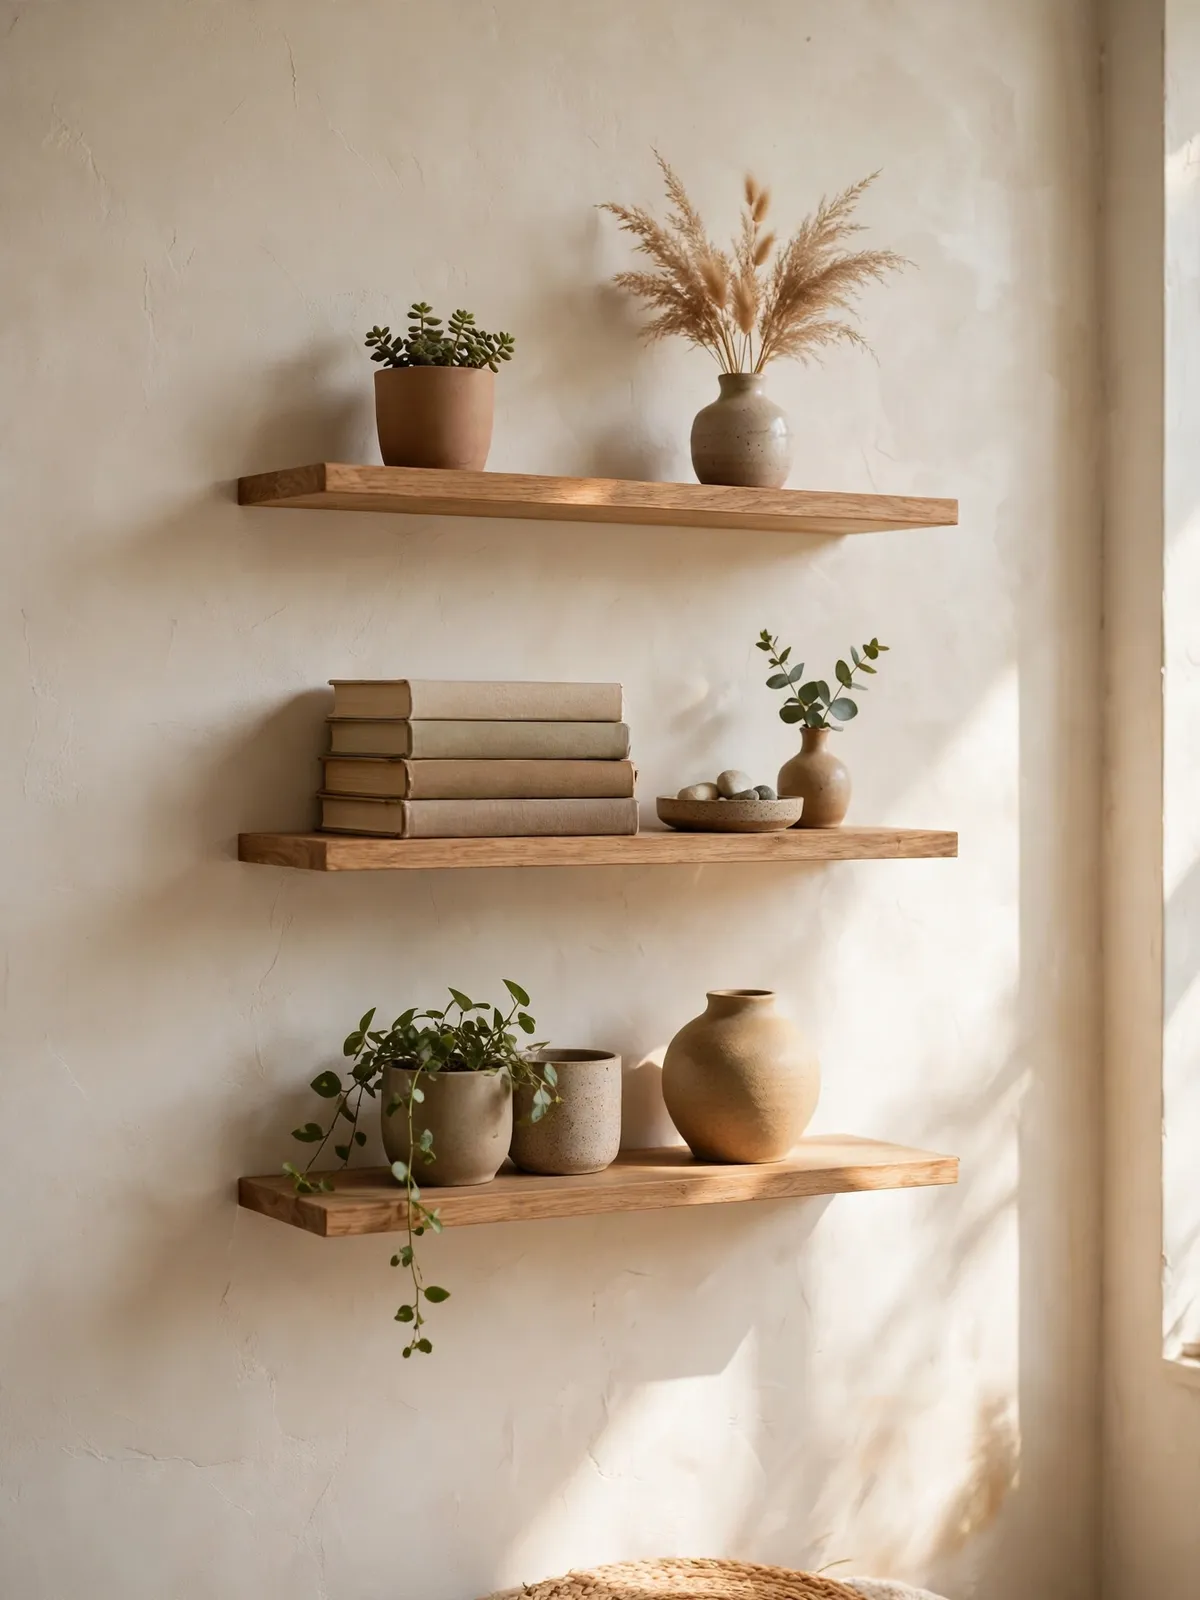
Small rooms can feel crowded fast, but the walls are free real estate. A few DIY decorative shelves can hold your books, plants, and favorite things without eating up a single inch of floor space — and they look good doing it.
These shelves are simple weekend projects. You do not need fancy tools or a big budget, just a board, a couple of brackets, and a free afternoon. Pick the ideas that fit your room, and you will be surprised how much a small space can hold.
1. Start With a Plan, Not a Shopping Trip
Before you buy a single board, look at the wall and think about what it needs to do. Is it for books, plants, kitchen jars, or just a few pretty things? Knowing the job first keeps you from buying shelves that are too big, too small, or in the wrong spot.
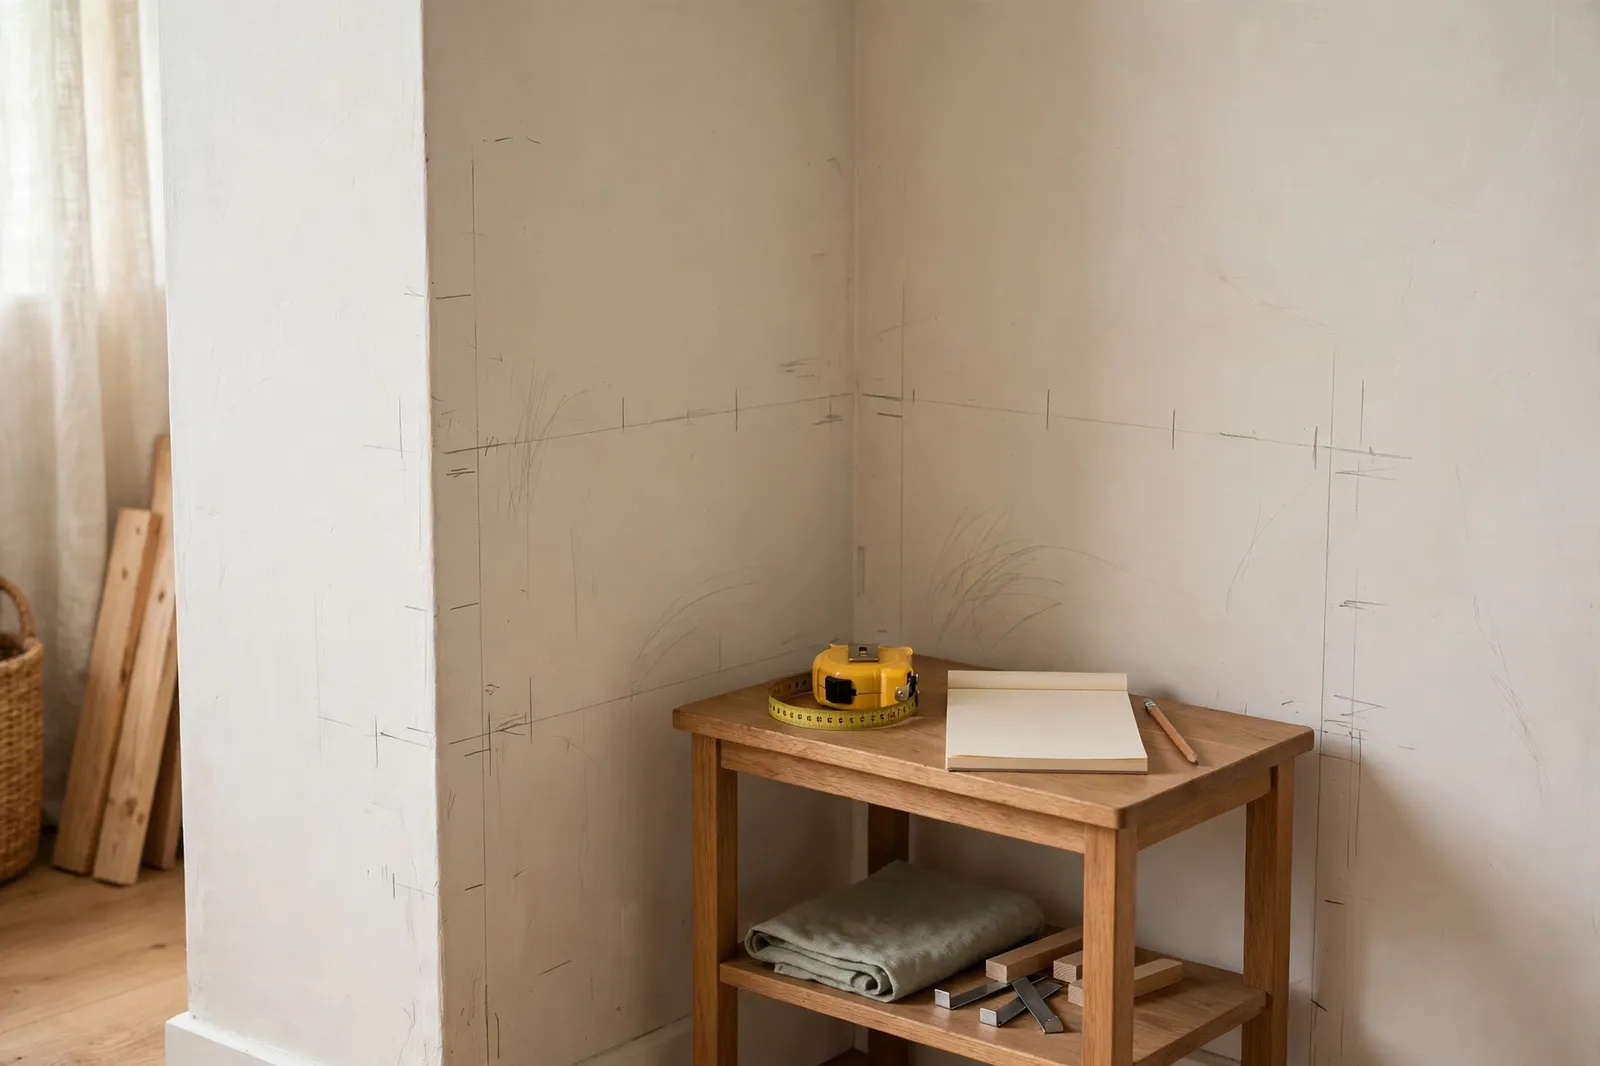
Measure the wall and mark where the shelf will go with a pencil. A shelf that is too long makes a small room feel boxed in, while one that is too short looks lost on a big empty wall. Aim for a length that fits the wall with a little breathing room on each side — about two-thirds of the wall width is a good place to start.
2. Floating Shelves Are the Small-Space Favorite
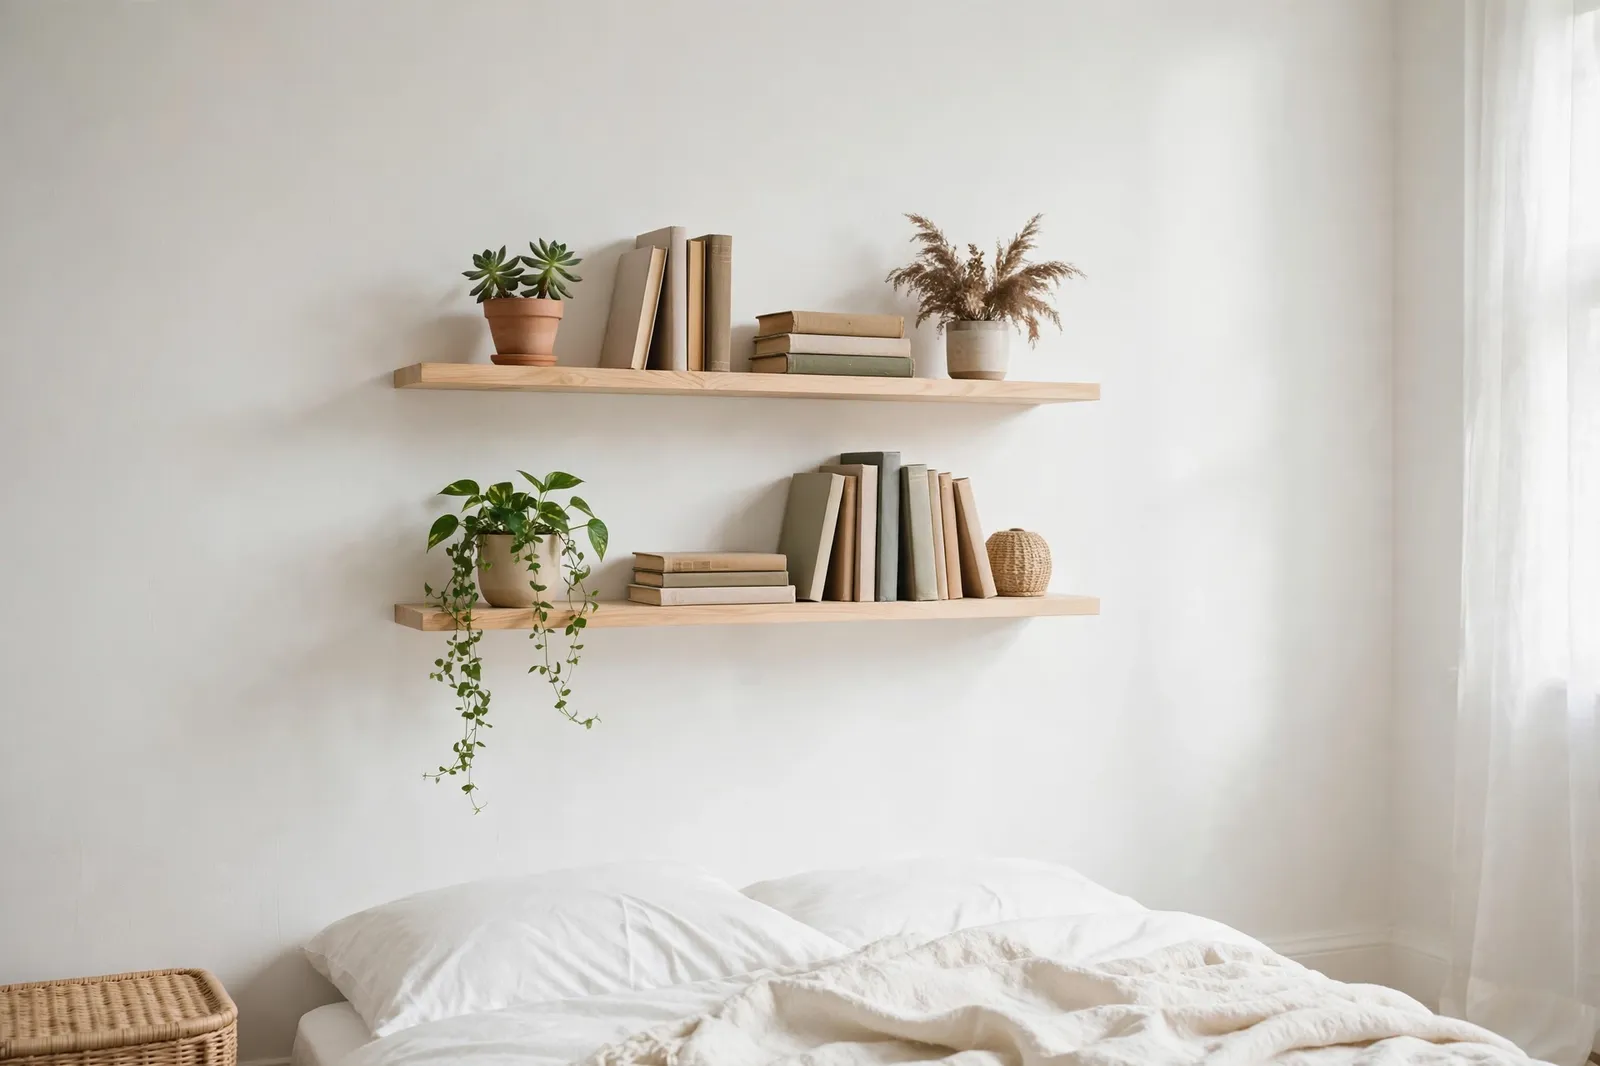
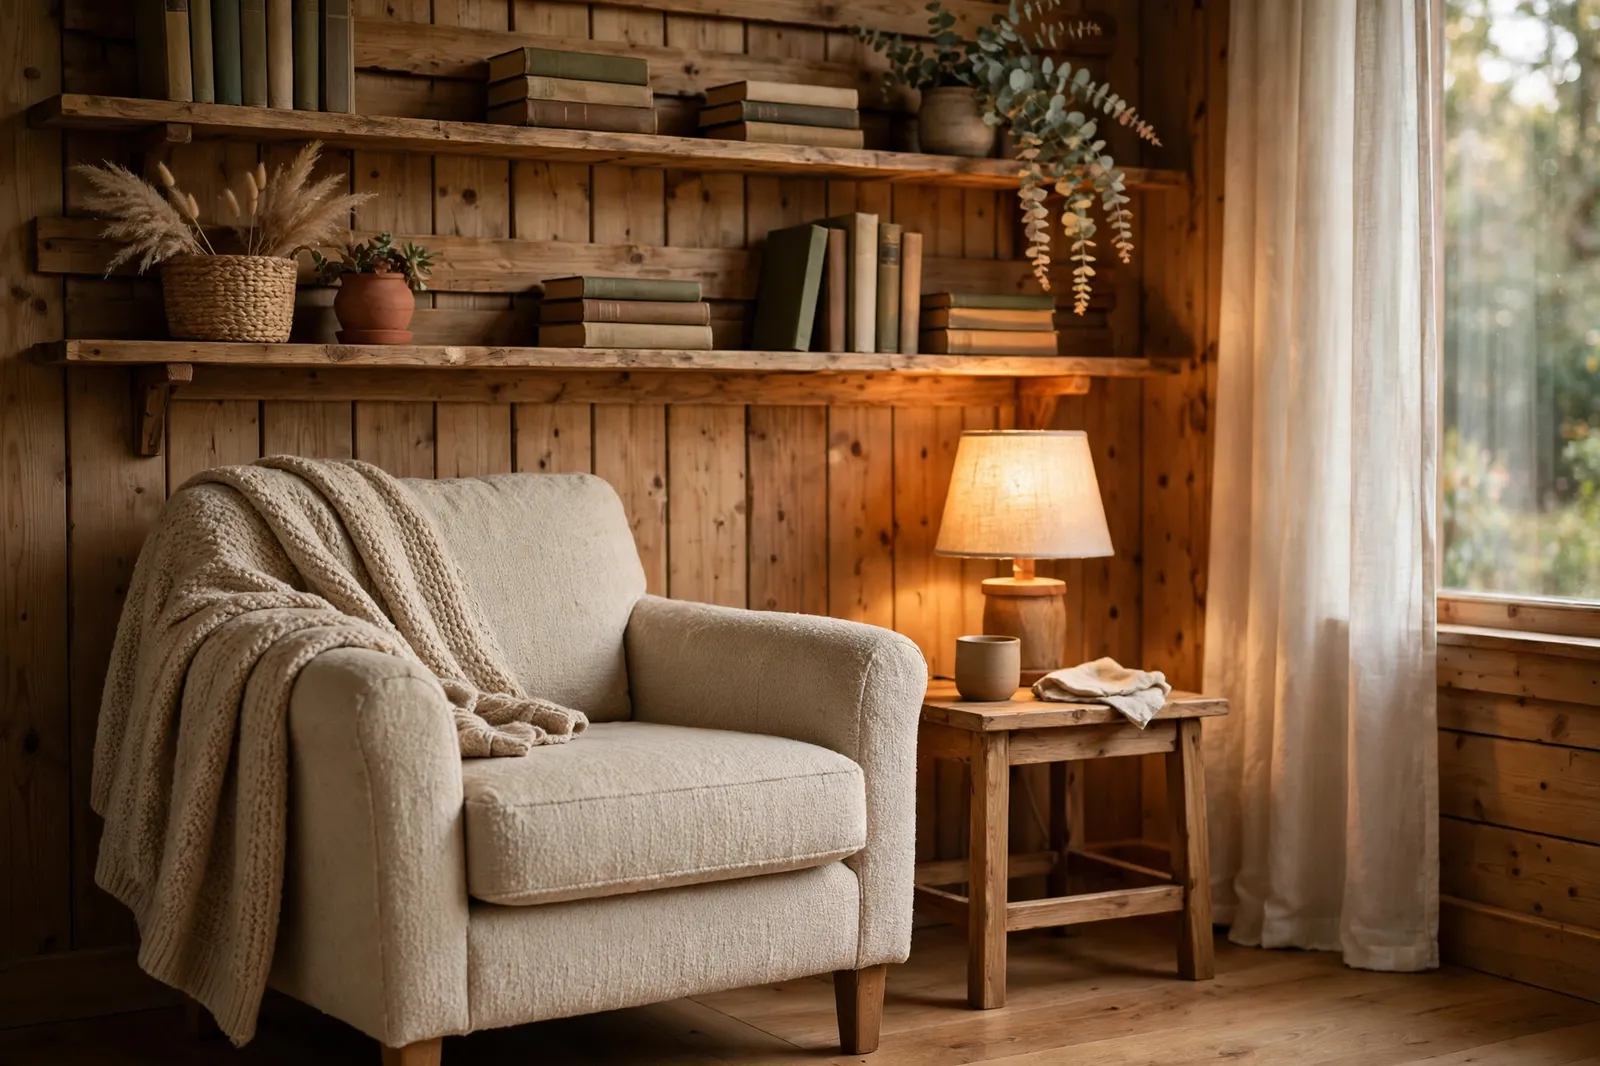
Floating shelves are the first pick for small rooms because they have no visible brackets to clutter the look. They sit flat against the wall and make the room feel open, which is exactly what a tight space needs. A row of two or three short floating shelves can hold a lot without looking heavy.
They are easier to build than they look. Most floating shelf kits come with a hidden metal rod or bracket that screws into the wall studs, and the shelf board slides right over it. Just make sure at least one end is anchored into a stud — that is what keeps the shelf from sagging or pulling away from the wall.
3. Simple Wood Plank Shelves You Can Build in a Day
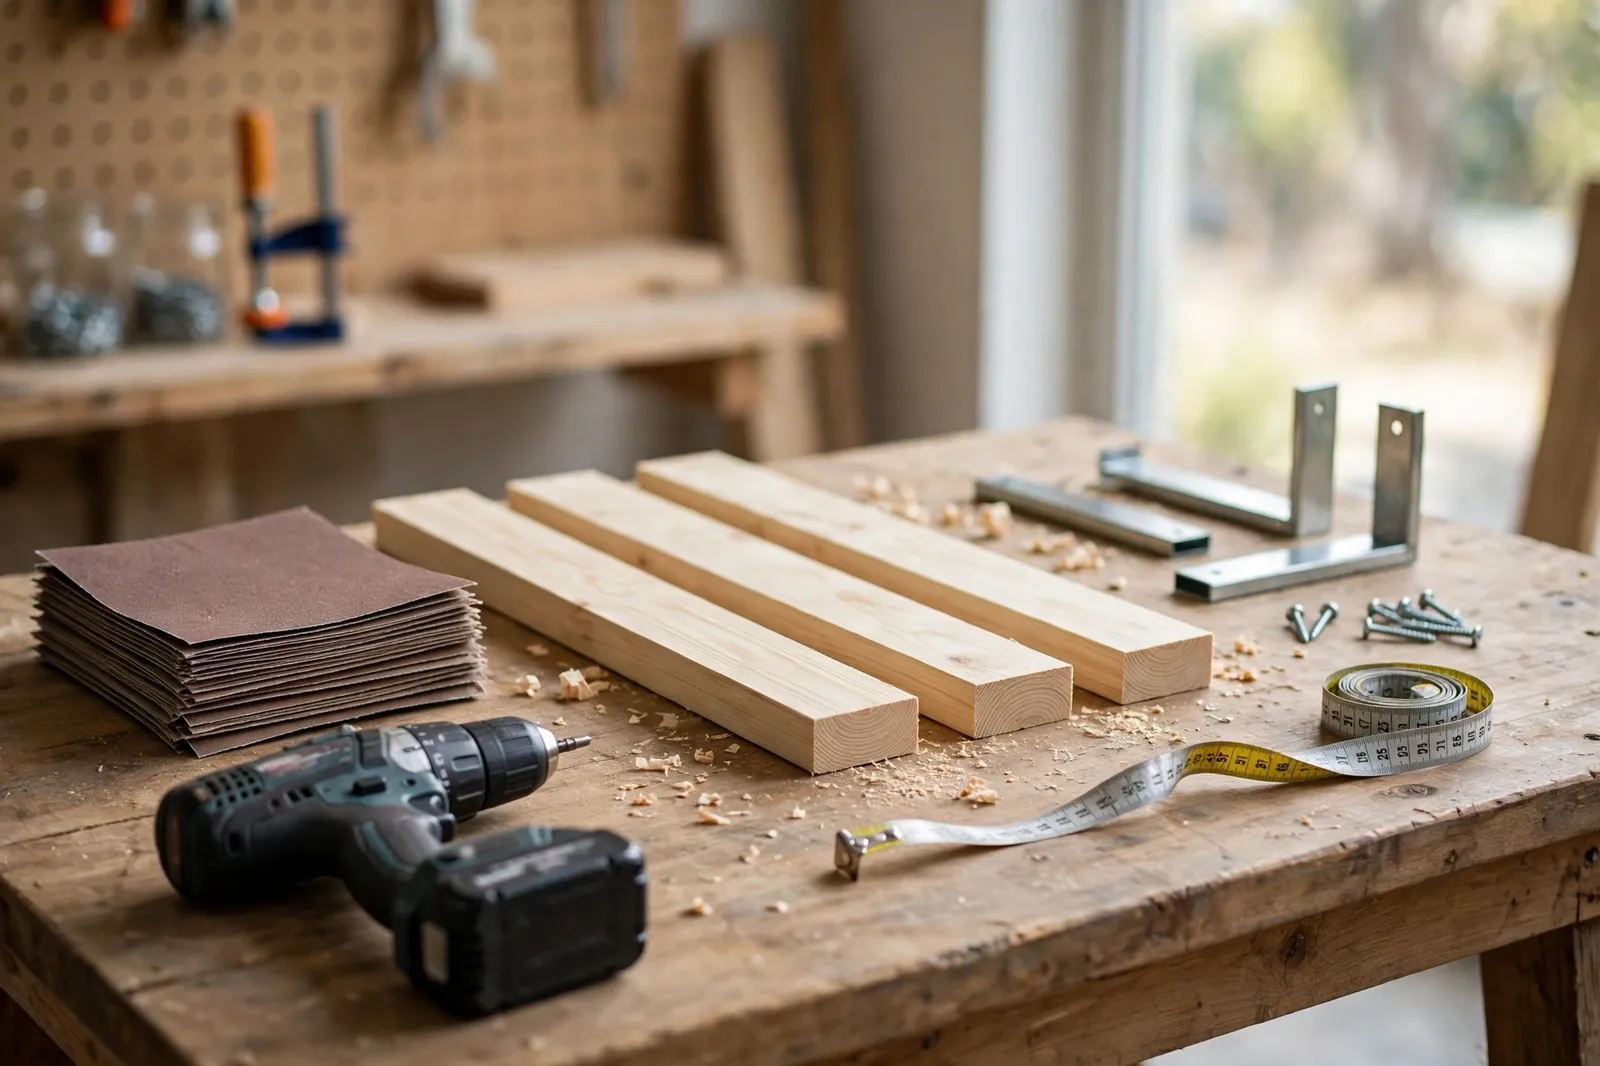
If you like the look of real wood, a plain plank shelf is the easiest DIY of all. Pick up a pine or oak board from the hardware store, have it cut to size right there, sand the edges smooth, and you are most of the way done. A single board with two brackets can be up on the wall in under an hour.
The wood you pick sets the mood of the room. Light pine feels fresh and casual, while a darker walnut stain looks warm and a little more grown-up. You can also paint the board to match your wall color so the shelf almost disappears and whatever sits on it takes center stage.
4. Pick Brackets That Look Good and Hold the Weight
Brackets do the heavy lifting, so do not grab the cheapest ones on the shelf. Check the weight rating on the package and think about what the shelf will actually hold — books are heavy, and a shelf full of them needs brackets rated well above the load. When in doubt, go stronger than you think you need.
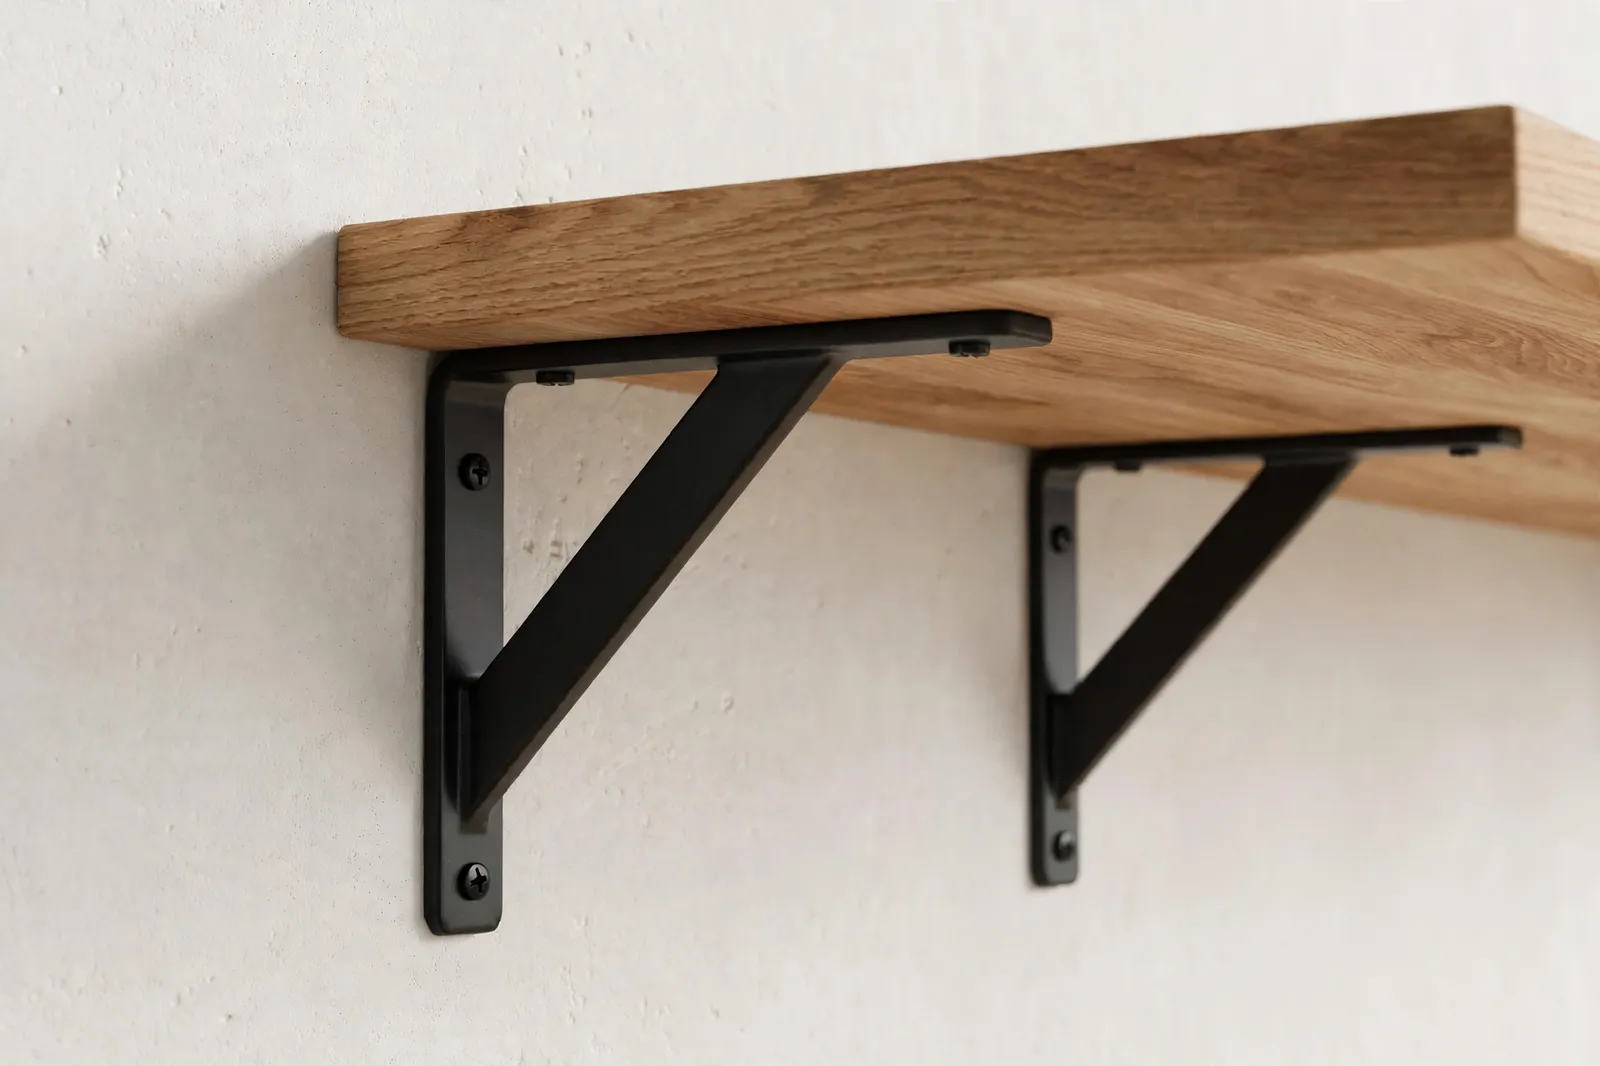
The good news is that brackets come in every style now. Simple black metal brackets look clean and modern, brass ones feel a little fancy, and chunky wooden brackets suit a farmhouse room. Pick a style that matches the rest of your hardware, like your door handles or light fixtures, so the whole room feels pulled together.
5. Style Your Shelves Without Cluttering Them
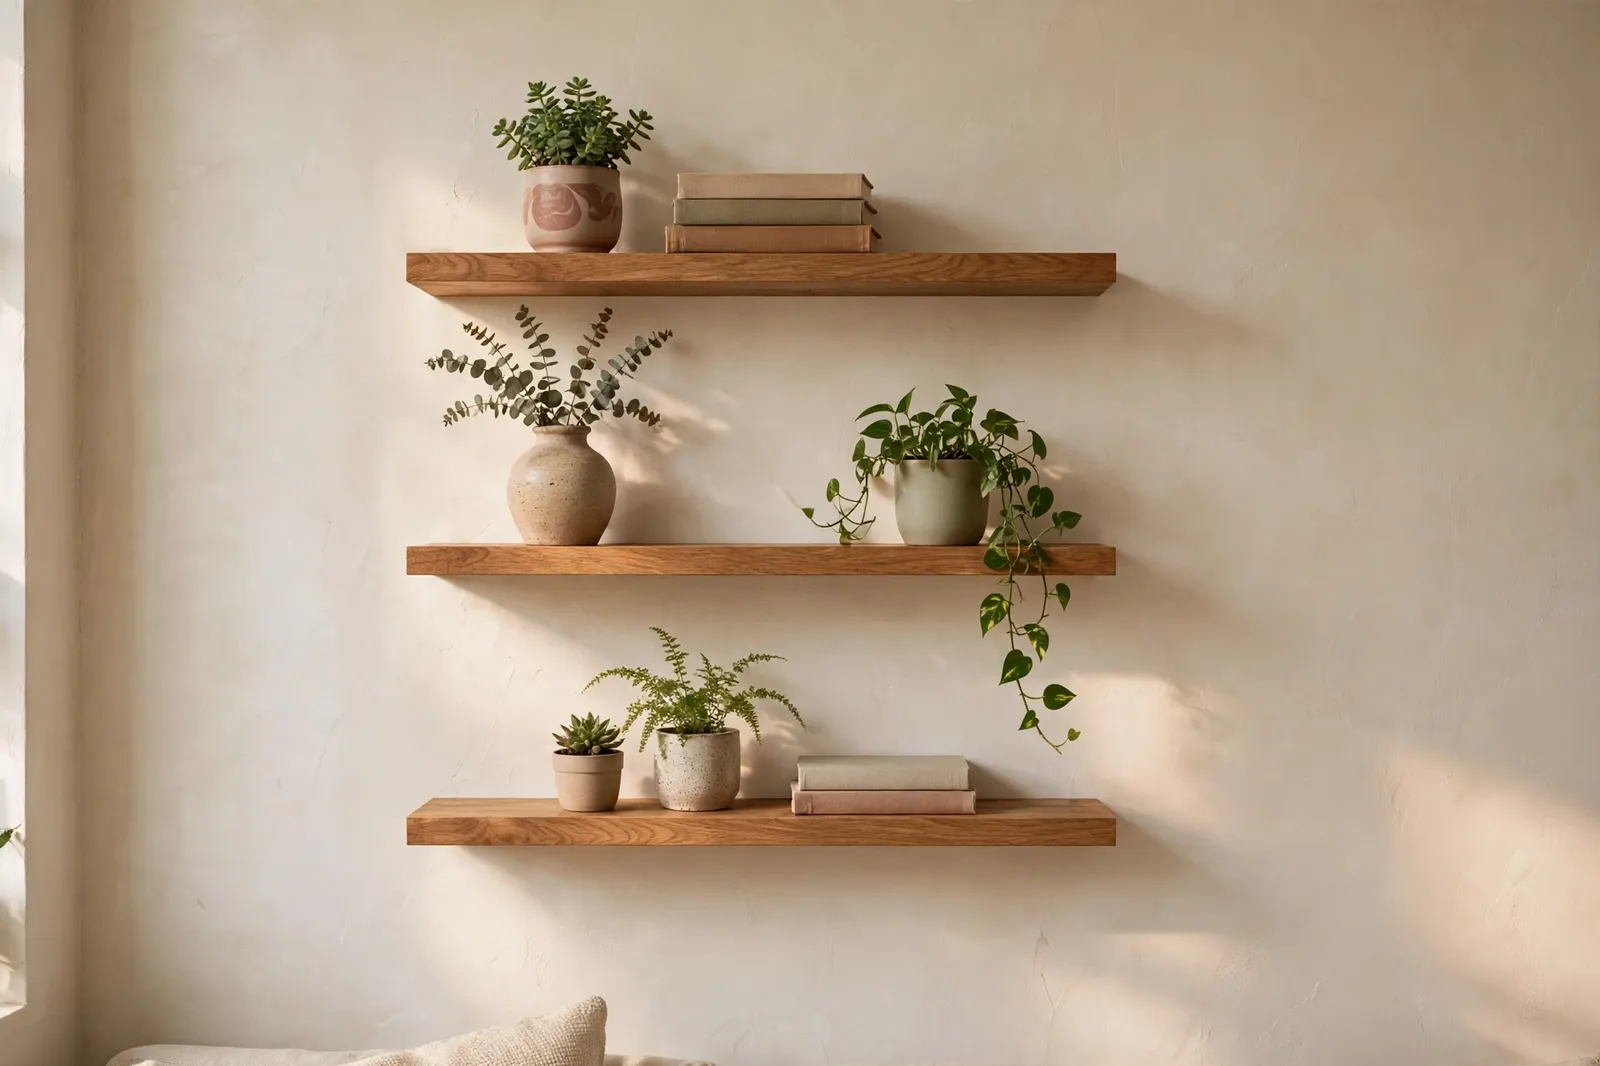
A shelf looks best when it has a little empty space on it. Fill every inch and the room feels messy; leave a few gaps and each thing you put up there actually gets noticed. A good rule is to fill about two-thirds of the shelf and leave the rest open.
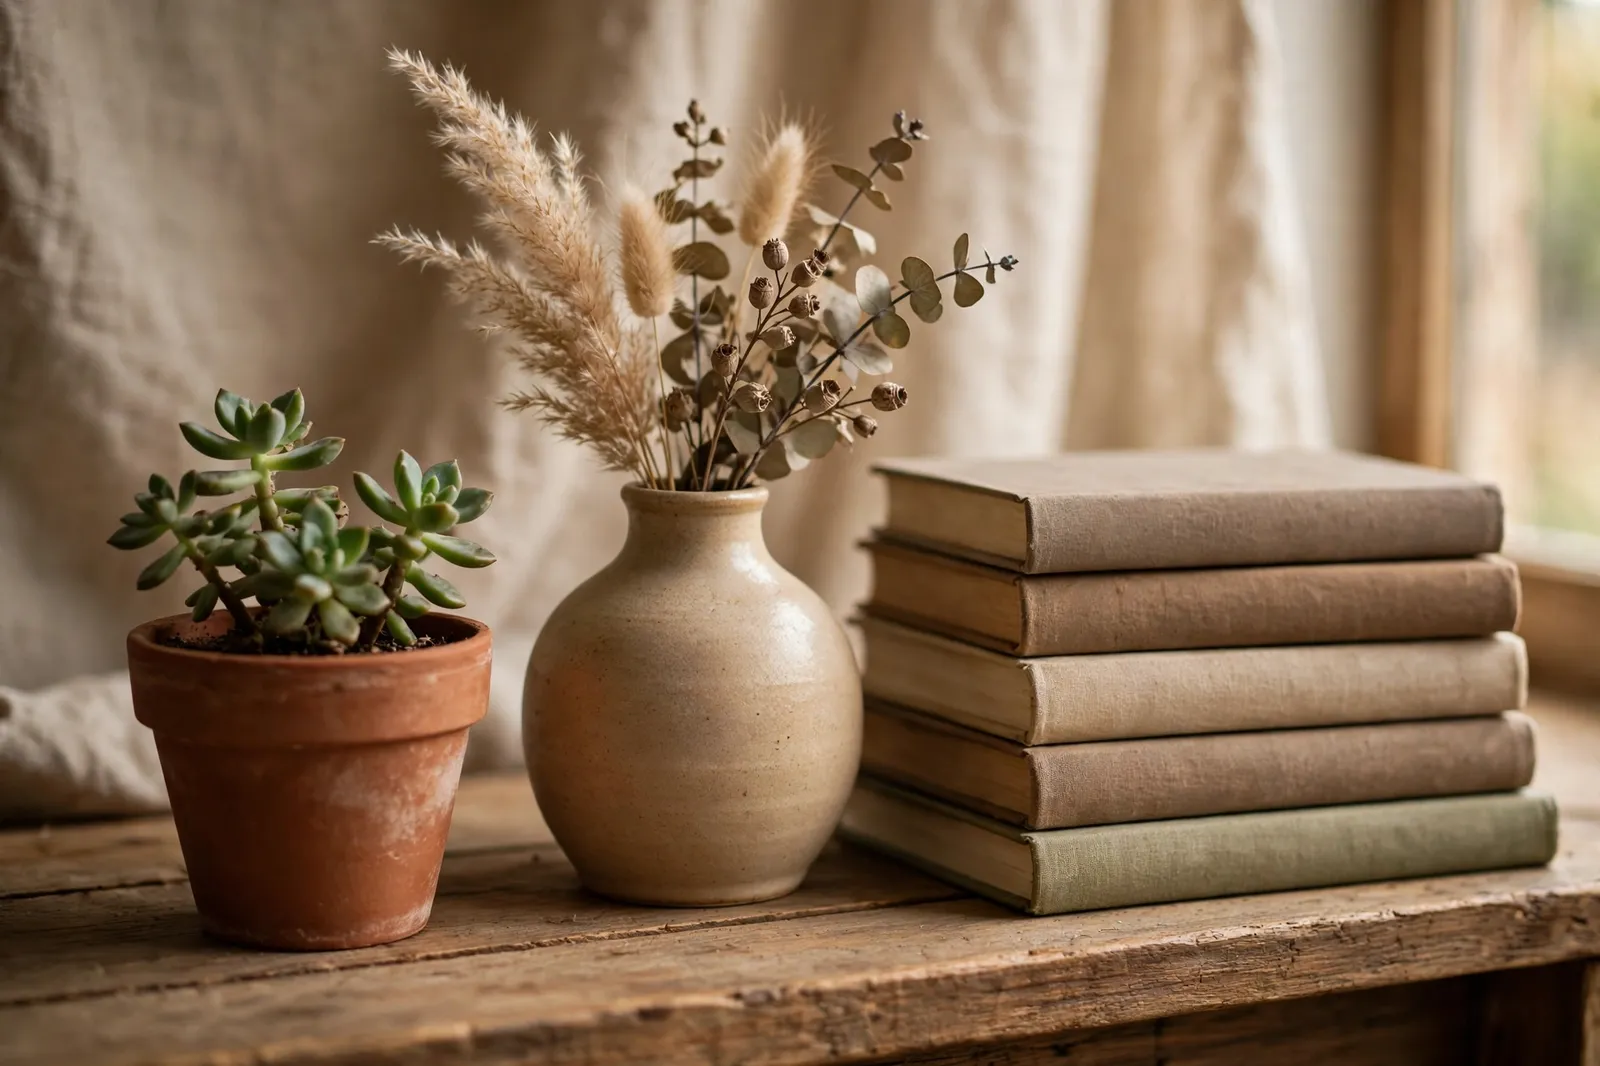
Mix up the shapes and heights so the shelf feels interesting. A tall plant next to a short stack of books, a small vase, and a framed photo gives your eye something to move across. Stick to two or three colors that already show up in the room, and the shelf will look like it belongs there instead of like a random pile of stuff.
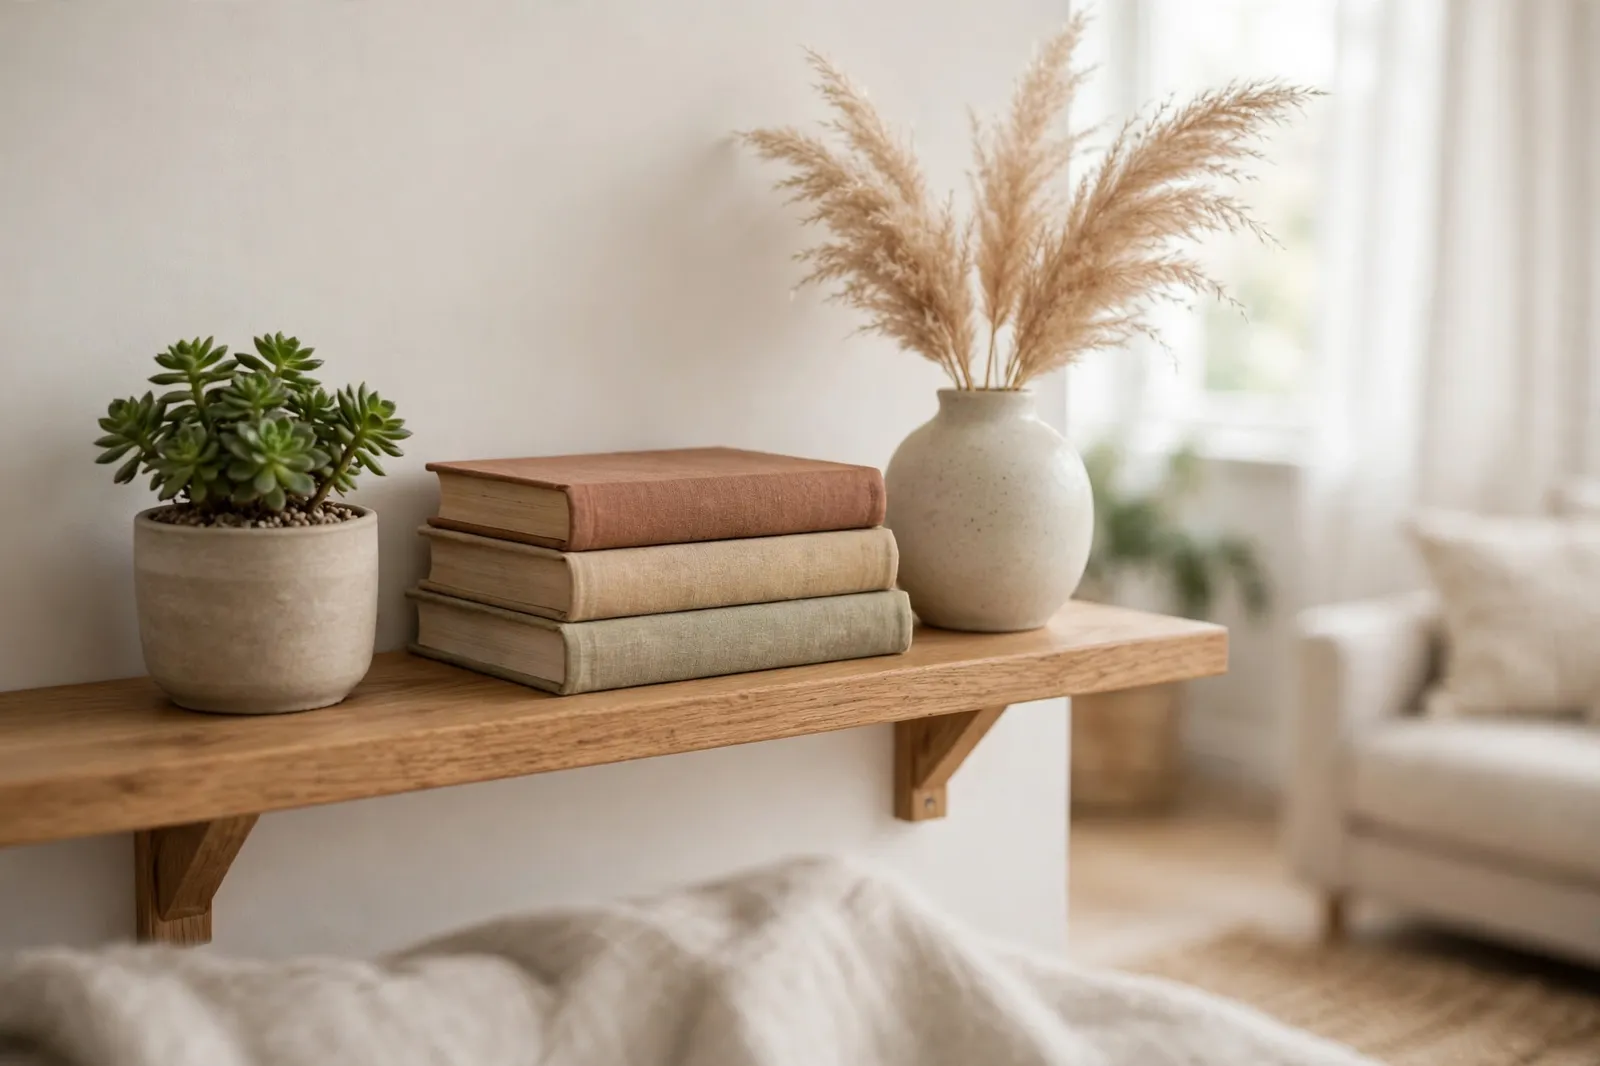
6. Use Shelves for Books, Plants, and Everyday Things
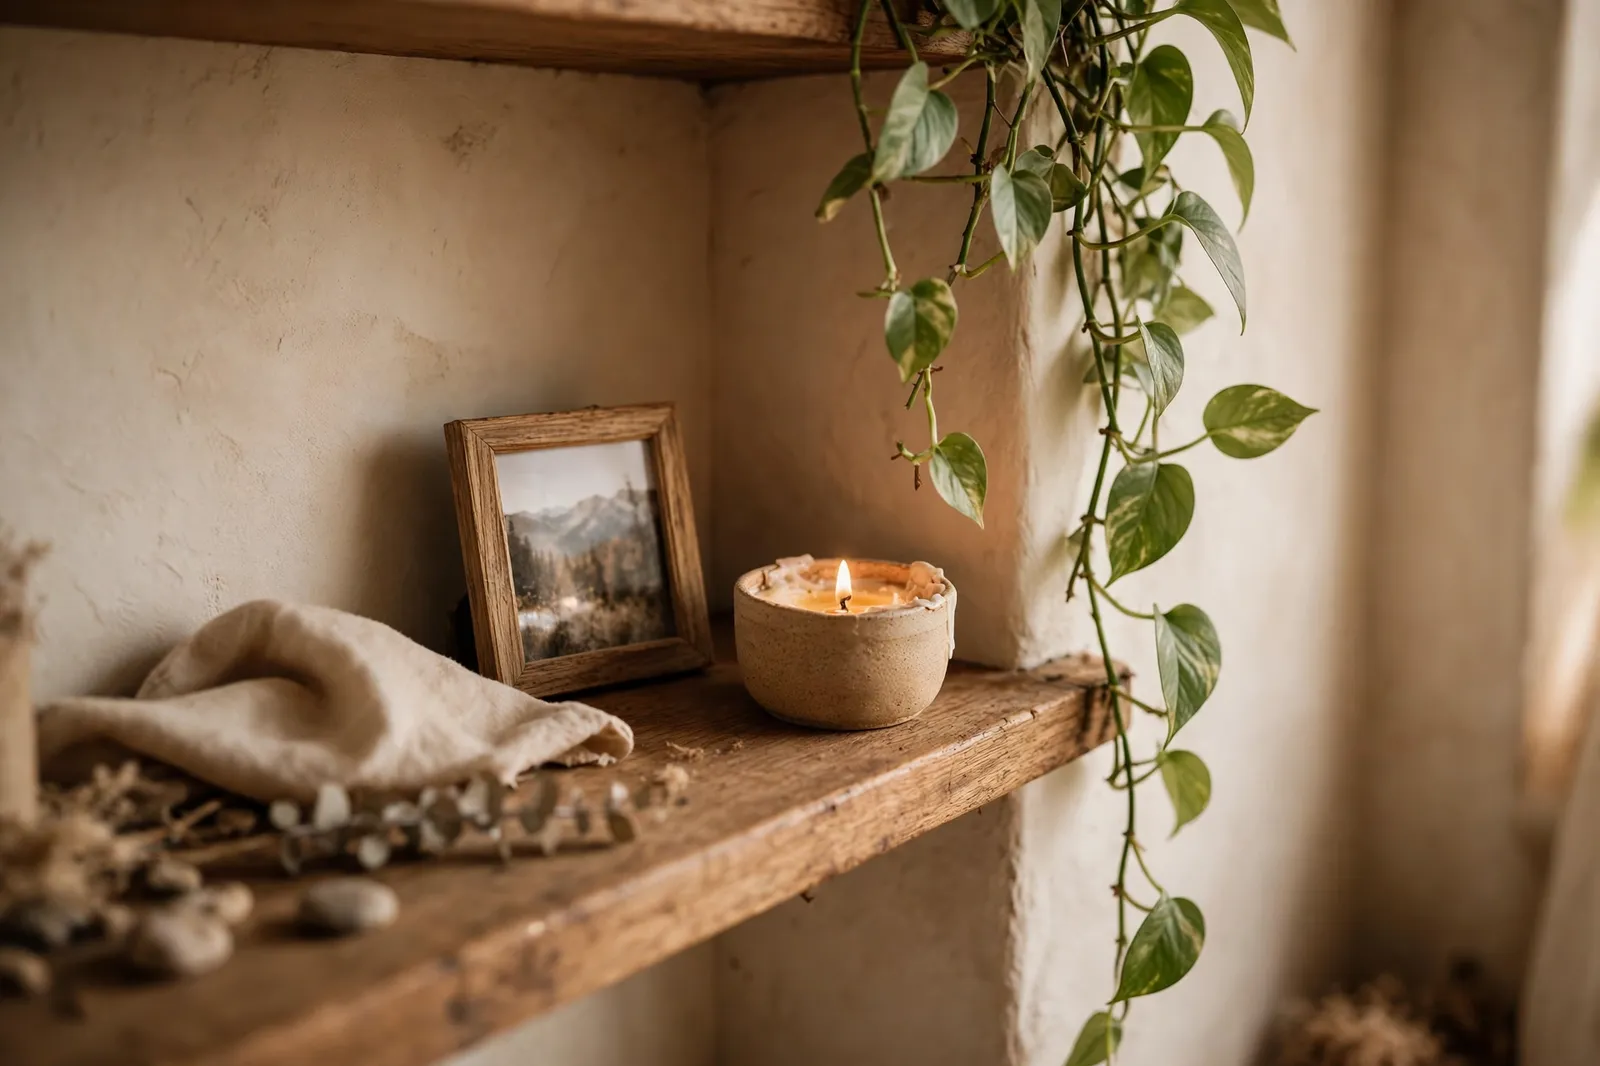
Shelves earn their keep when they hold things you actually use. In a living room that might mean a row of books and a plant; in a kitchen it could be everyday mugs and spice jars; in a bathroom, rolled towels and a small candle. The best shelf is one that makes your daily routine a little easier.
Group things by use and keep the most-used items at arm's reach. Put the pretty stuff — a plant, a favorite vase, a framed print — at eye level where it gets seen, and tuck the practical items on a lower or higher shelf. If a shelf starts collecting random clutter, clear it off and start fresh; a shelf that holds junk helps nobody.
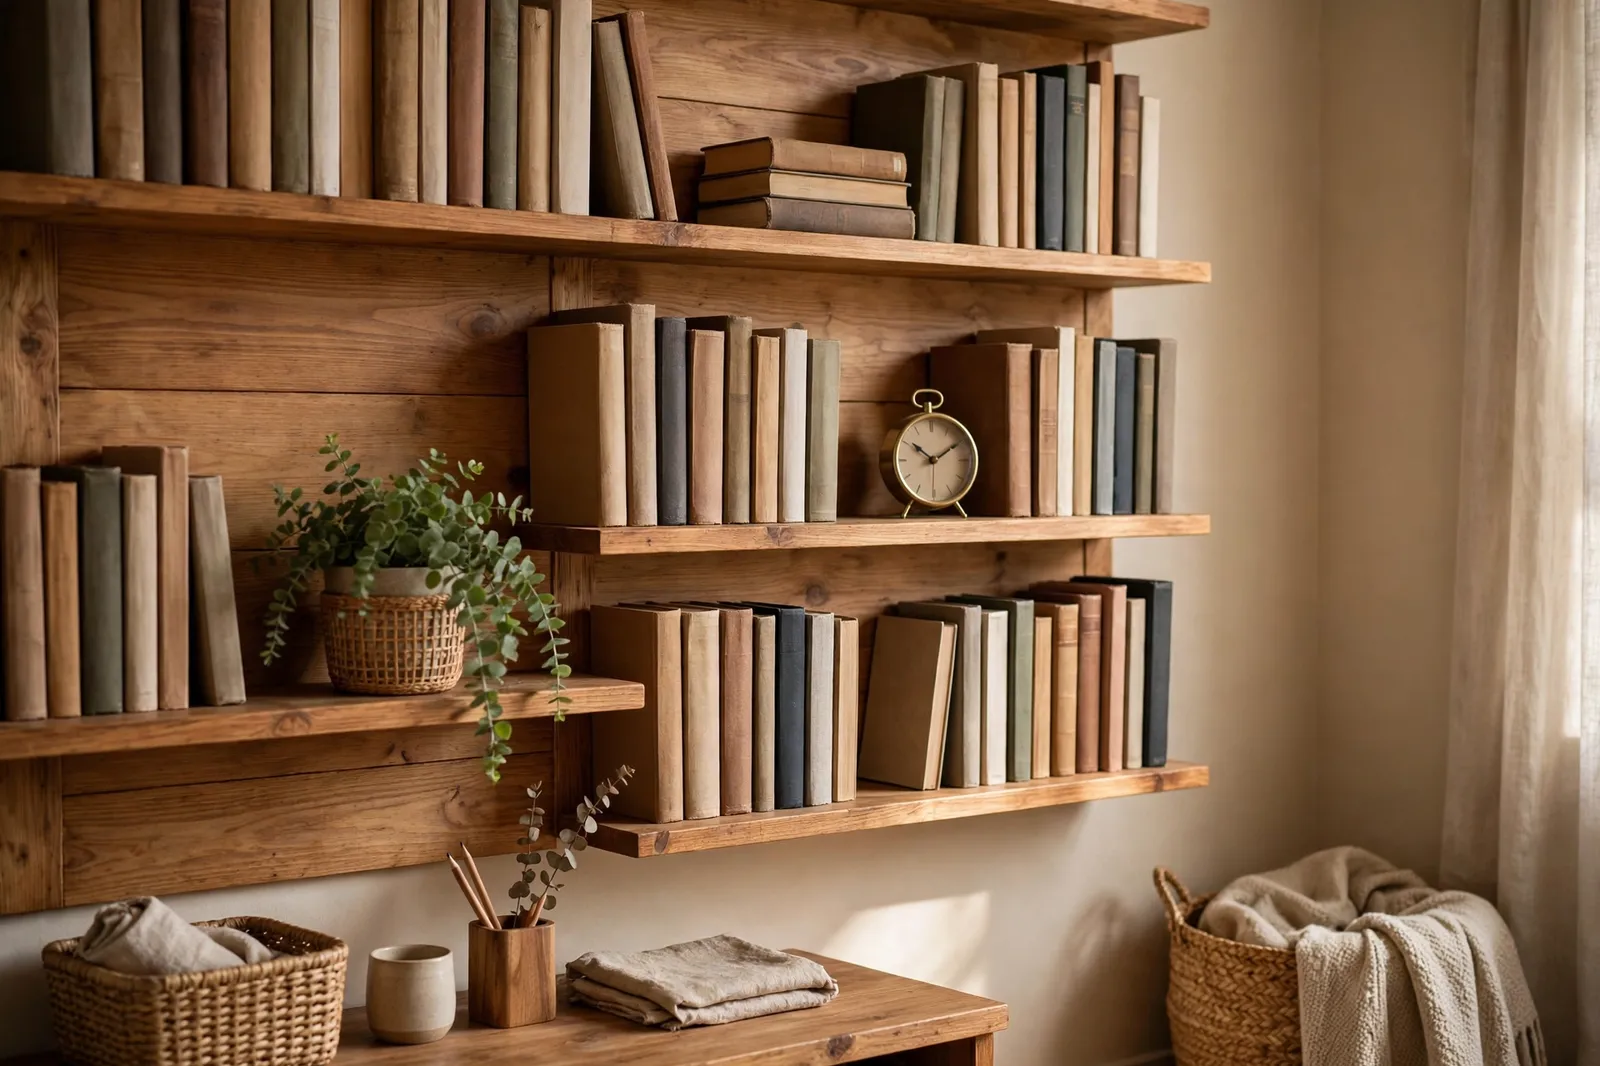
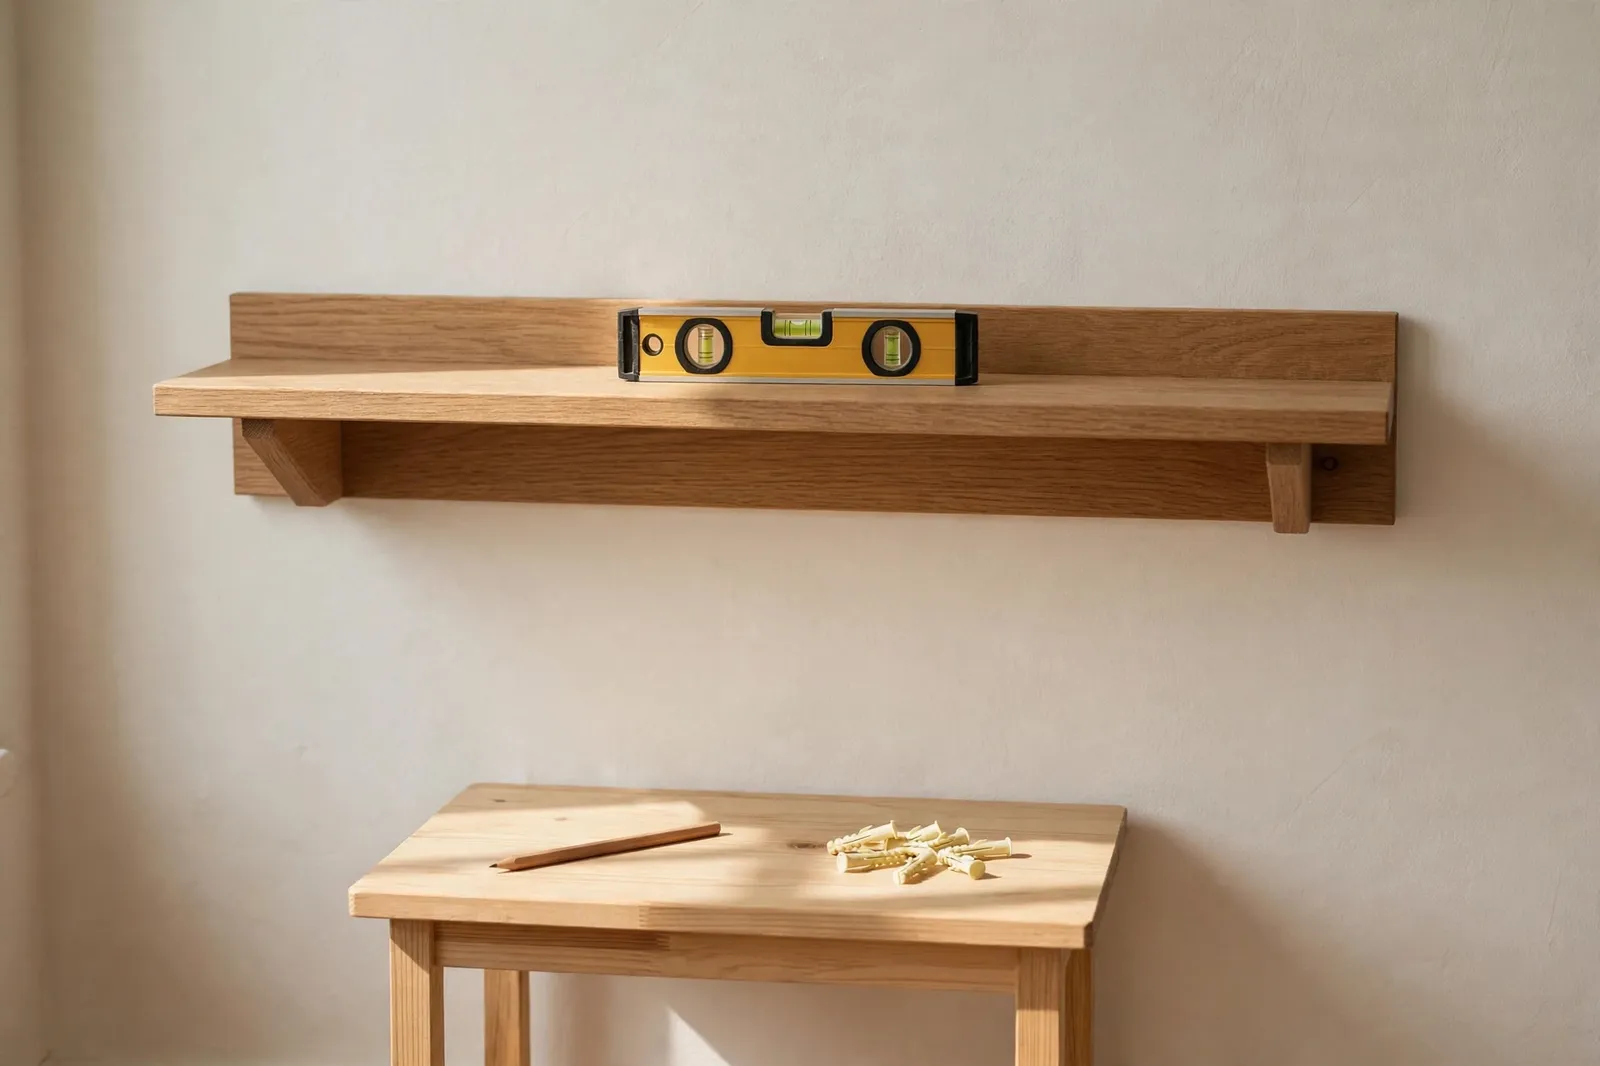
7. Hang Them Right: Height, Level, and Wall Anchors
Where you hang a shelf matters as much as how you build it. Around eye level — about five feet off the floor — is a good height for a display shelf, while a shelf above a desk or a sofa should sit about 18 inches above it so there is room to sit and move without bumping your head.
Always use a level before you drill, and check it twice. A shelf that tilts even a little will drive you crazy every time you look at it, and things will slowly slide to one end. If you cannot hit a stud, use wall anchors made for your wall type — toggle bolts for drywall hold far more weight than the little plastic plugs that come in the box.
8. Finish and Paint for a Polished Look
A little finishing work is what makes a DIY shelf look store-bought. Sand the board with fine sandpaper until it feels smooth, wipe off the dust, and then stain or paint it before you hang it — it is much easier to finish a board flat on a table than up on a wall.
For a painted shelf, one coat of primer plus two thin coats of paint will last far longer than one thick coat. Let each coat dry fully before the next, and give the paint a day to cure before you load the shelf up. A clear matte sealer over a stain keeps the wood looking fresh and makes it easy to wipe clean later.
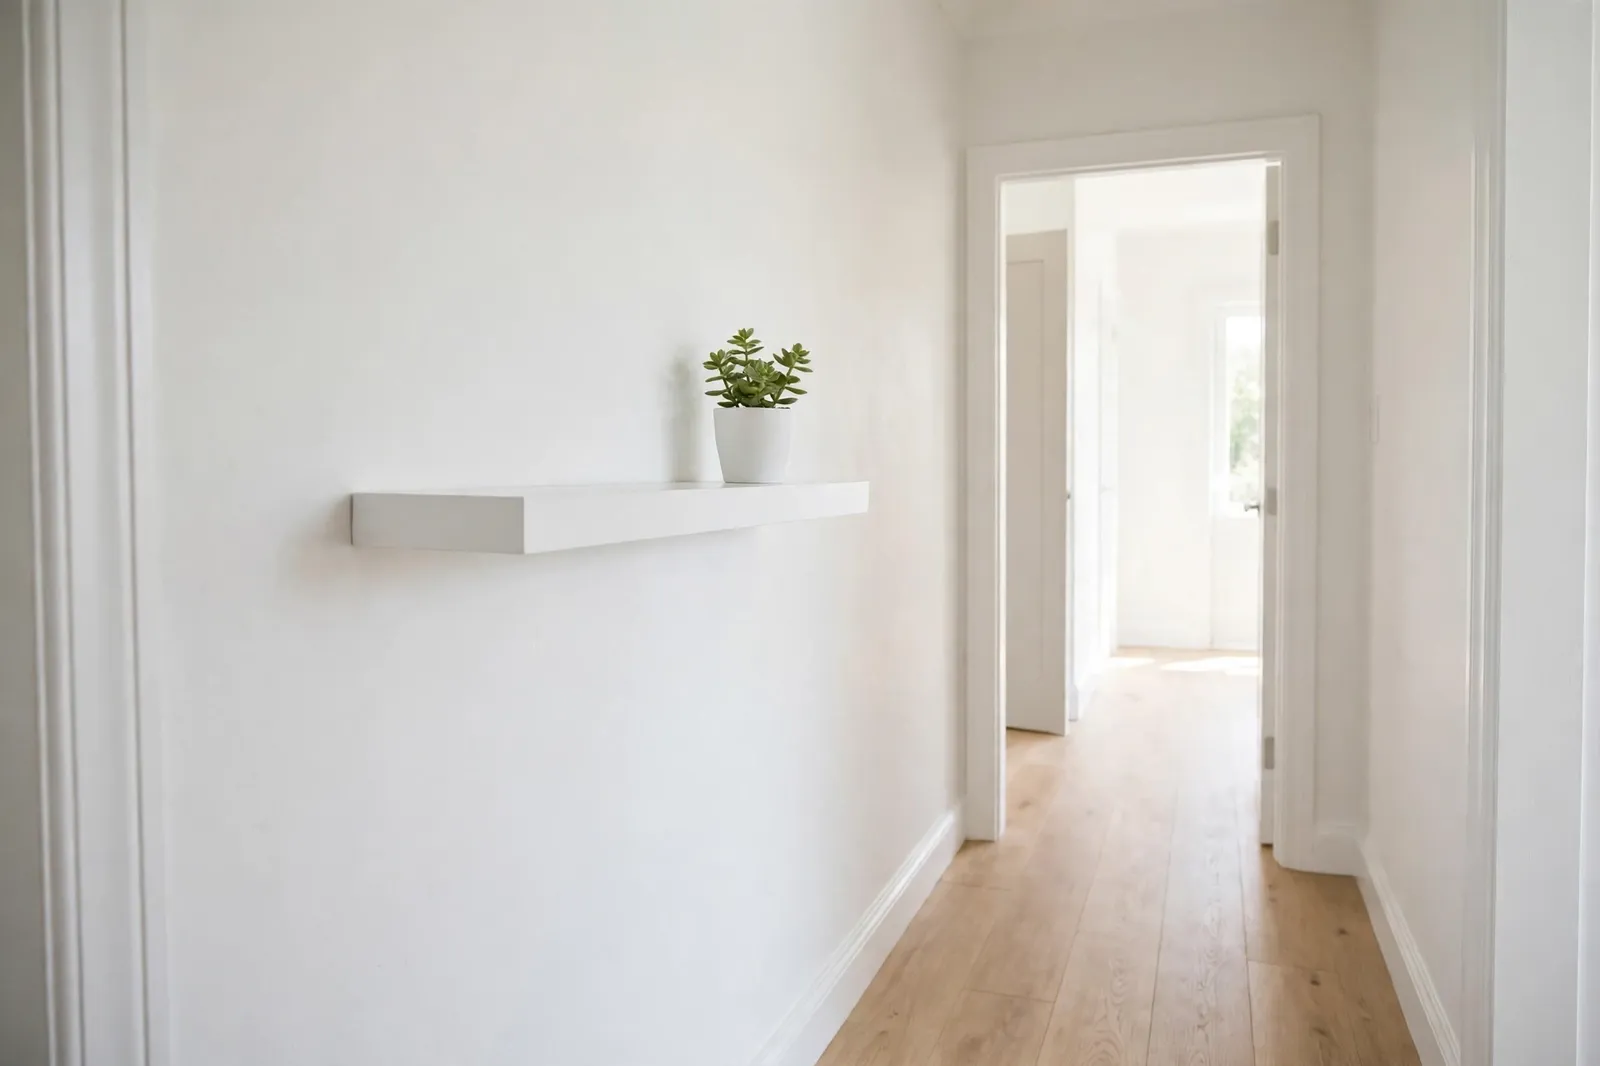
9. Small Details That Make Shelves Feel Finished
The last little touches are what turn a plain shelf into something that looks finished. Add a strip of felt or rubber pads under anything that slides, so your books and vases do not scratch the wood. A small lip or edge at the back keeps frames from slipping off the wall side.
Step back and look at the whole wall once the shelves are up. Move one thing, swap a plant for a book, take something away — tiny changes make a big difference. A shelf you love looking at is a shelf you will actually keep tidy, and that is the whole point of the project.
Frequently Asked Questions
What kind of DIY shelves work best in small spaces?
Floating shelves work best in small spaces because they have no visible brackets and make the wall feel open. Short shelves in a row, or a single shelf above a desk or sofa, add storage without making the room feel crowded. Keep them slim and leave some empty space on each shelf.
How much weight can a DIY floating shelf hold?
A floating shelf anchored into wall studs can usually hold 20 to 30 pounds, depending on the bracket and the wall. If you only use drywall anchors, the safe load drops a lot — often under 10 pounds. Always check the weight rating on the bracket and keep heavy books on shelves that hit at least one stud.
What wood should I use for DIY decorative shelves?
Pine is the cheapest and easiest wood for beginners — it is light, easy to cut and sand, and takes paint well. Oak and walnut cost more but look richer with a stain. For a painted shelf, a smooth plywood or MDF board works fine and costs even less. Avoid rough, warped boards from the discount pile.
How high should I hang shelves in a small room?
Hang display shelves around eye level, about five feet off the floor, so you can see what is on them. Shelves above a sofa or desk should sit about 18 inches above the furniture so you have headroom. In a kitchen, shelves above a counter usually sit about 20 inches up from the countertop.
Related ideas
Budget-Friendly DIY Home Decor Using Thrifted Finds shows how to fill your new shelves with secondhand treasures for almost nothing, and DIY Gallery Wall Ideas for a Personal Touch pairs perfectly with shelves for a wall that feels truly yours. If the shelf project has you in a fixing-up mood, How to Give Old Furniture a Fresh Makeover is the natural next weekend project. You might also like Budget-Friendly DIY Home Decor Using Thrifted Finds and How to Make a Simple Centerpiece for Your Dining Table.