How to Give Old Furniture a Fresh Makeover
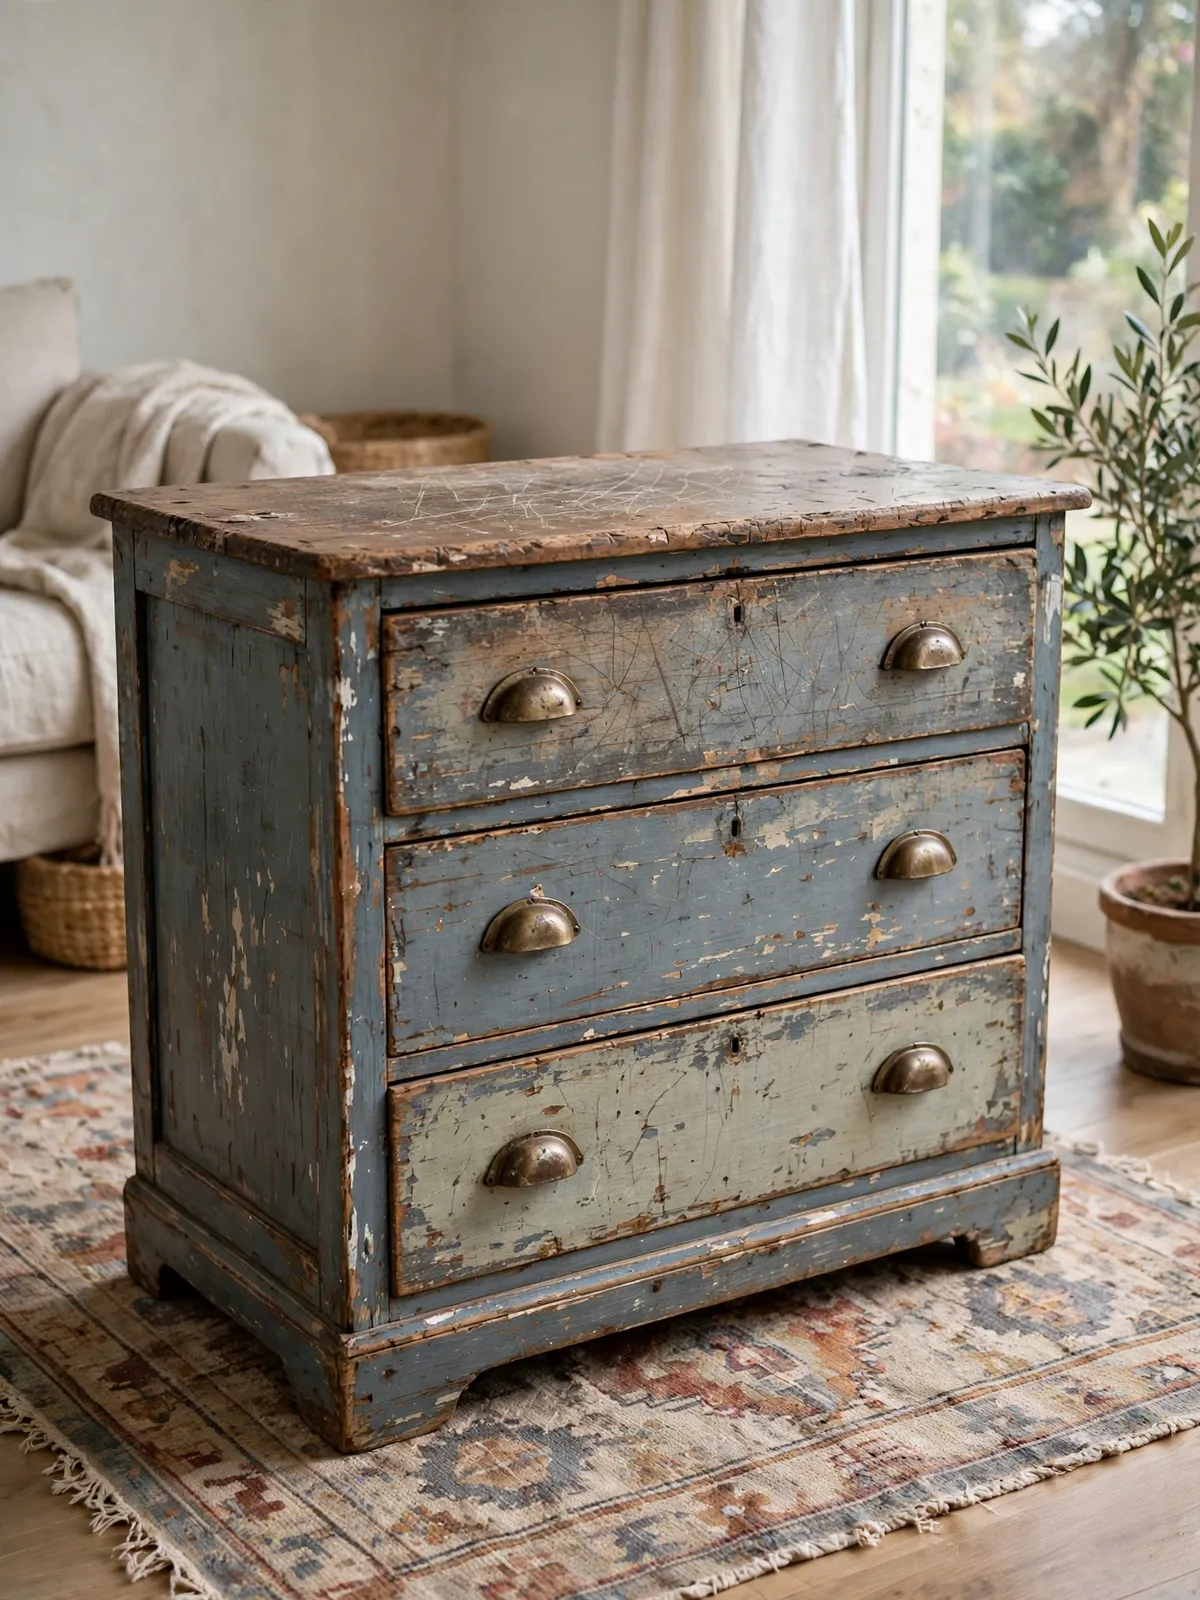
That old dresser in the corner or the scratched coffee table you were about to toss might be the best piece in your home — it just needs a little work. A furniture makeover does not take fancy tools or a big budget, just some patience and a few basic supplies.
In this guide, you will learn how to give old furniture a fresh makeover, step by step: how to pick the right piece, clean and sand it, paint or stain it, swap the hardware, and style it so it looks like it belongs in your home. Most of these projects can be done in a weekend, and the results are worth the effort.
1. Pick the Right Piece to Fix Up
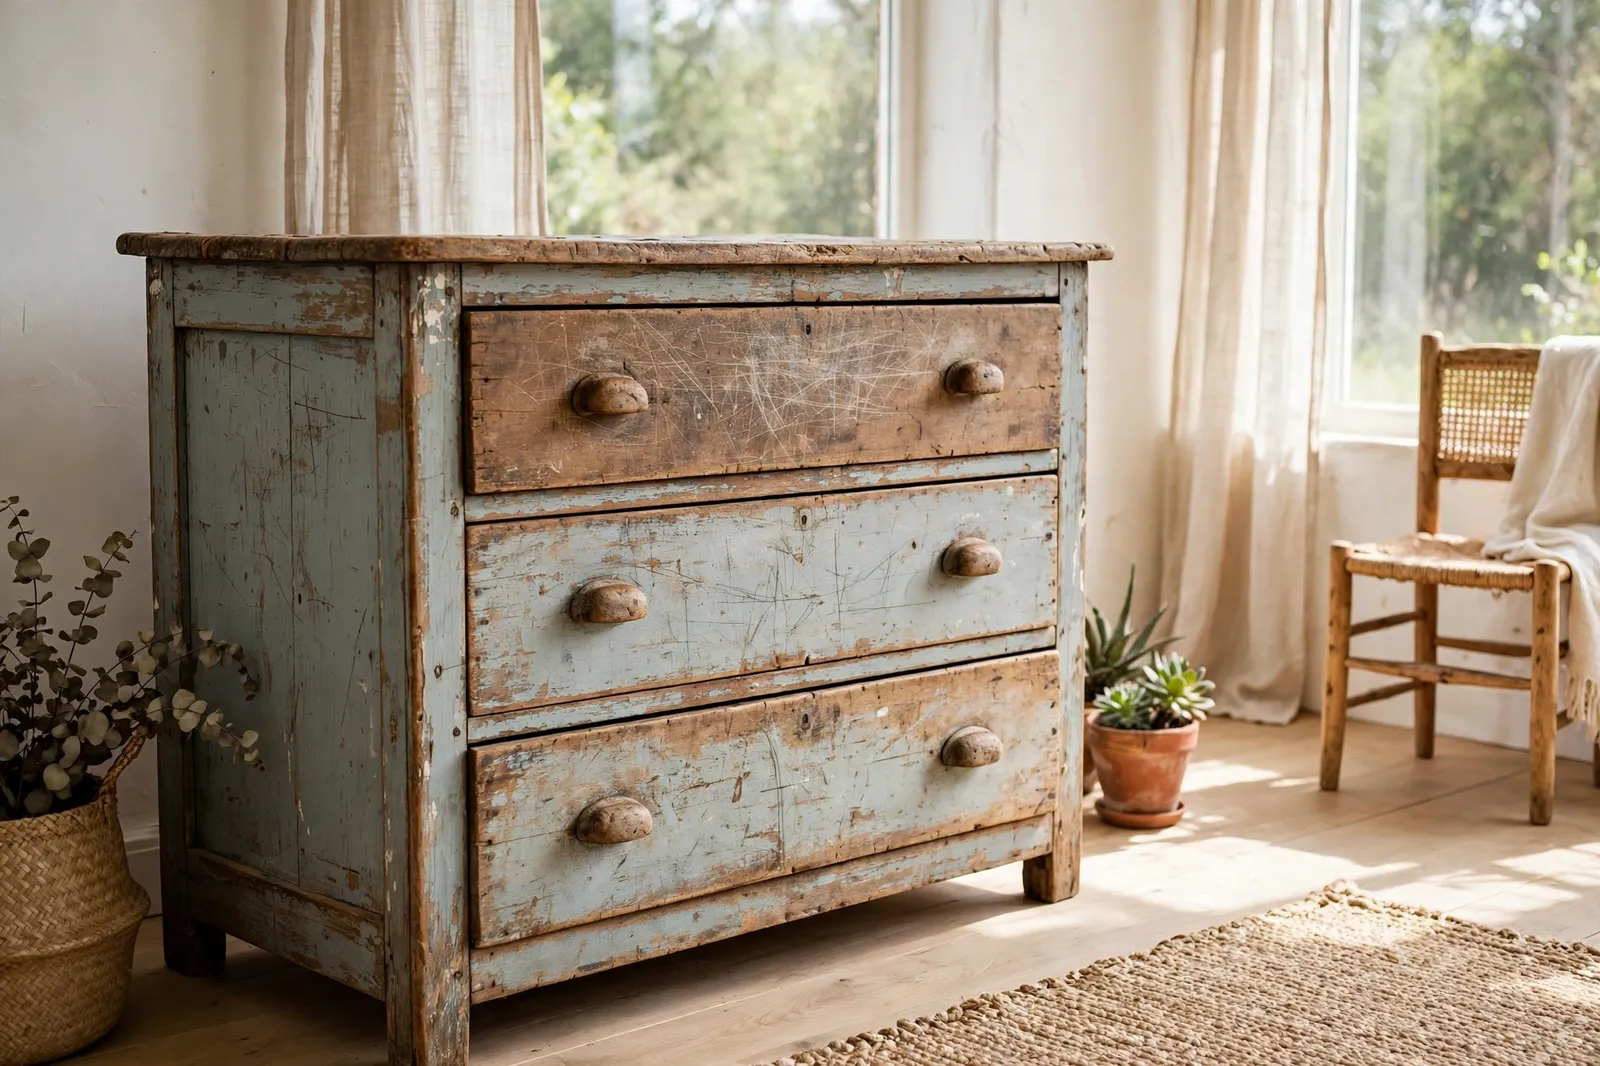
Not every old piece is worth saving, so start by picking a good one. Look for solid wood and sturdy joints — a piece that feels heavy and well-made is usually worth your time. Wobbly legs and scratched paint are easy fixes, but cracked frames, warped boards, or a strong smell are signs to walk away.
Check the drawers, doors, and hinges before you bring a piece home. They should open and close without sticking too much, and the back panel should feel solid. A little wear is fine — that is what you are going to fix — but the bones of the piece need to be sound.
2. Clean and Prep It First
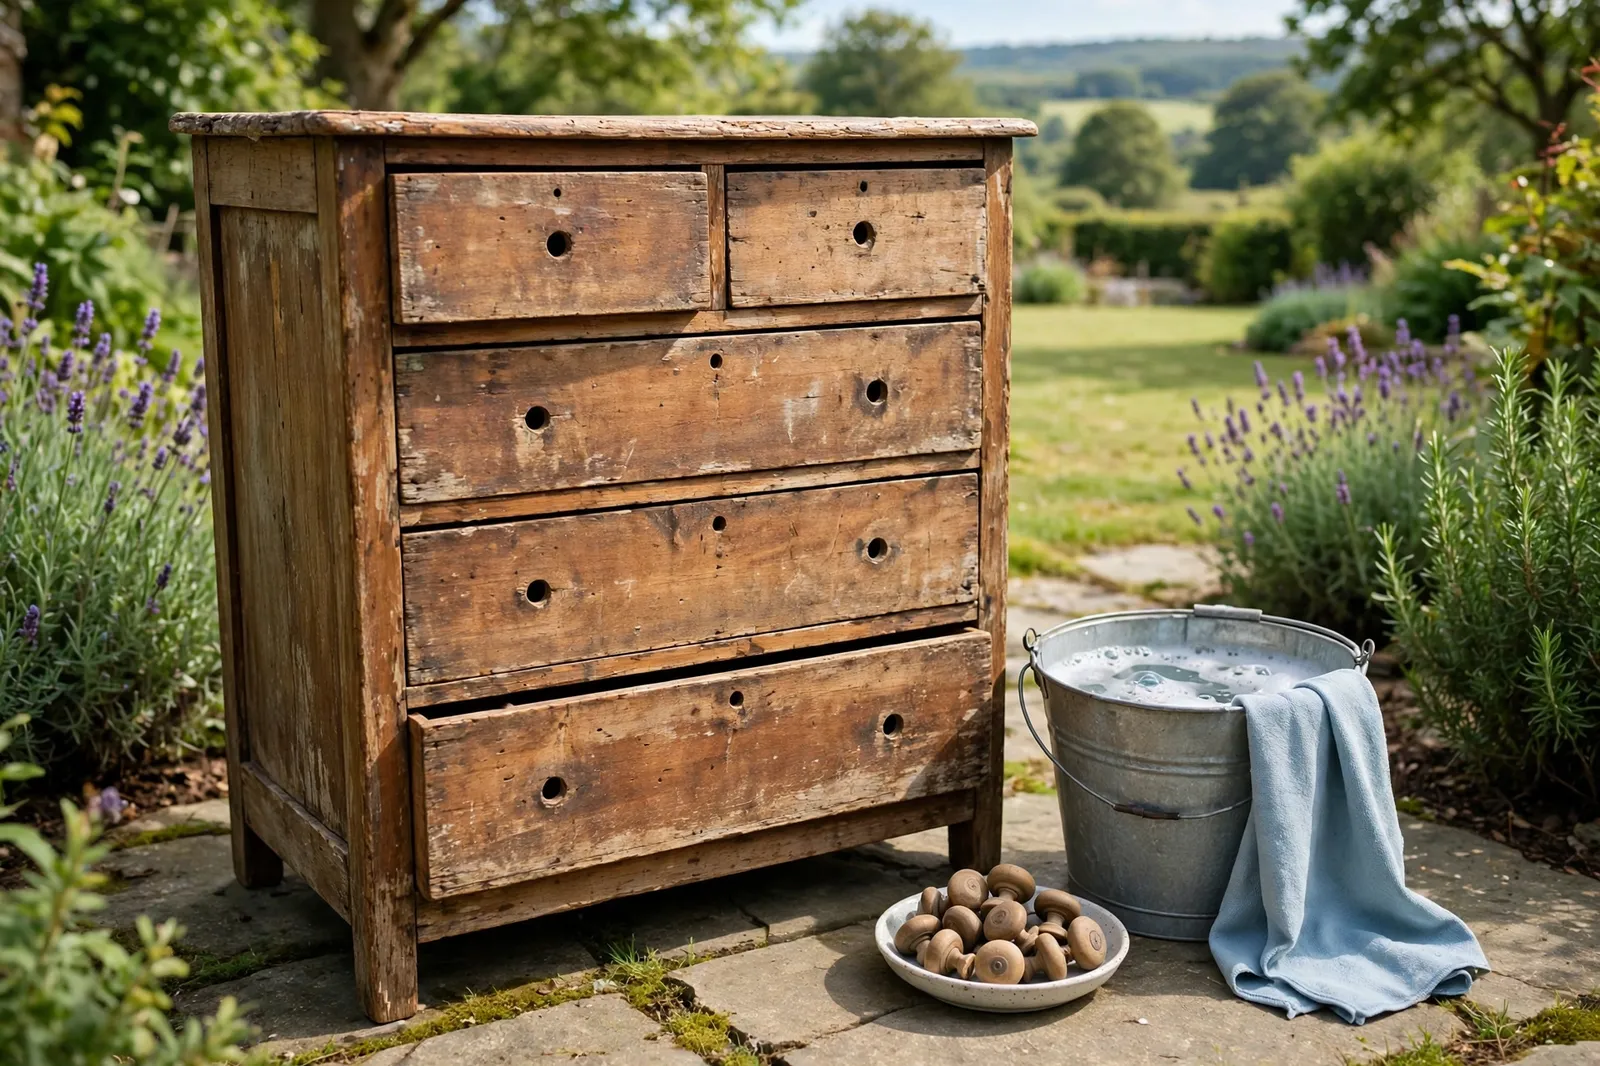
Before you sand or paint anything, give the piece a good clean. Years of dust, grease, and old polish sit on the surface, and paint will not stick to a dirty piece. Wipe it down with warm water and a little dish soap, then let it dry completely.
While it dries, take off the hardware — knobs, pulls, hinges — and set the screws aside in a small bag so nothing gets lost. If a drawer sticks, rub a little candle wax or soap along the runners. A clean, empty piece is much easier to work on than one with parts in the way.
3. Sand It Down the Right Way
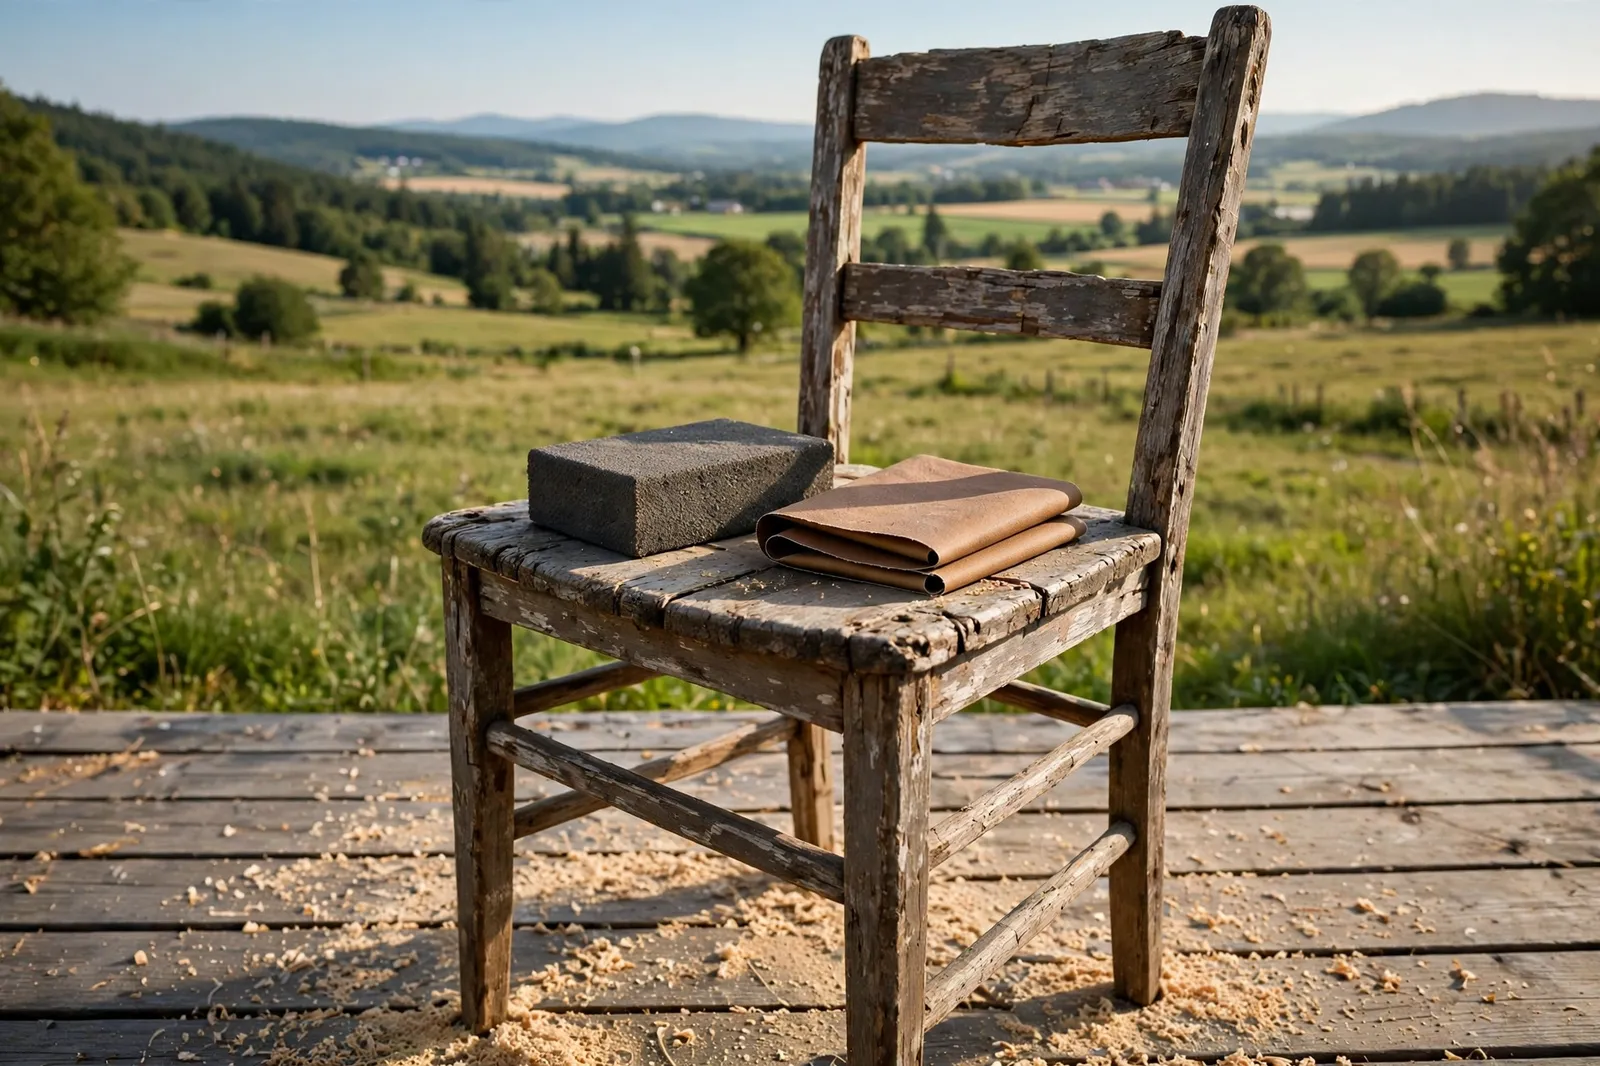
Sanding is the step most people want to skip, but it makes the biggest difference. A light sanding takes off the old shine and gives paint or stain something to hold on to. Start with medium-grit sandpaper, about 120 grit, and work in the direction of the wood grain.
You do not have to sand down to bare wood unless the old finish is peeling or badly damaged. For most pieces, a quick scuff-sand is enough. Wipe away the dust with a damp cloth when you are done, and let the piece dry before you move on to paint or stain.
4. Paint It a Fresh Color
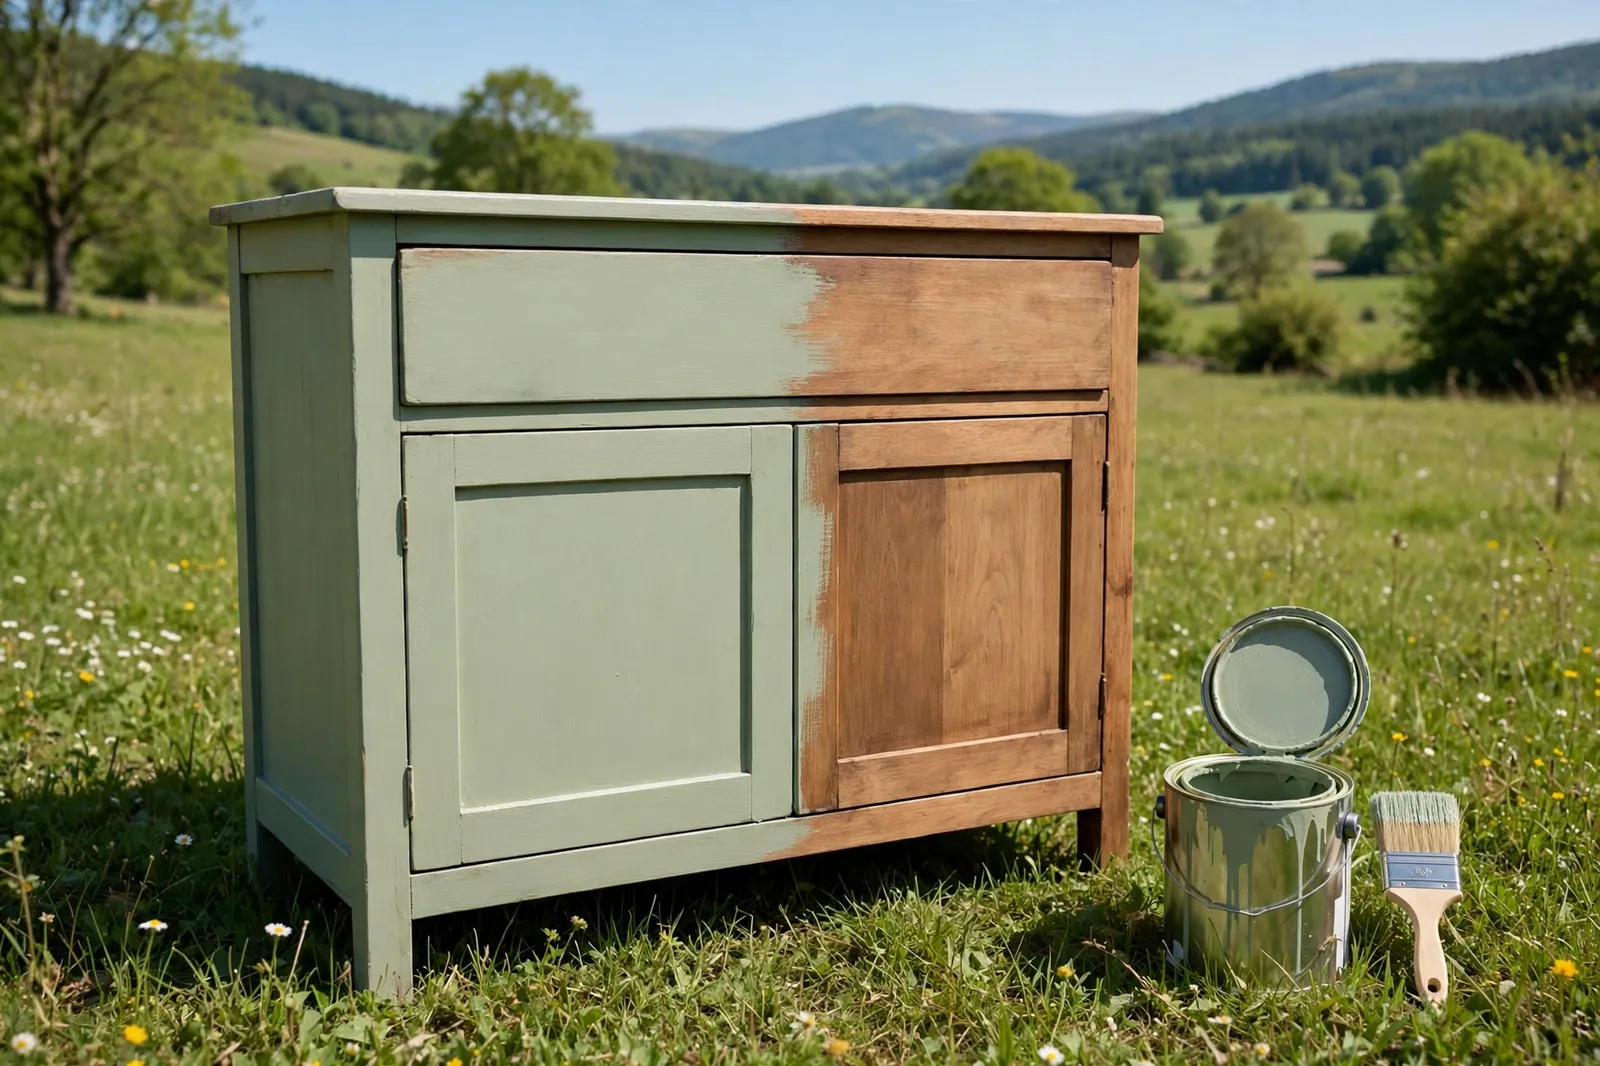
Paint is the fastest way to change a piece completely. A fresh coat of white, soft gray, or a bold color can make a tired dresser look brand new. Use a brush for the details and a small foam roller for the flat parts, and always paint in thin coats — two thin coats look far better than one thick one.
Let each coat dry fully before you add the next, and do not rush it. Chalk paint is a good choice for beginners because it sticks well and needs little prep, while latex paint gives a smooth, tough finish. Pick a color that fits your room, and test it on the back of the piece first if you are unsure.
5. Try Stain for a Natural Look
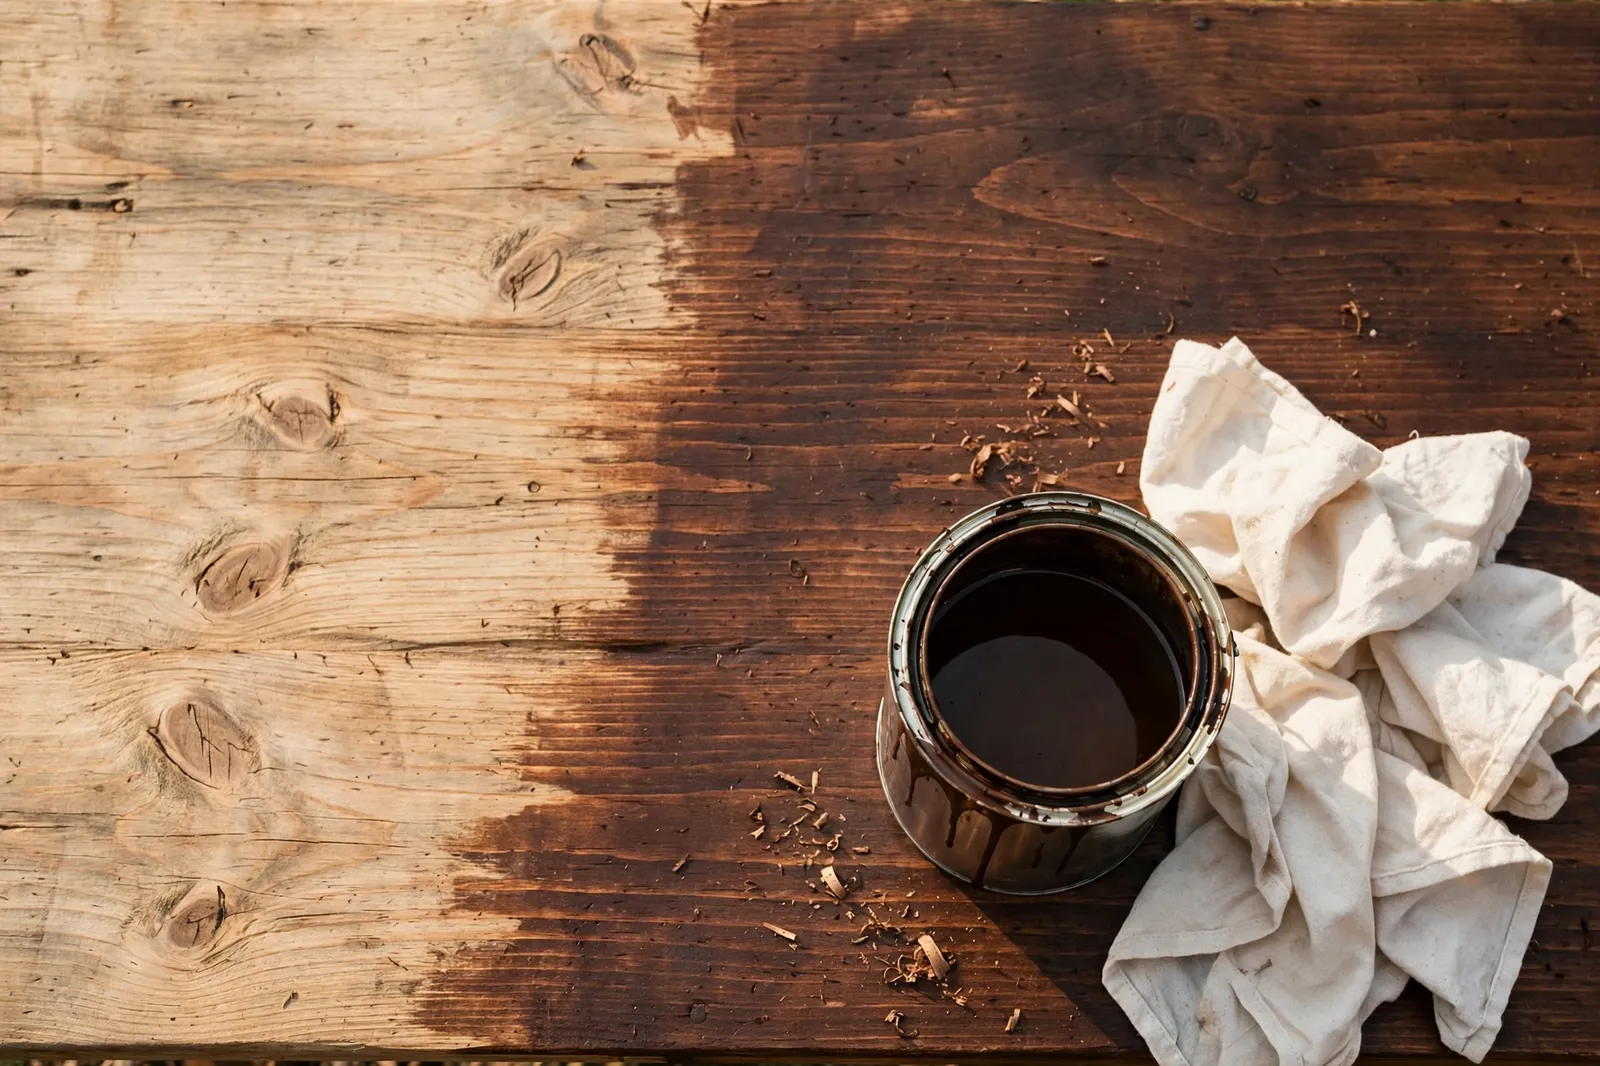
If you love the wood grain, stain is the better choice. Stain soaks into the wood and brings out its natural color instead of covering it up. Brush it on, let it sit for a few minutes, then wipe off the extra with a clean rag — the longer it sits, the darker it gets.
Always test the stain on a hidden spot first, because the same stain can look different on different woods. A warm walnut or honey stain suits most old furniture, and a clear topcoat over it will protect the finish. Work in a well-ventilated space and wear gloves, since stain is messy stuff.
6. Swap the Hardware
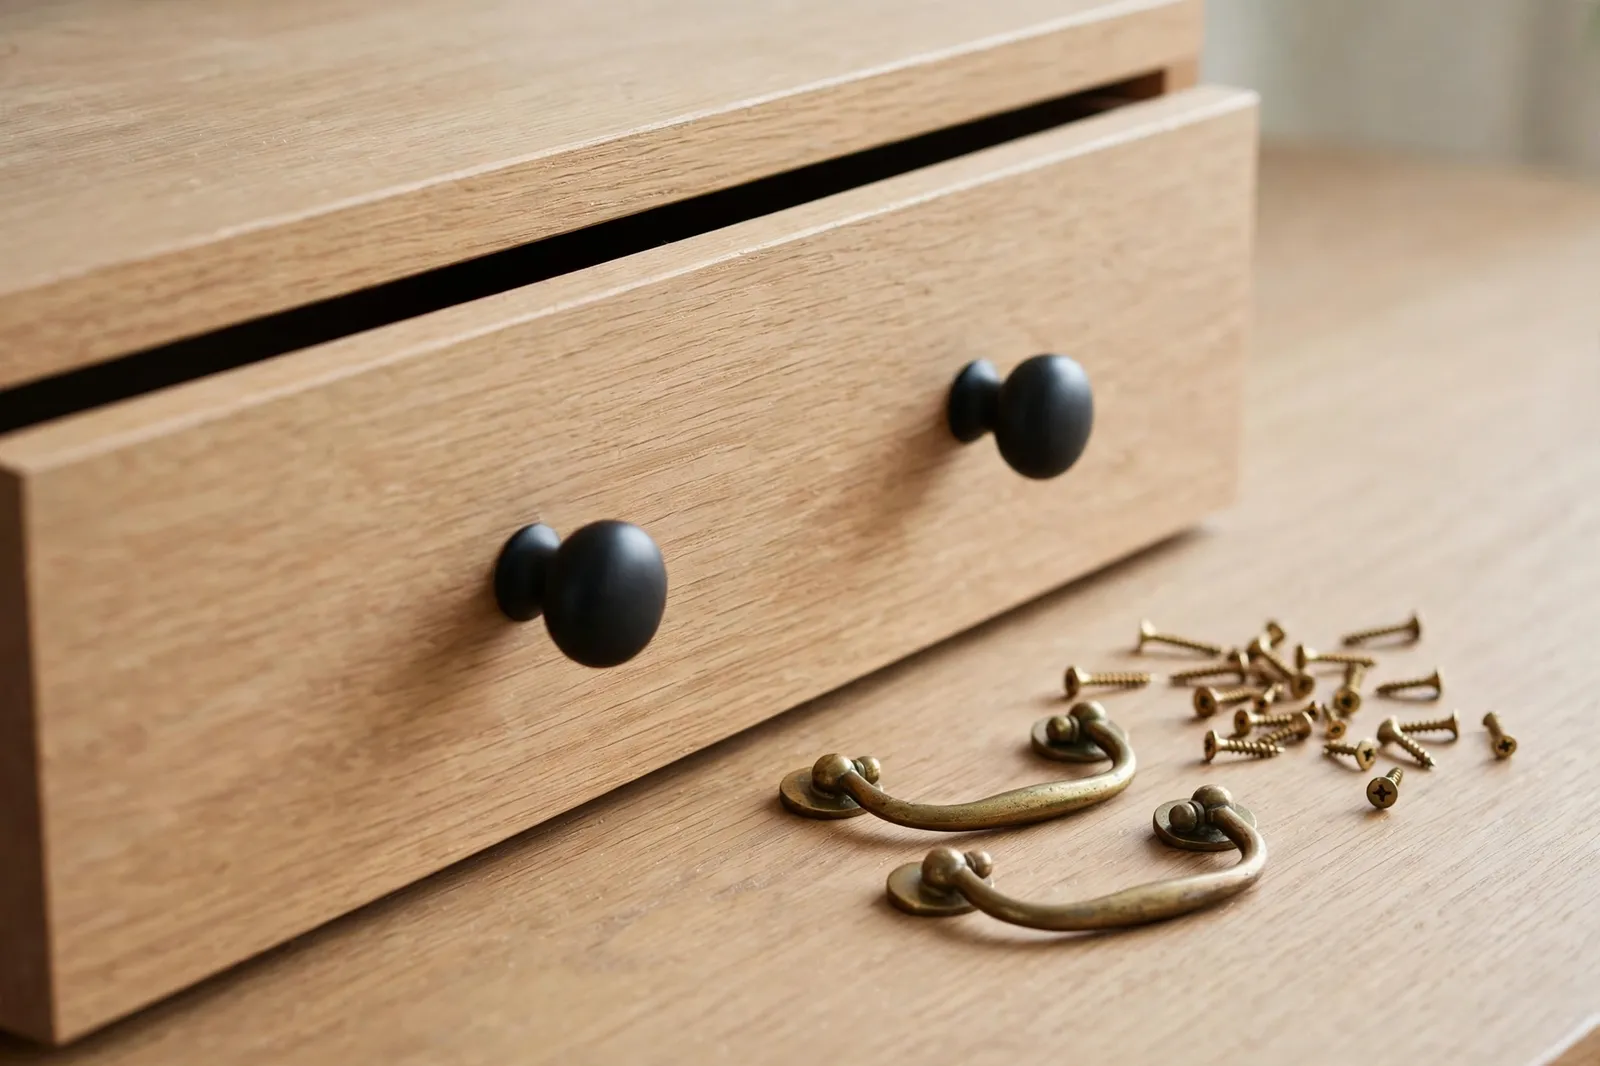
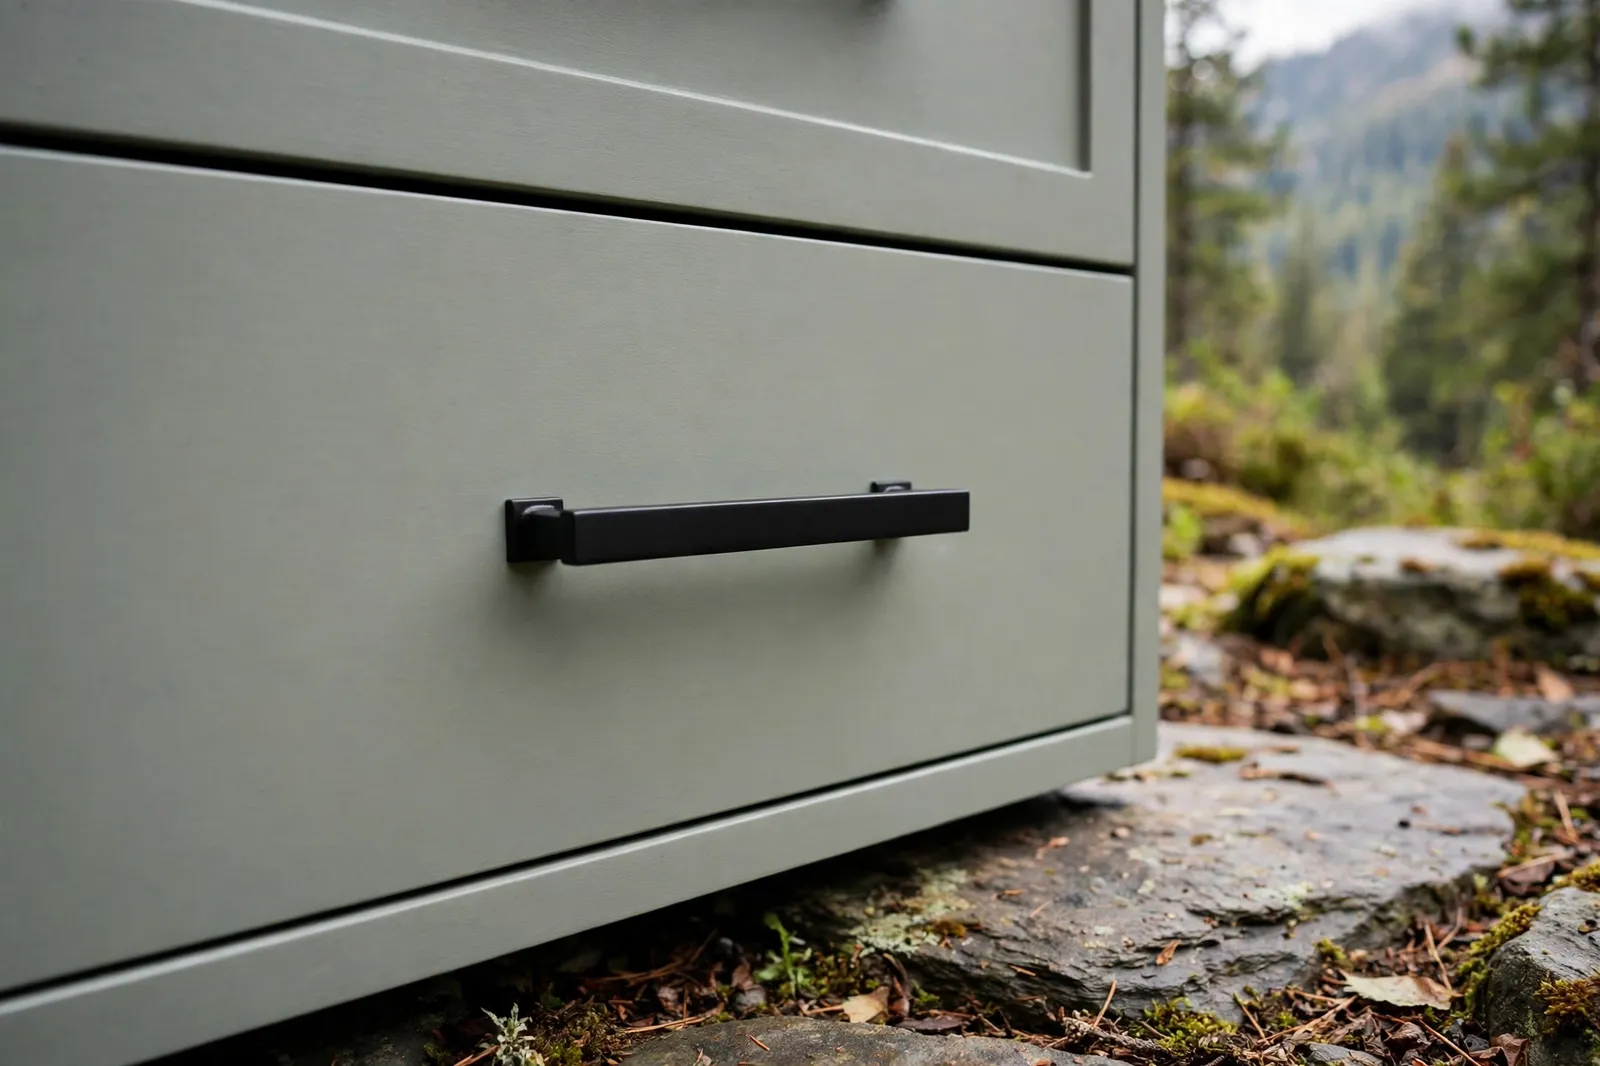
New knobs and pulls are the easiest upgrade you can make, and they change the whole look of a piece in minutes. Old brass pulls can be swapped for matte black knobs, or plain wood knobs for pretty ceramic ones. Measure the distance between the screw holes before you shop so the new hardware fits.
If the new hardware does not match the old holes, fill the old ones with wood filler, let it dry, and drill fresh holes. You can also paint the old hardware — a quick coat of spray paint in black or gold can make dated pulls look new again. Keep the old pieces in a bag in case you ever want them back.
7. Fix the Fabric: Reupholster a Seat
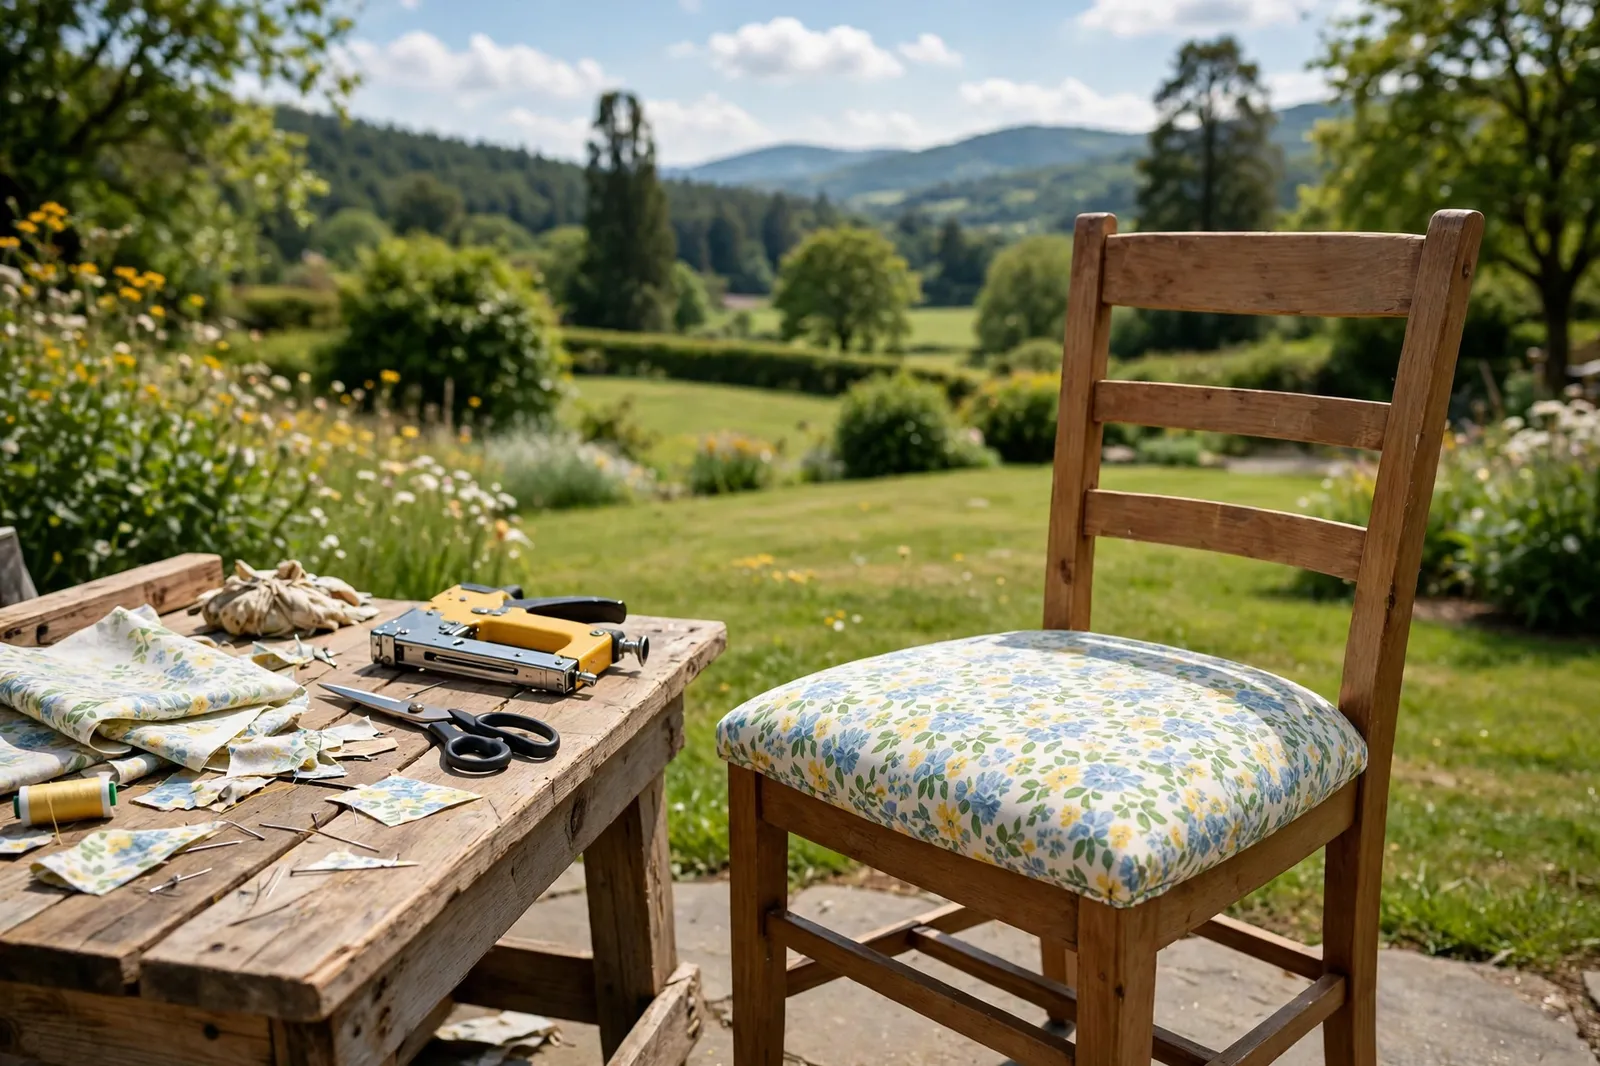
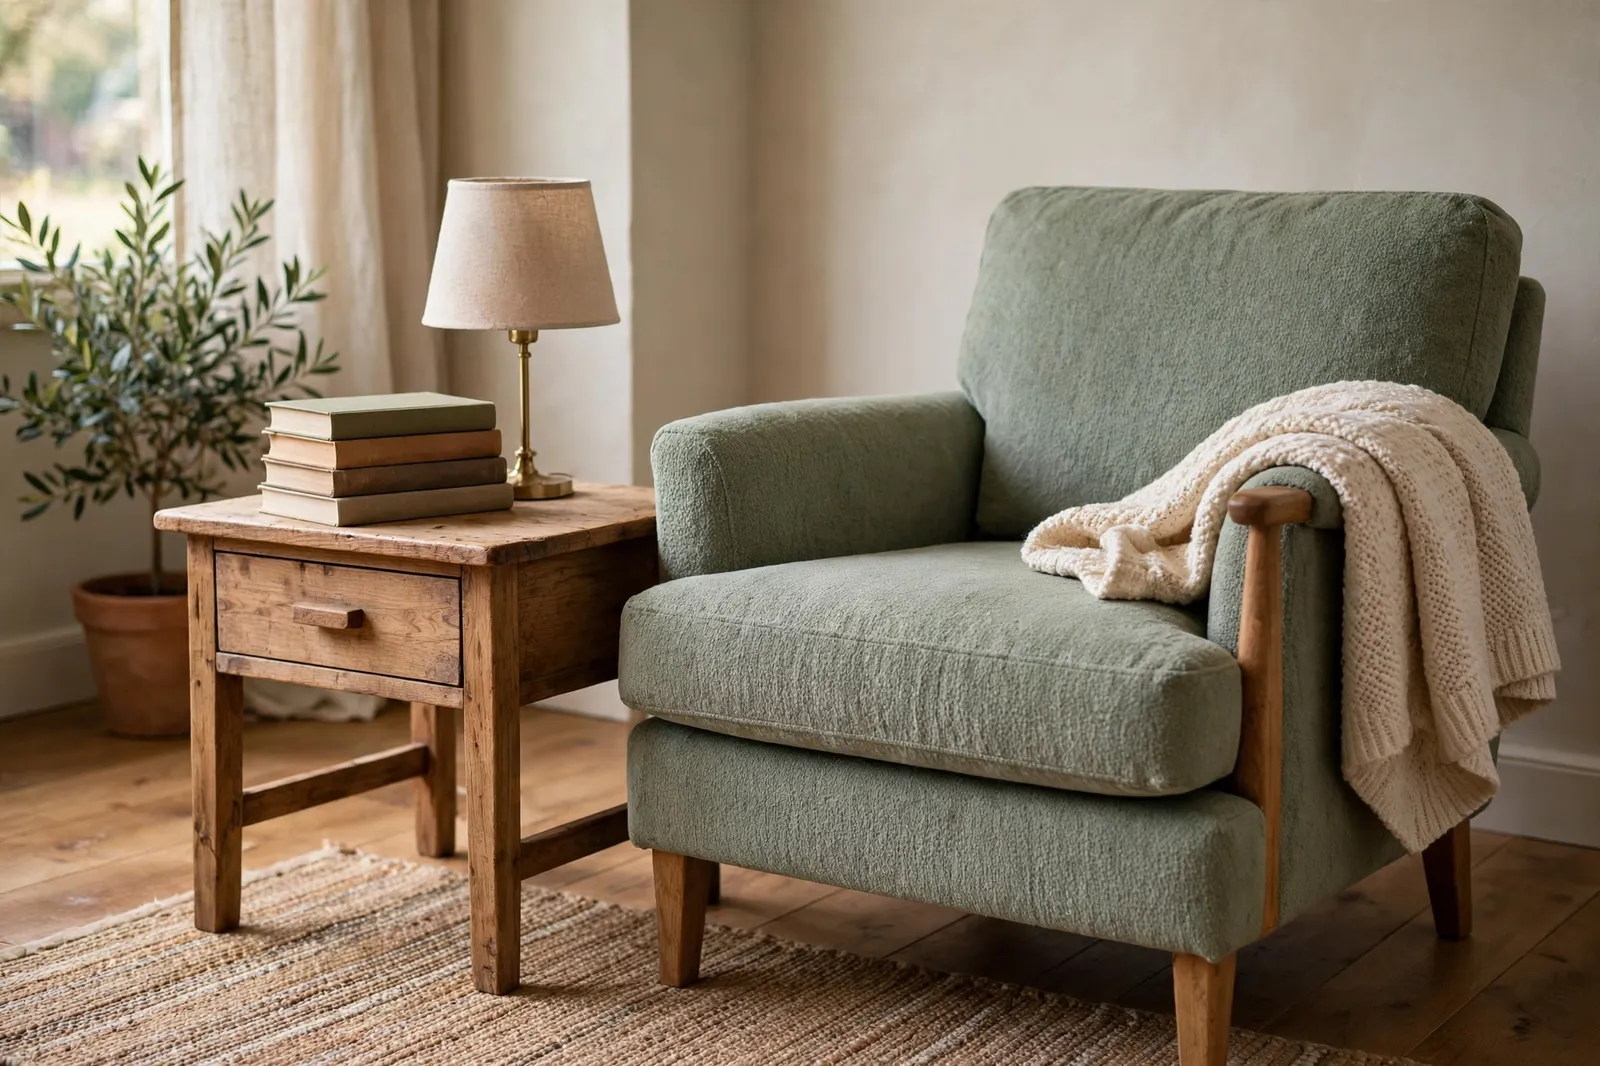
A chair with a stained or torn seat is not a lost cause — a new piece of fabric can fix it in an afternoon. Unscrew the seat from the frame, pull off the old fabric, and use it as a pattern to cut the new one. A staple gun and a bit of patience are all you really need.
Pick a sturdy fabric that can handle daily use, like canvas or a heavy cotton, and pull it tight as you staple it underneath. Fold the corners neatly, trim the extra fabric, and screw the seat back on. A bold pattern can turn a plain chair into the most interesting seat in the room.
8. Give It a Distressed or Aged Look
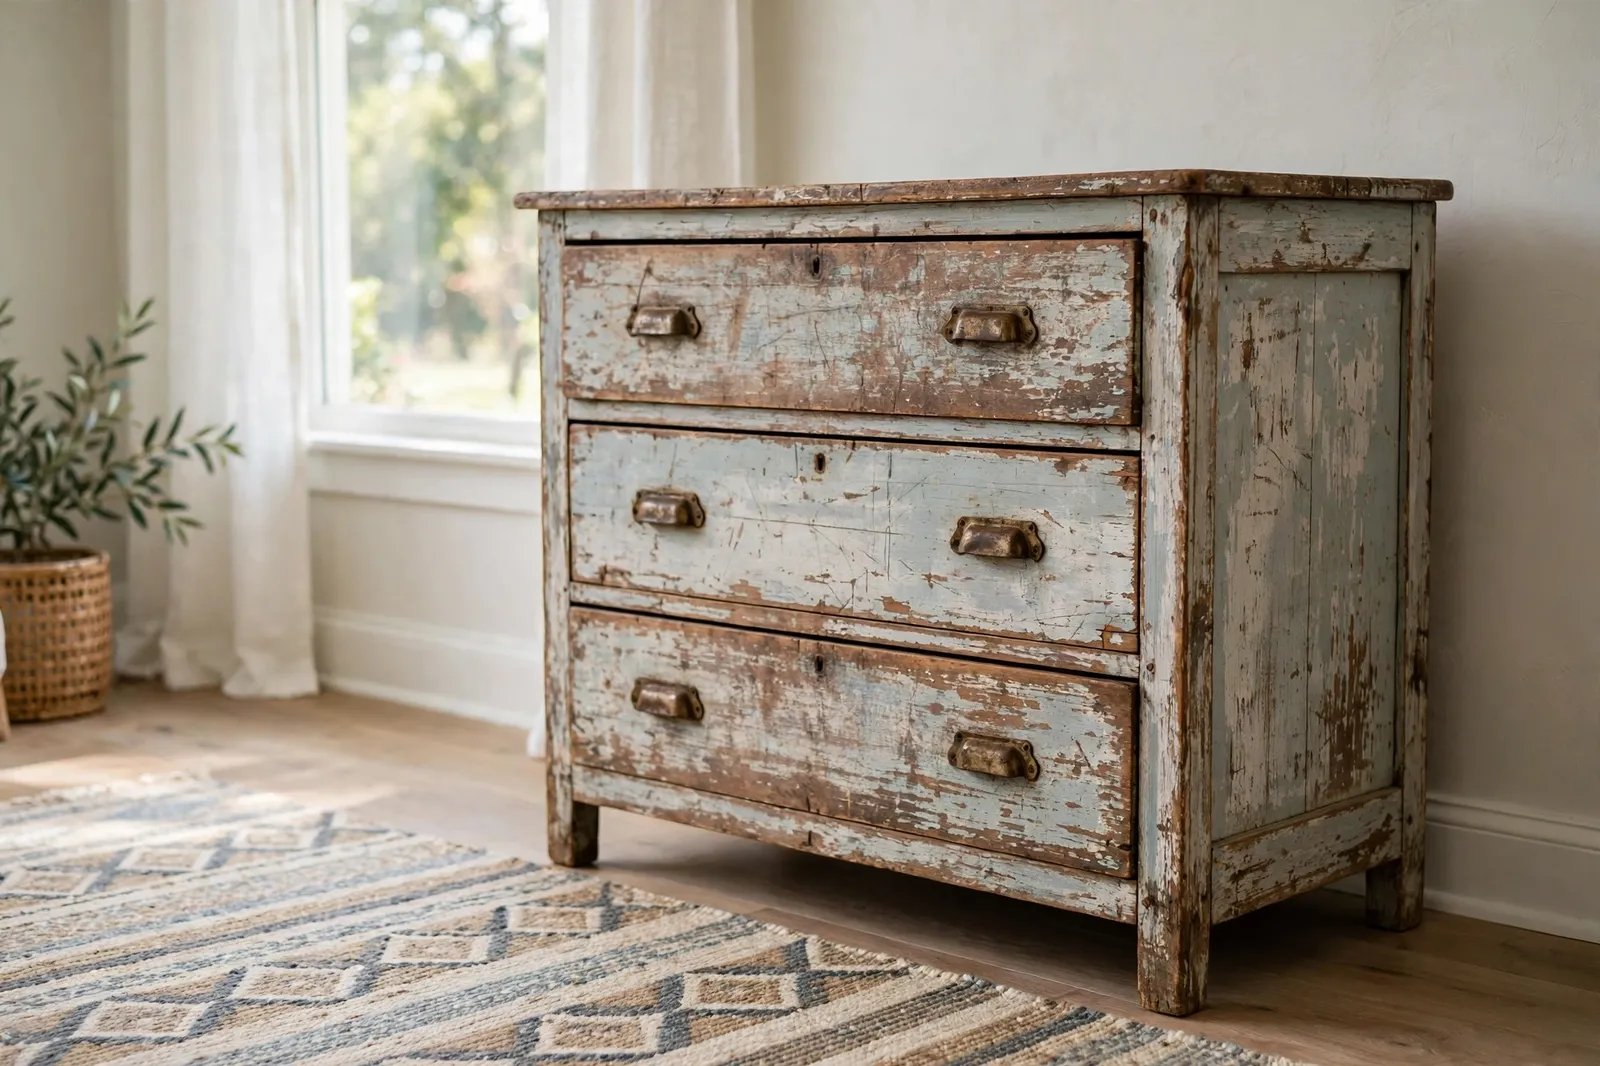
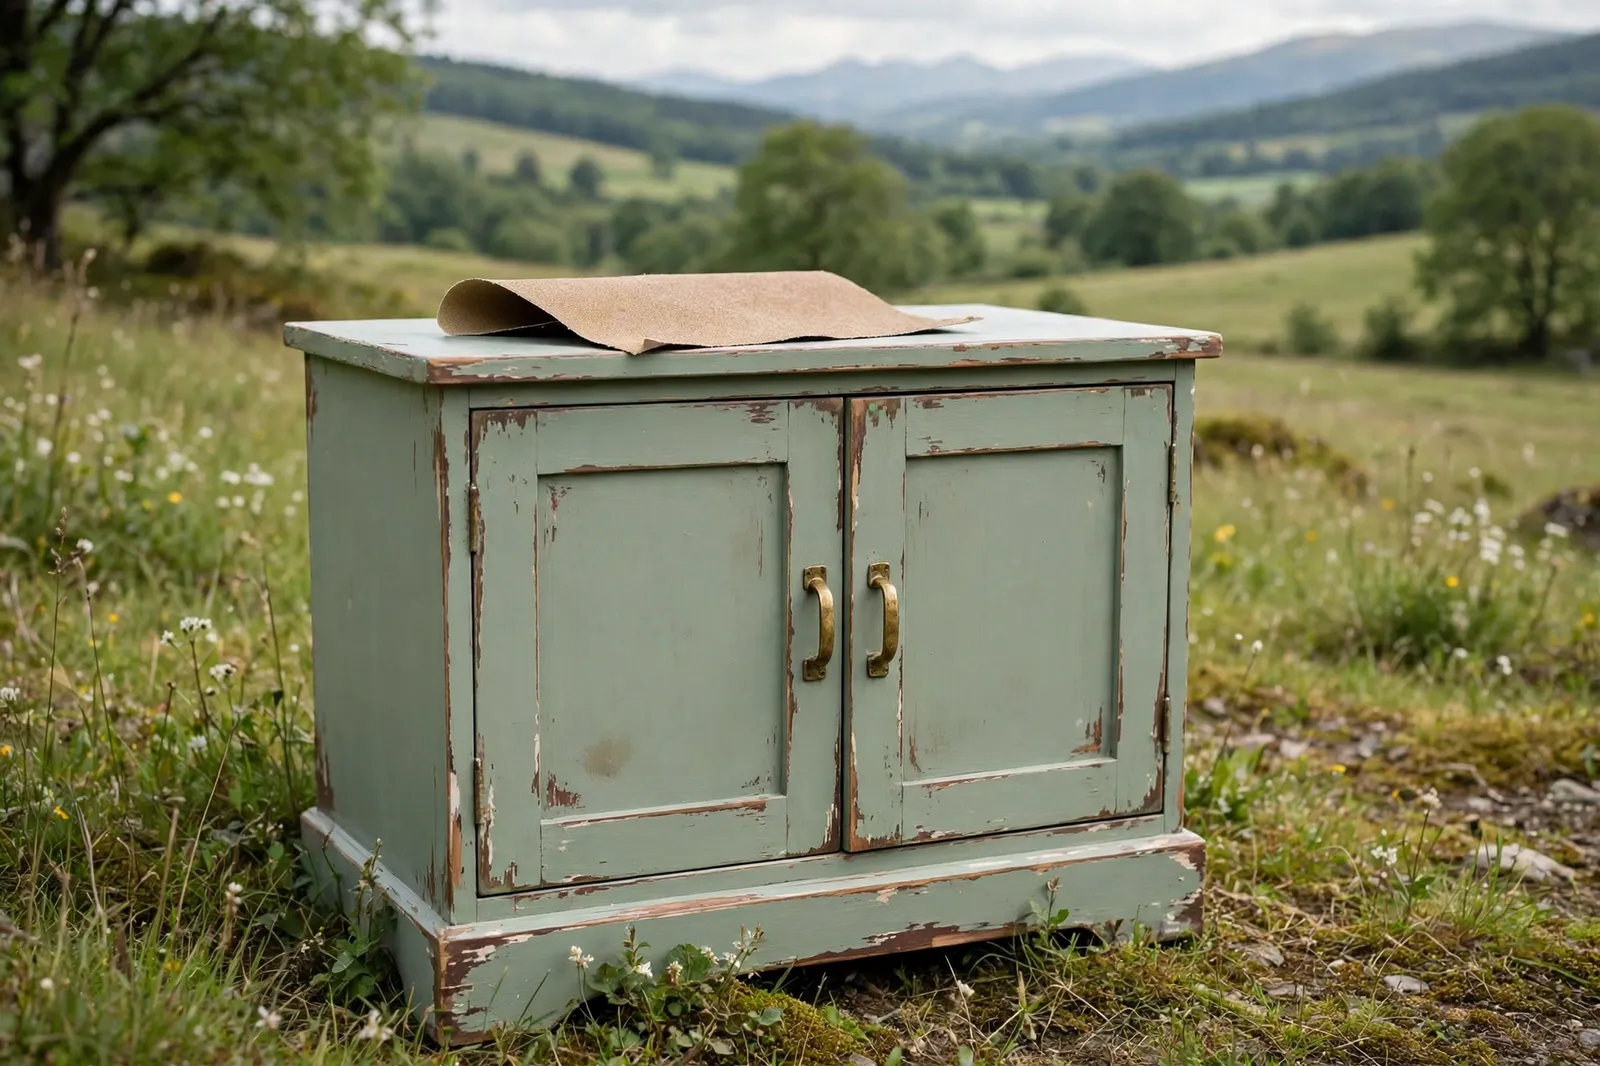
If you like the farmhouse or vintage look, a little distressing goes a long way. After the paint dries, rub sandpaper lightly along the edges and corners where a piece would naturally wear over time. The old color or wood showing through makes it look like it has been loved for years.
Go easy — it is much simpler to add more distressing than to take it away. Step back and look at the piece now and then, and stop while it still looks natural. A coat of clear wax or a light glaze over the top will soften the look and protect the paint.
9. Style It and Seal the Finish
Once your piece looks the way you want, seal it so the work lasts. A clear topcoat, wax, or polyurethane keeps paint from chipping and stain from wearing off. Use a water-based topcoat over light paint colors so they do not turn yellow over time.
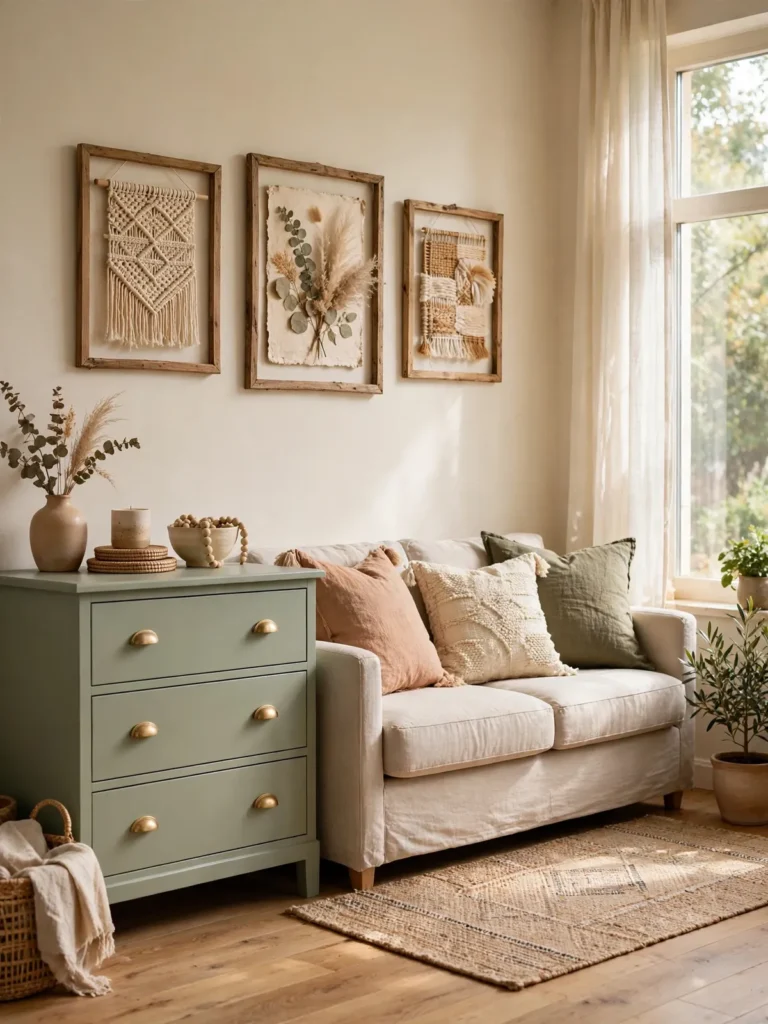
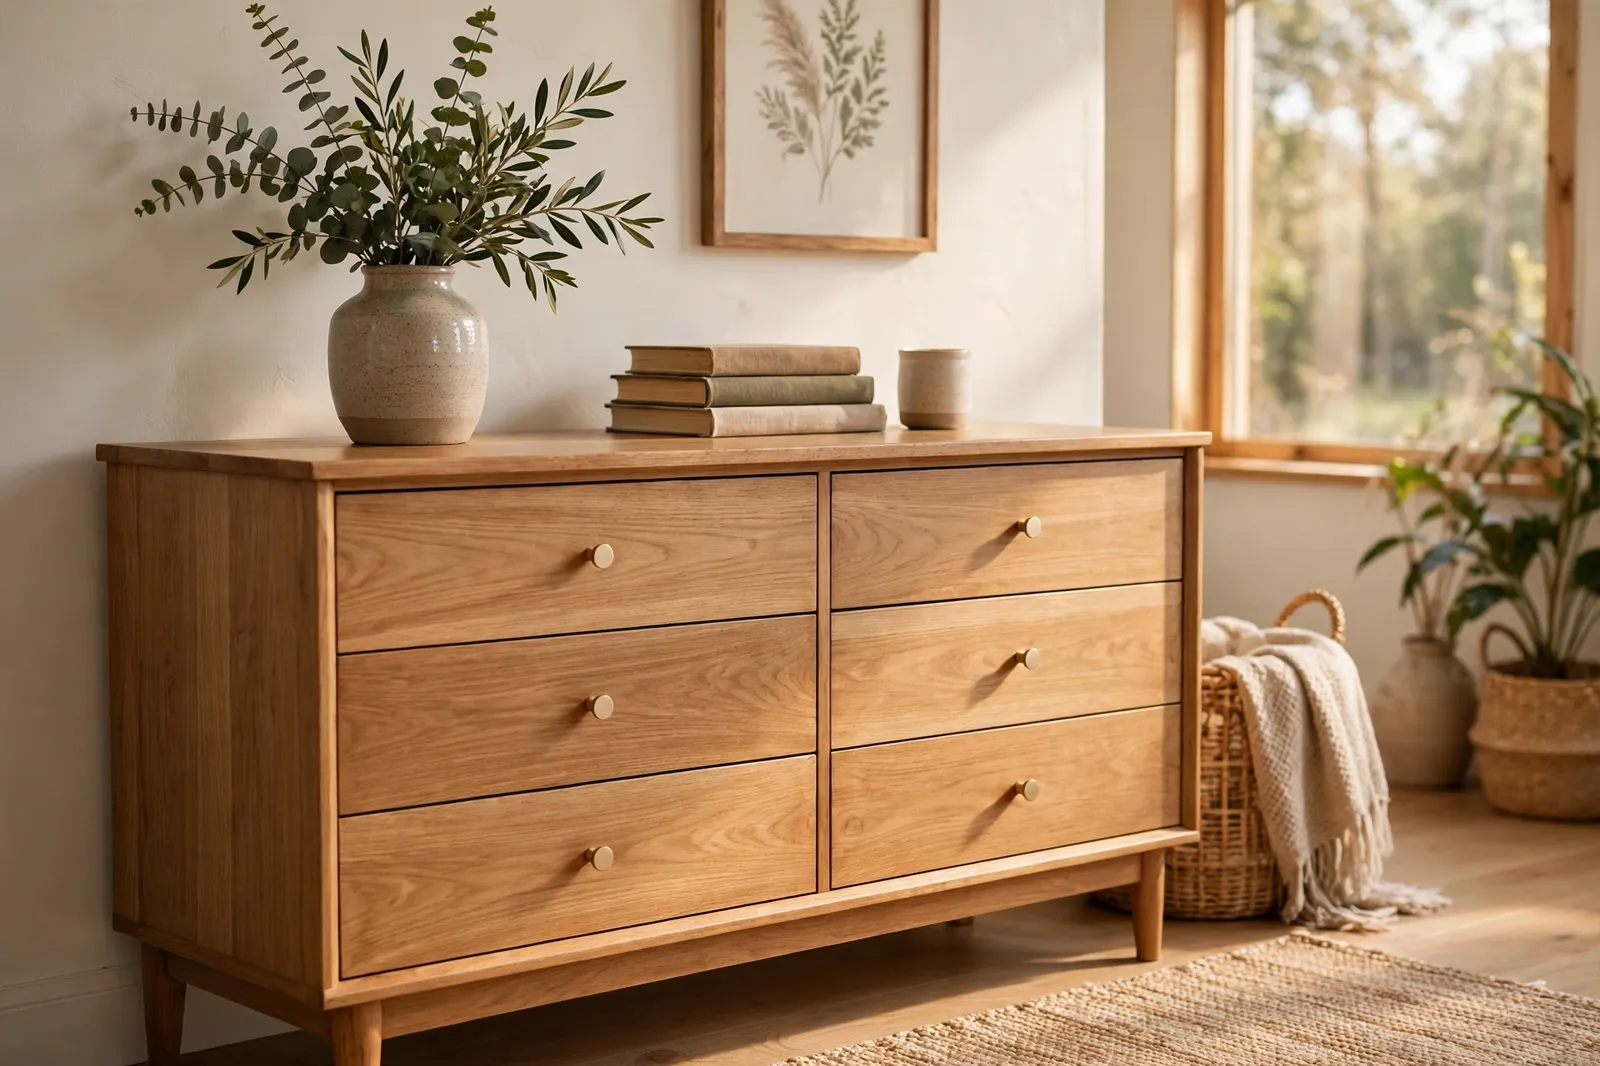
Then put the piece where it belongs and style it like it was always there. A vase, a stack of books, or a small lamp can make a refinished dresser look like a store-bought showpiece. Take a step back, enjoy the change, and remember — the next old piece you find is just another weekend project away.
Frequently Asked Questions
How much does a DIY furniture makeover cost?
Most furniture makeovers cost between twenty and sixty dollars in supplies, mainly paint, sandpaper, and new hardware. If you already have brushes and basic tools at home, it can cost even less. It is almost always far cheaper than buying a similar new piece.
Do I need to sand old furniture before painting it?
A light sanding is almost always worth doing because it helps the paint stick and gives a smoother finish. You do not need to strip the piece down to bare wood — a quick scuff with 120-grit sandpaper is enough for most pieces. Chalk paint is the main exception, since it sticks well with very little sanding.
What is the best paint for old furniture?
Chalk paint is the easiest choice for beginners because it needs little prep and gives a soft, matte finish. Latex paint works well too and gives a tougher, smoother surface that holds up to daily use. Either way, use thin coats and let each one dry fully before adding the next.
How do I update old furniture without painting it?
Try a fresh stain to bring out the wood grain, swap the knobs and pulls for new hardware, or reupholster a chair seat with new fabric. A good cleaning and a coat of furniture wax can also make an old piece look much better with no paint at all.
Related ideas
Easy DIY Home Decor Projects for Beginners has more simple projects you can try this weekend, and DIY Wall Art Ideas for Every Decorating Style shows how to make art that matches your newly refinished furniture. If your makeover starts with clearing out a room, How to Declutter Your Home Room by Room will help you make space for the pieces you love. You might also like DIY Gallery Wall Ideas for a Personal Touch and Weekend Home Decor Projects That Refresh a Room.