DIY Decorative Trays for Coffee Tables and Dressers
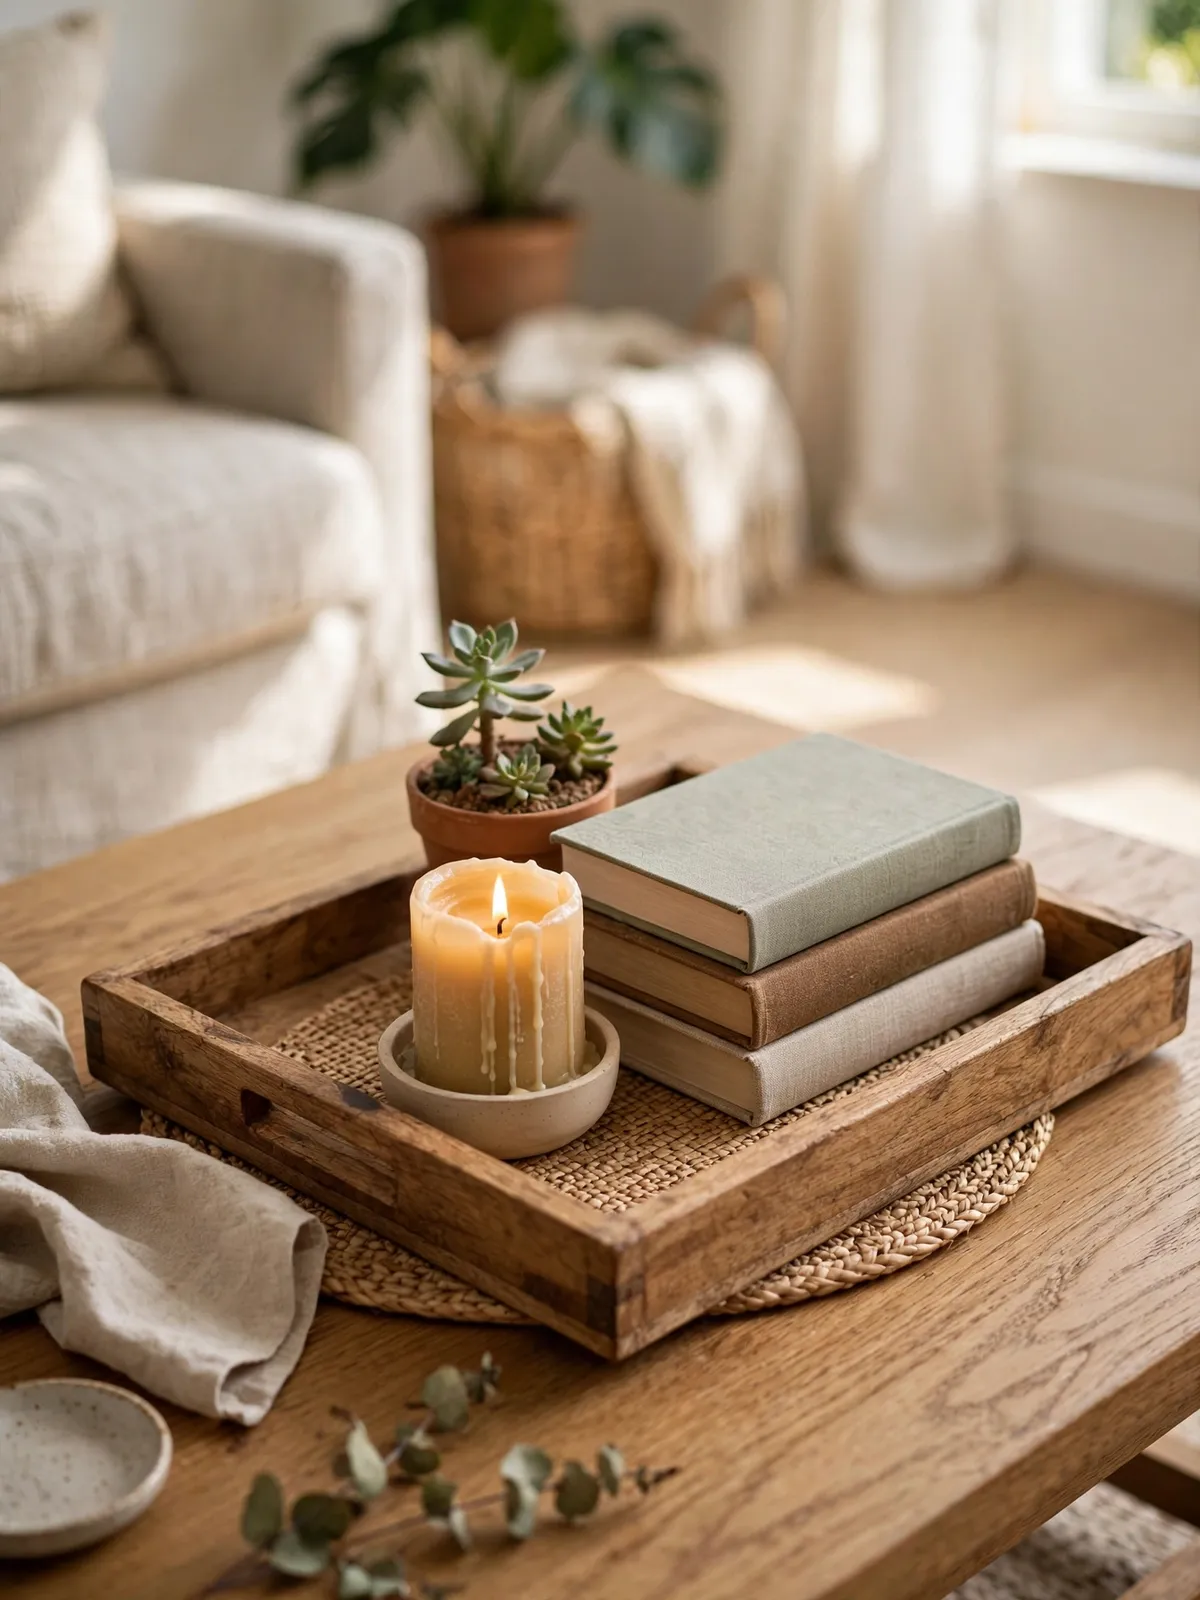
A coffee table or a dresser can look messy fast — remotes, keys, lotions, and random bits just pile up. A decorative tray fixes that in one move. It pulls everything together, gives the surface a finished look, and it is one of the easiest DIY projects you can make at home.
The best part is how simple it is. A tray can be a piece of wood with handles, an old picture frame with a new bottom, or a thrift store find with a fresh coat of paint. Pick a base, add your own touch, and you will have something that looks like it came from a home decor shop for a fraction of the price.
1. Pick the Right Base for Your Tray
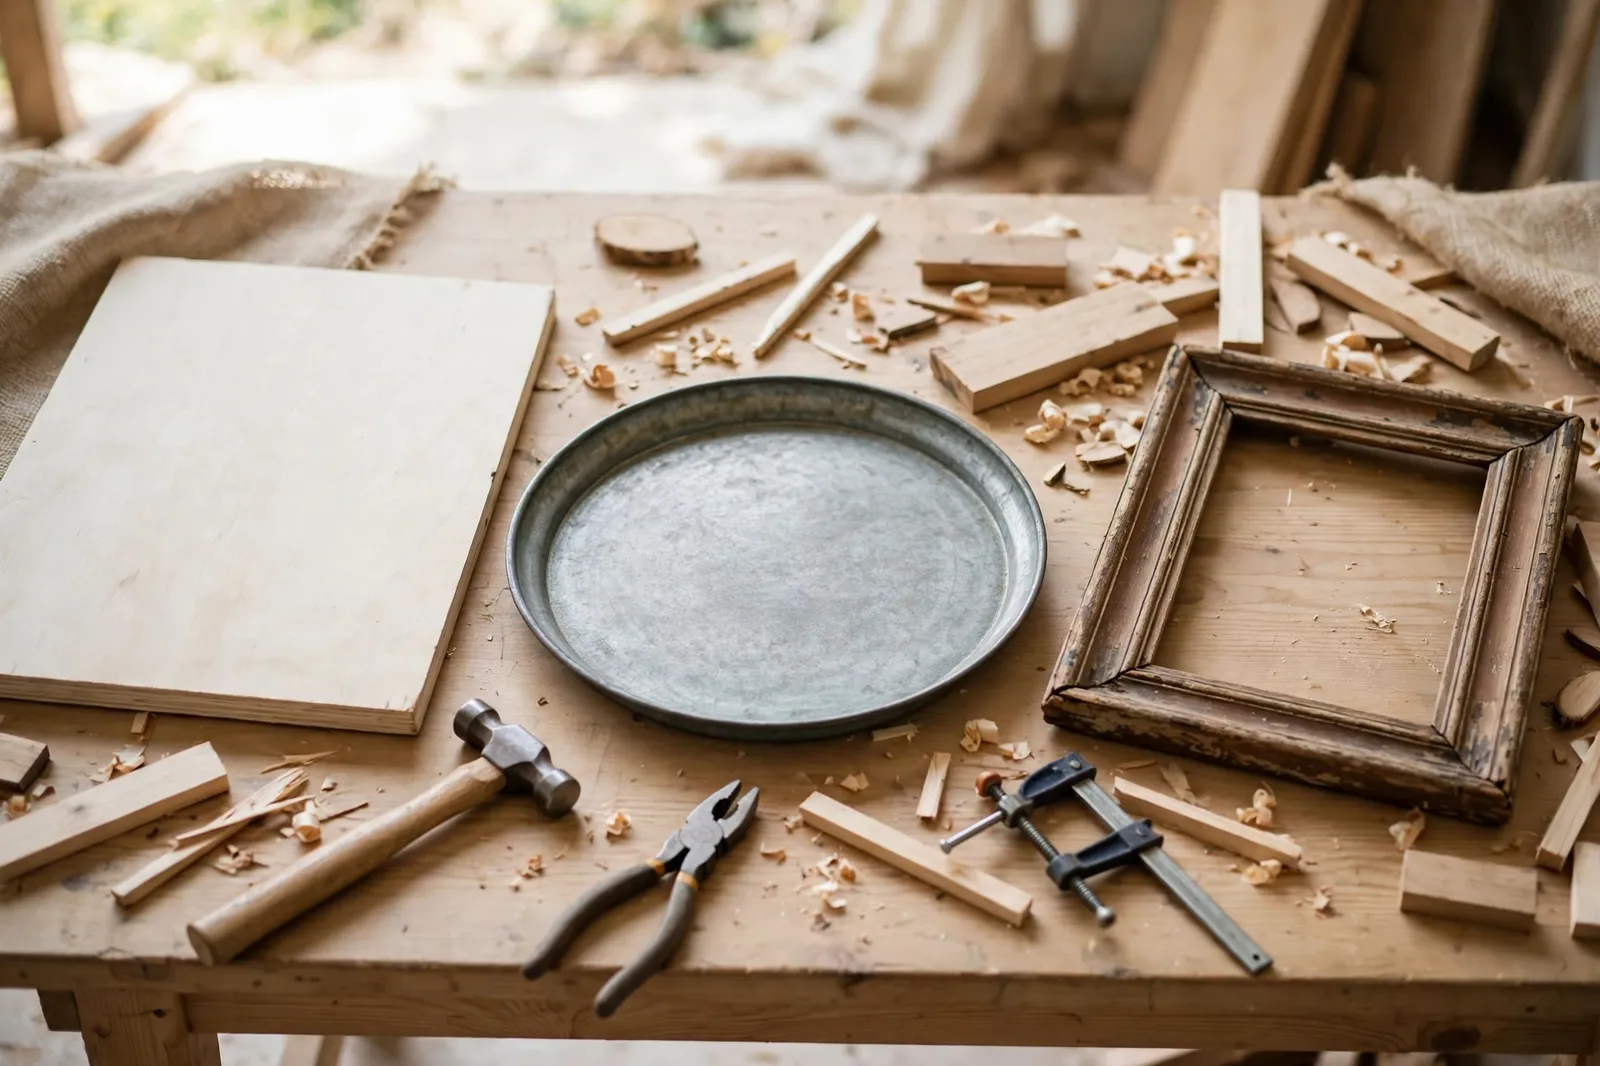
Every good tray starts with a base — the flat piece everything sits on. A simple wooden board works great for a first project, and you can cut it to whatever size fits your table. Old picture frames work too: take out the glass and backing, add a thin board inside, and you have a tray with a built-in rim.
Thrift stores are full of tray bases hiding in plain sight. Look for serving trays, baking sheets, shallow baskets, and even sturdy boxes with low sides. If the base is flat, has a slight edge to keep things from sliding off, and is about the right size, it can become a tray.
2. Choose Your Tray Material: Wood, Metal, or Something Else
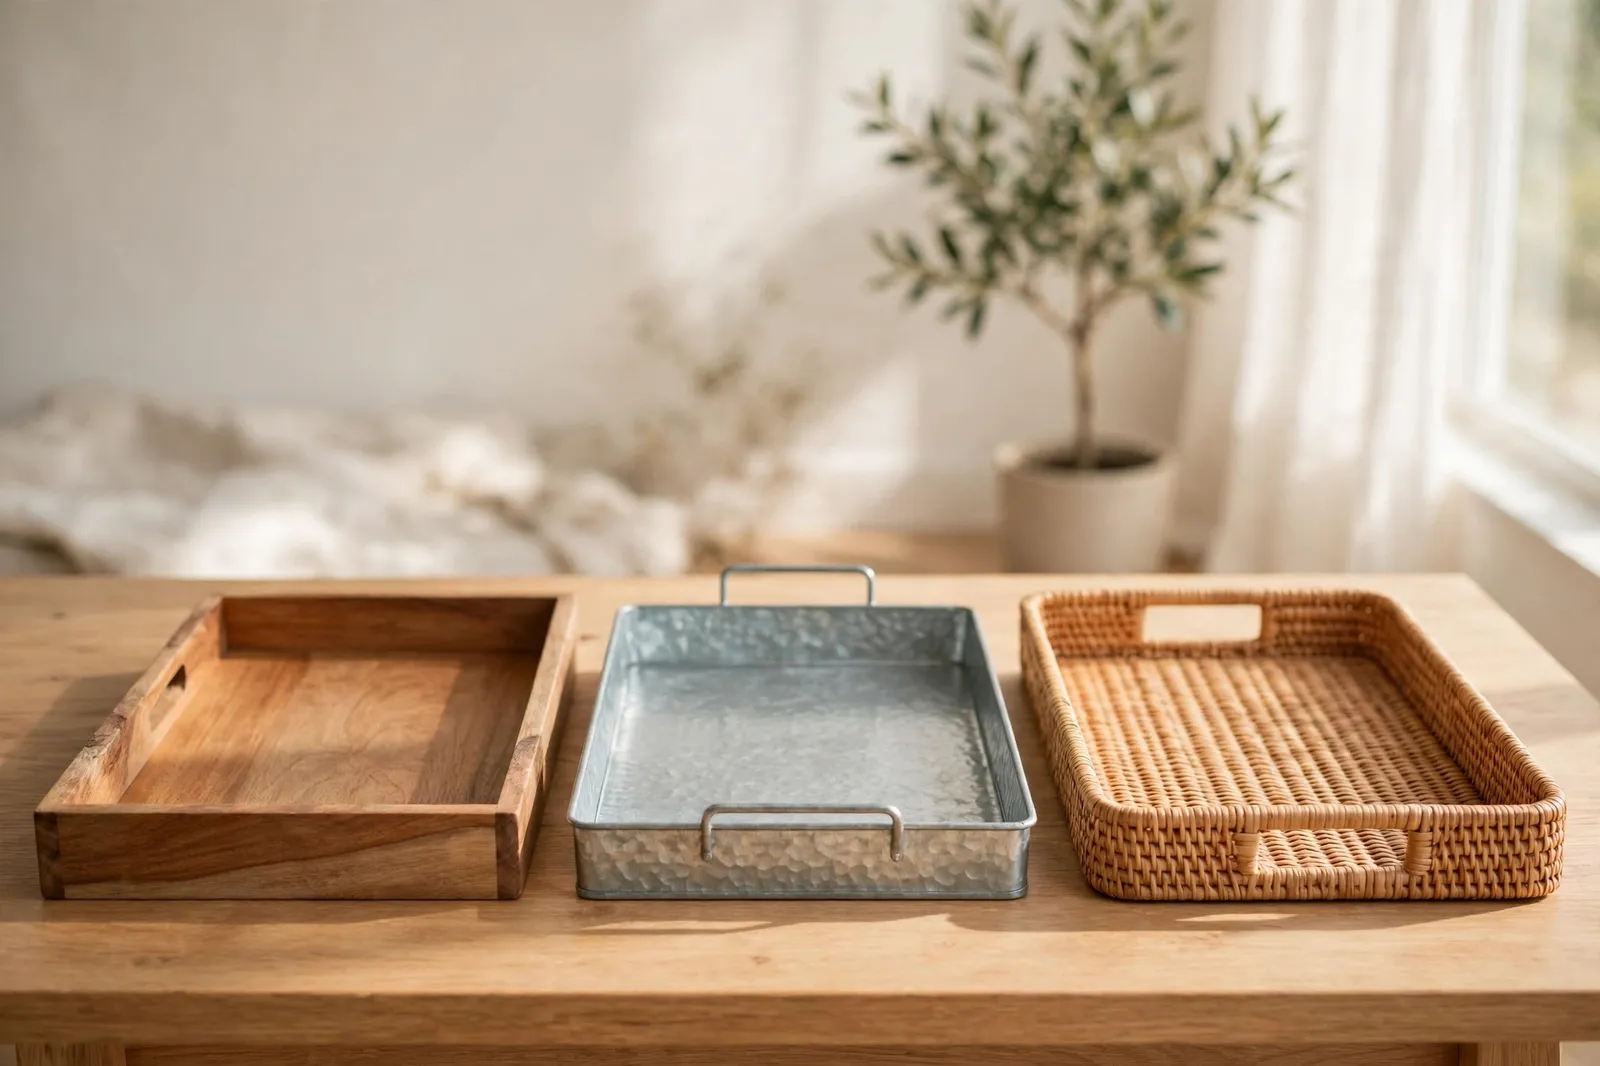
Wood is the most forgiving material for a DIY tray. It is easy to cut, sand, and paint, and it suits almost any style — a light pine board feels fresh and modern, while a dark stained board looks warm and classic. A piece of plywood with a nice edge trim can look just as good as solid wood.
Metal trays give a cleaner, more modern feel, and they are great if you like gold, brass, or matte black finishes. Rattan and woven trays bring a soft, relaxed look that works well in bedrooms and boho rooms. Whatever material you pick, make sure it is sturdy enough to carry a few items without bending or tipping.
3. Paint, Stain, or Leave It Natural
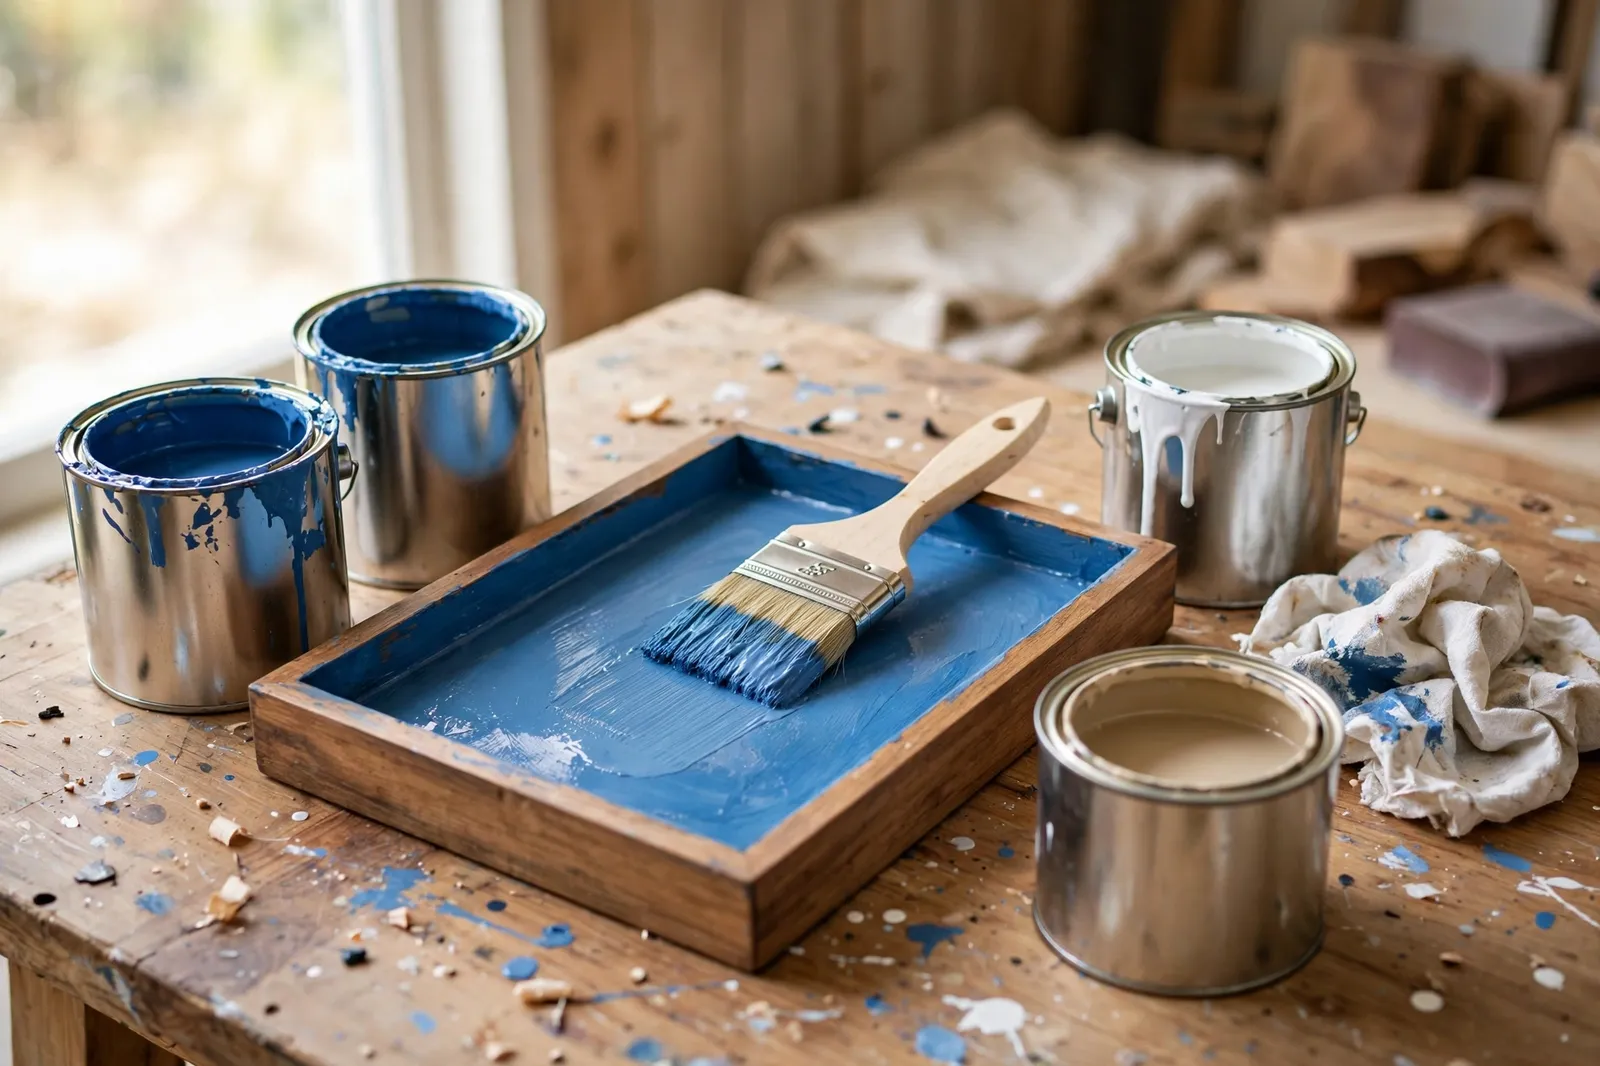
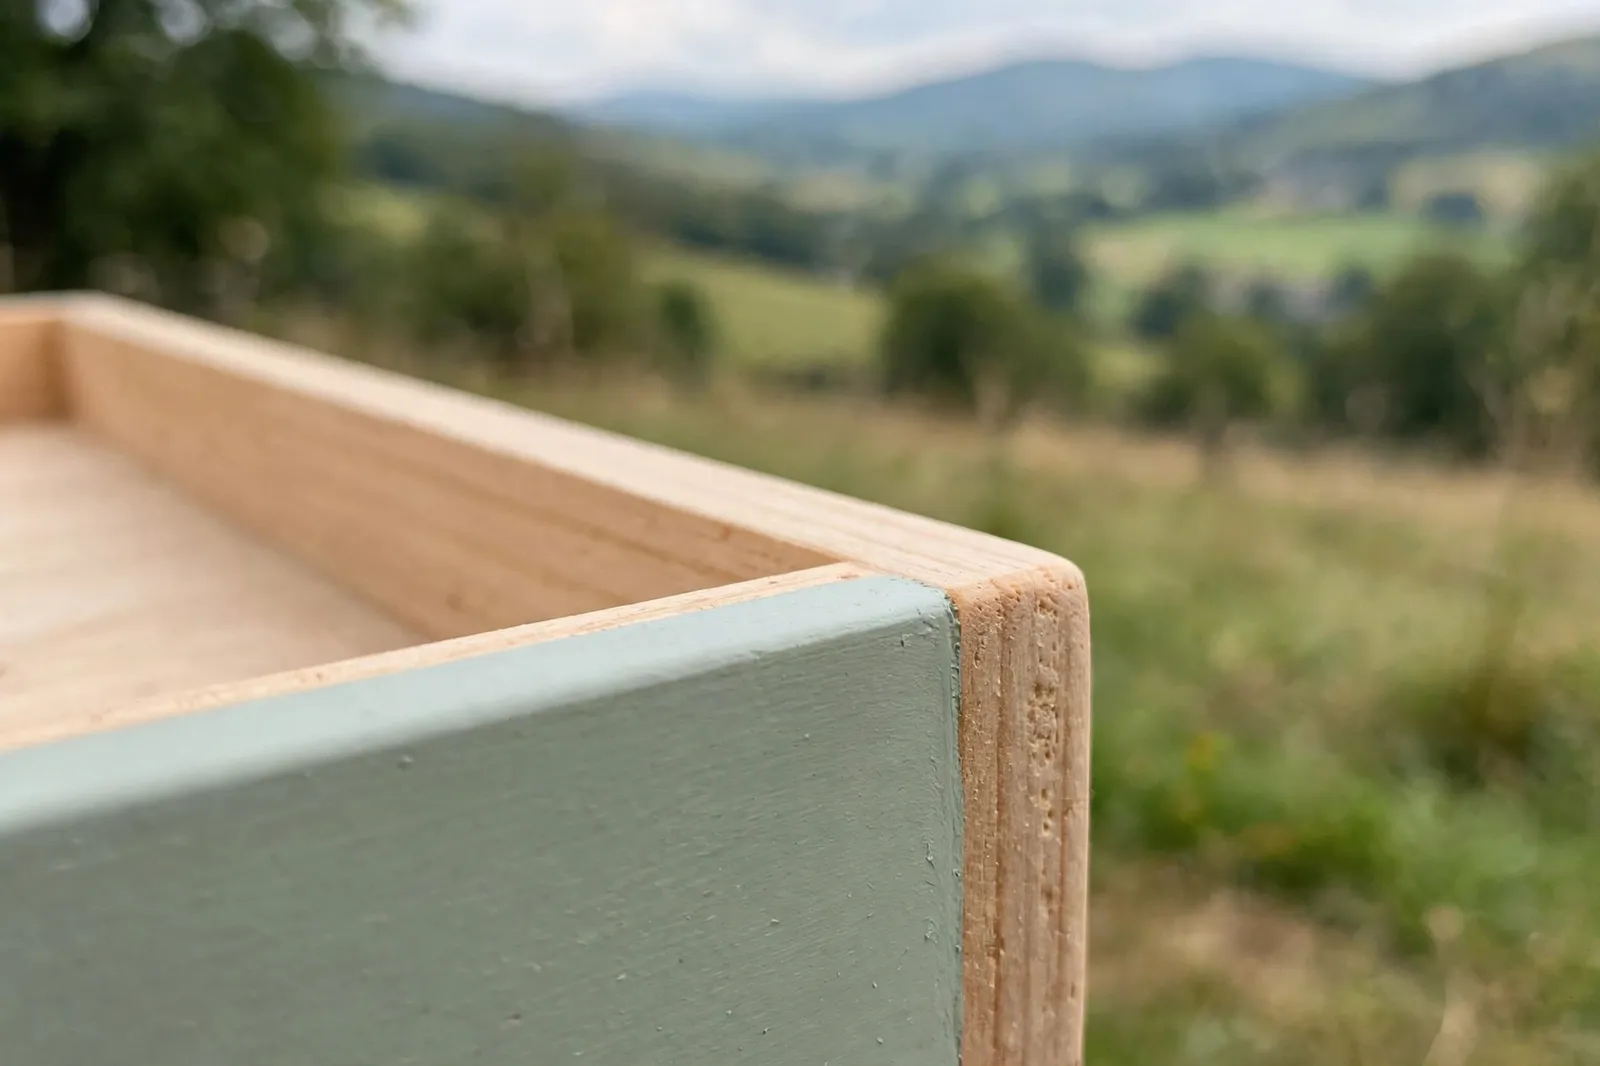
The finish is what makes a plain tray look finished. A coat of paint in a color that matches your room is the easiest option — chalk paint gives a soft, matte look, while regular latex paint holds up better to daily use. Two thin coats always look better than one thick one, so let the first coat dry before you add the second.
If you like the look of the wood, a stain or a clear sealer keeps the grain showing while protecting the surface. A light natural oil finish feels warm and handmade, and a clear polyurethane coat makes the tray easy to wipe clean. Whatever you choose, let it dry fully before you start styling it.
4. Add Handles That Look (and Work) Great
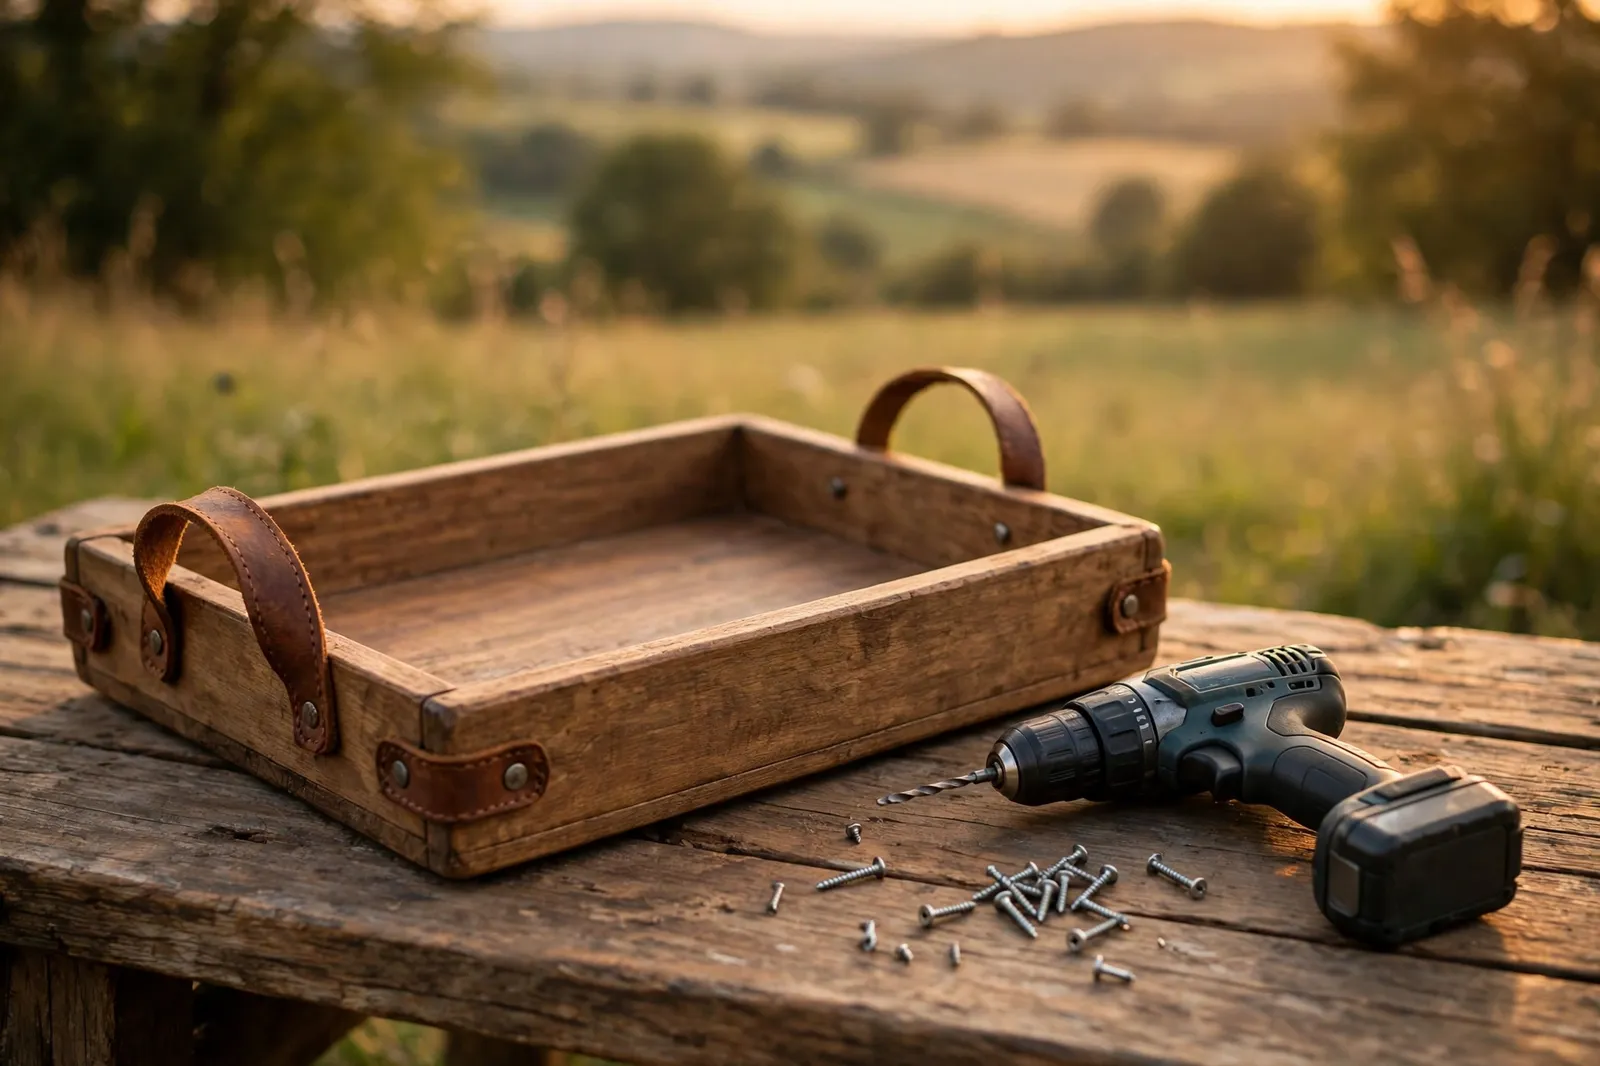
Handles are the detail that turns a board into a tray. Leather straps, rope handles, or simple metal drawer pulls all work well, and each one changes the feel of the finished piece. Leather handles feel soft and modern, rope handles feel relaxed and coastal, and brass or black metal pulls feel classic and polished.
Screw the handles on firmly from underneath or through the sides so they can take the weight of a full tray. Measure twice and mark the spots before you drill — handles that sit uneven look wrong even if everything else is perfect. If you are making a tray for a dresser, smaller handles or cut-out slots in the sides can look neater than big loop handles.
5. Style Your Tray for a Coffee Table
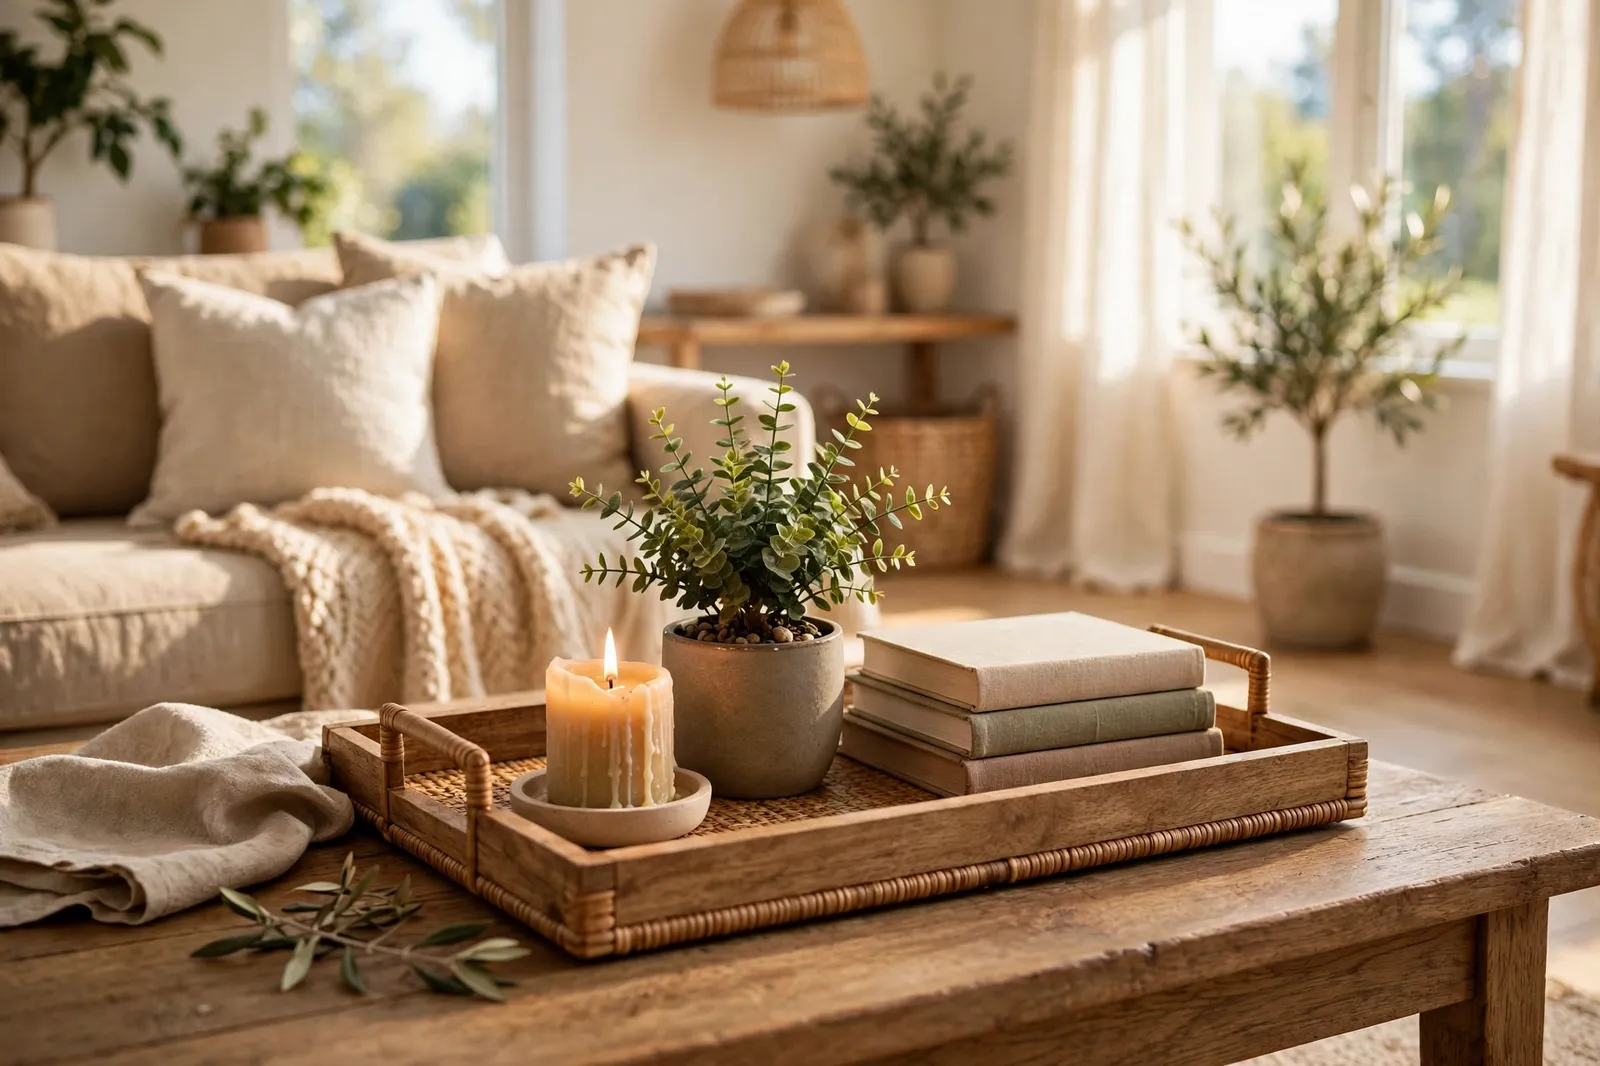
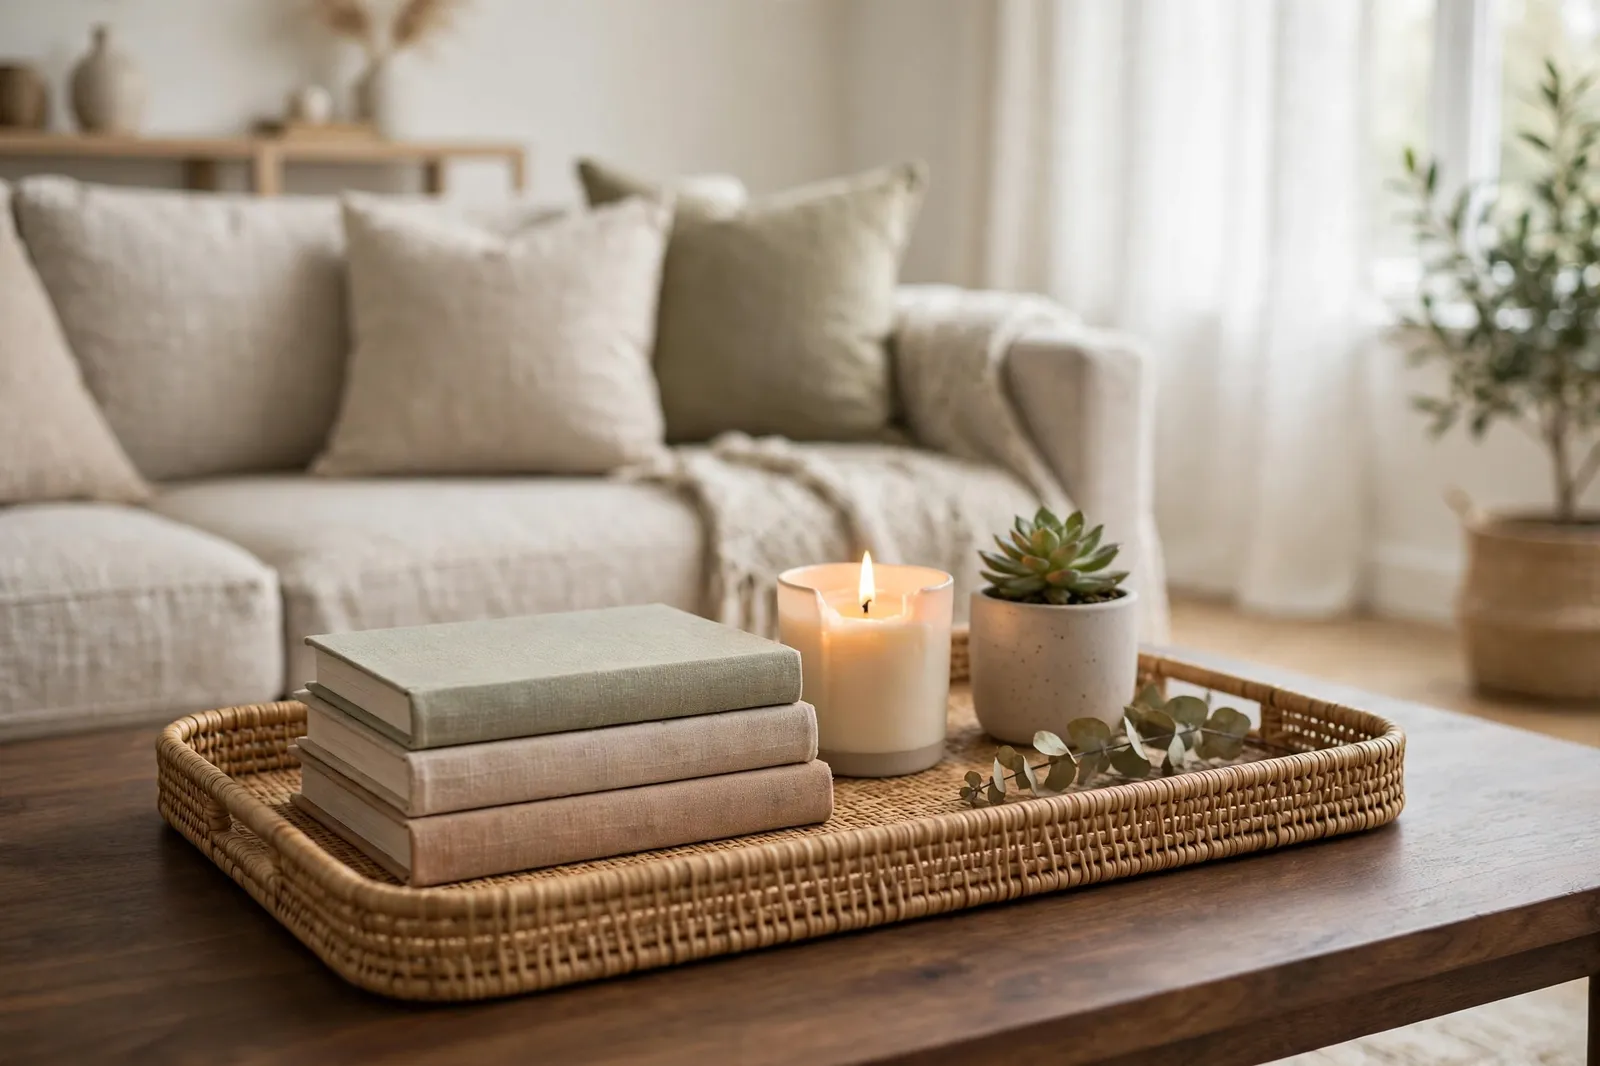
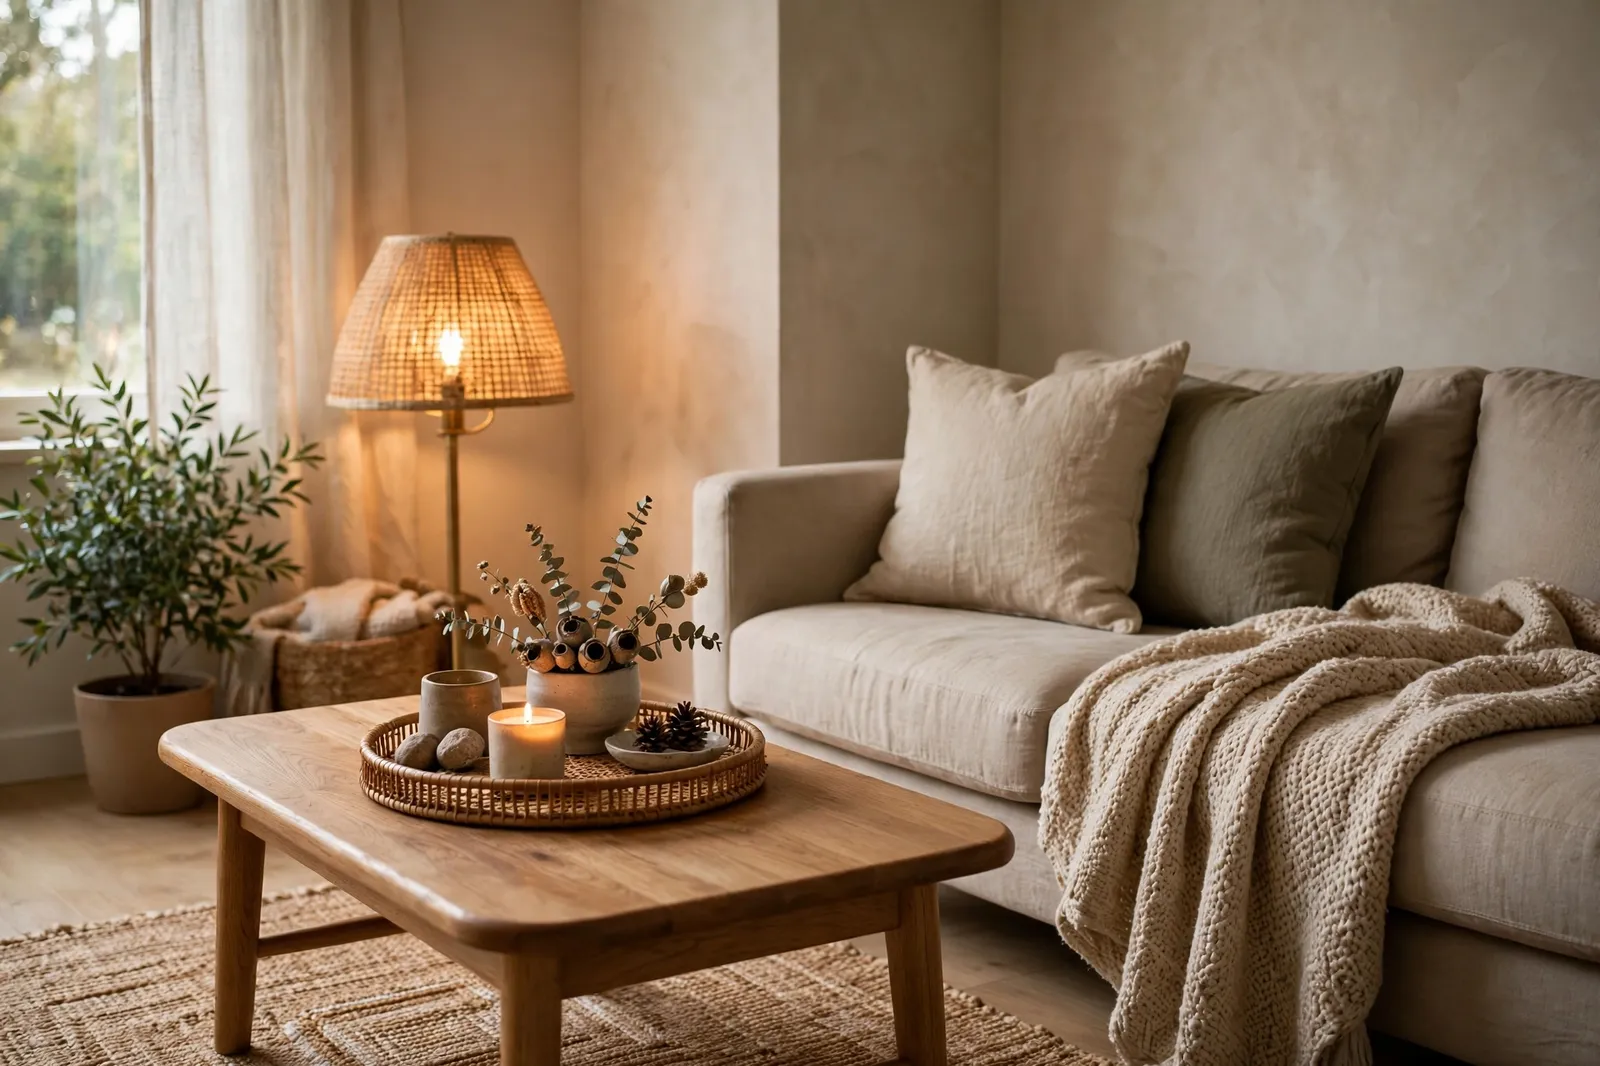
A coffee table tray works best when it holds a few things but still leaves room to breathe. Start with one taller item, like a candle or a small vase, then add something flat like a stack of books, and finish with a small natural touch like a tiny plant or a bowl of stones. Three or four things is usually plenty.
Keep the colors in the same family as the rest of the room so the tray feels like it belongs there. A tray also gives you a home for the remote controls and coasters, so they stop sliding around the table. When guests come over, you can lift the whole tray off in one move and the table is clear.
6. Style Your Tray for a Dresser or Bedroom
A dresser tray does a different job than a coffee table tray — it keeps your everyday things in one neat spot. Perfume bottles, jewelry, a watch, and a small dish for rings all fit nicely on a tray, and they stop getting lost in a drawer. A tray with a soft lining, like felt or cork, keeps bottles from sliding and protects the surface underneath.
Match the tray to the dresser and the room. A white or light wood tray looks clean in a bright bedroom, while a darker tray feels cozy and classic. Keep the tallest bottles at the back and the smaller pieces at the front so you can see everything at a glance. If the dresser is small, pick a slim tray that leaves space on either side.

7. What to Put in a Decorative Tray
The simplest rule is to mix three kinds of things: something tall, something flat, and something natural. A candle or vase gives height, books or a small stack of coasters give weight, and a plant, a pinecone, or a smooth stone brings in a natural touch. Together they make the tray look put together without feeling staged.
Trays also work for everyday clutter — keys by the front door, remotes in the living room, or lotions and lip balm in the bedroom. Just keep the total count low. A tray that is packed full looks like a junk drawer, but the same tray with three or four well-chosen items looks like it belongs in a magazine.

8. Finishing Touches That Make It Look Store-Bought
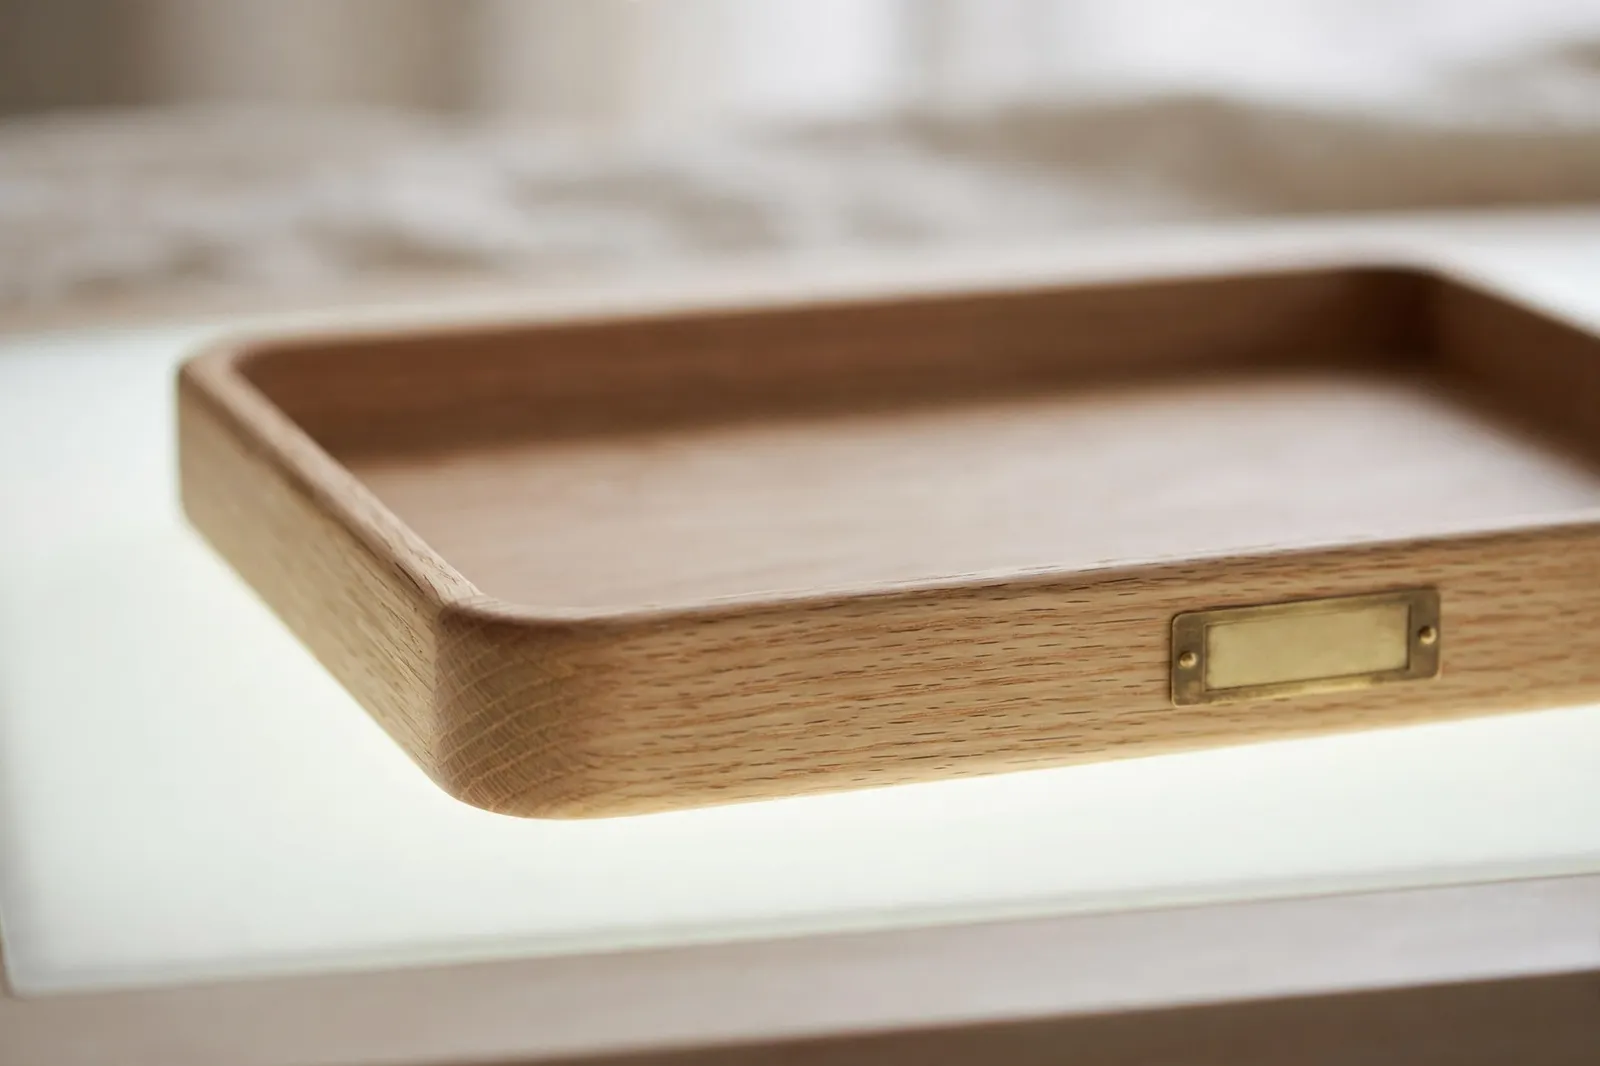
Small details are what make a DIY tray look like you bought it. Sand the edges smooth so nothing feels rough, and wipe off the dust before you paint or seal. A thin strip of trim around the edge of a plywood base hides the layers and gives the tray a clean, finished look.
Little extras go a long way too. Felt pads on the bottom stop the tray from scratching your table, and a small brass label or a stencil on the side adds a personal touch. Step back and look at the tray from across the room when you are done — if it looks neat and balanced, it is ready.
9. Care Tips to Keep Your Tray Looking Good
A DIY tray lasts a long time if you take care of it the right way. Wipe it with a damp cloth when it gets dusty, and dry it right away so water does not sit on the surface. For painted trays, a gentle soap and water wash is enough — skip harsh cleaners that can dull the paint.
Put coasters under drinks and small felt pads under heavy items to stop scratches and rings. Keep the tray out of direct sun if it is stained or painted, since strong light can fade the color over time. A quick touch-up coat of paint or sealer once a year keeps it looking as good as the day you made it.

Frequently Asked Questions
What is the easiest DIY decorative tray to make?
The easiest tray starts with a flat wooden board and two simple handles. Sand the board smooth, paint or stain it, then screw on leather straps or drawer pulls as handles. You can finish the whole project in an afternoon with basic tools.
What size tray works best for a coffee table?
A tray should cover about one third to one half of your coffee table so it looks balanced and still leaves room for drinks. For most coffee tables, a tray around 18 to 24 inches long works well. Measure your table first and leave at least a few inches of space on each side.
What should I put in a decorative tray?
Mix three kinds of things: something tall like a candle or vase, something flat like a stack of books, and something natural like a small plant or stones. Keep it to three or four items so the tray looks styled and not crowded.
How do I protect a DIY tray from water rings and scratches?
Seal the tray with a clear polyurethane or wax finish before you use it, and put felt pads on the bottom. Use coasters under glasses and small felt pads under heavy items so the surface stays smooth and free of rings.
Related ideas
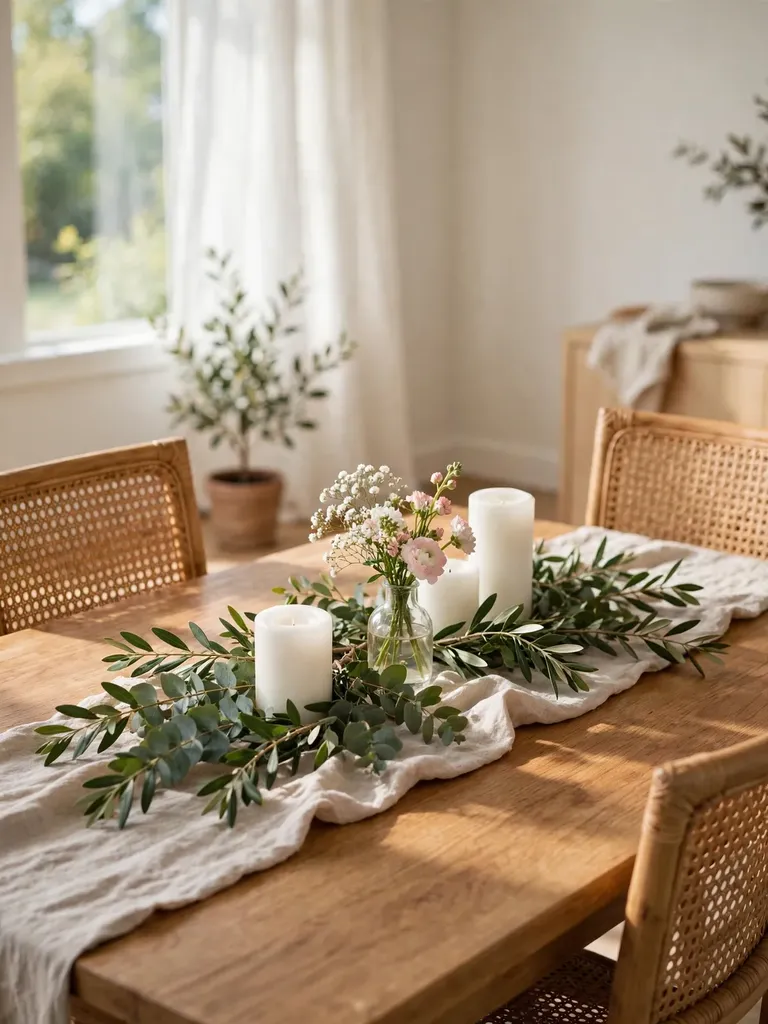
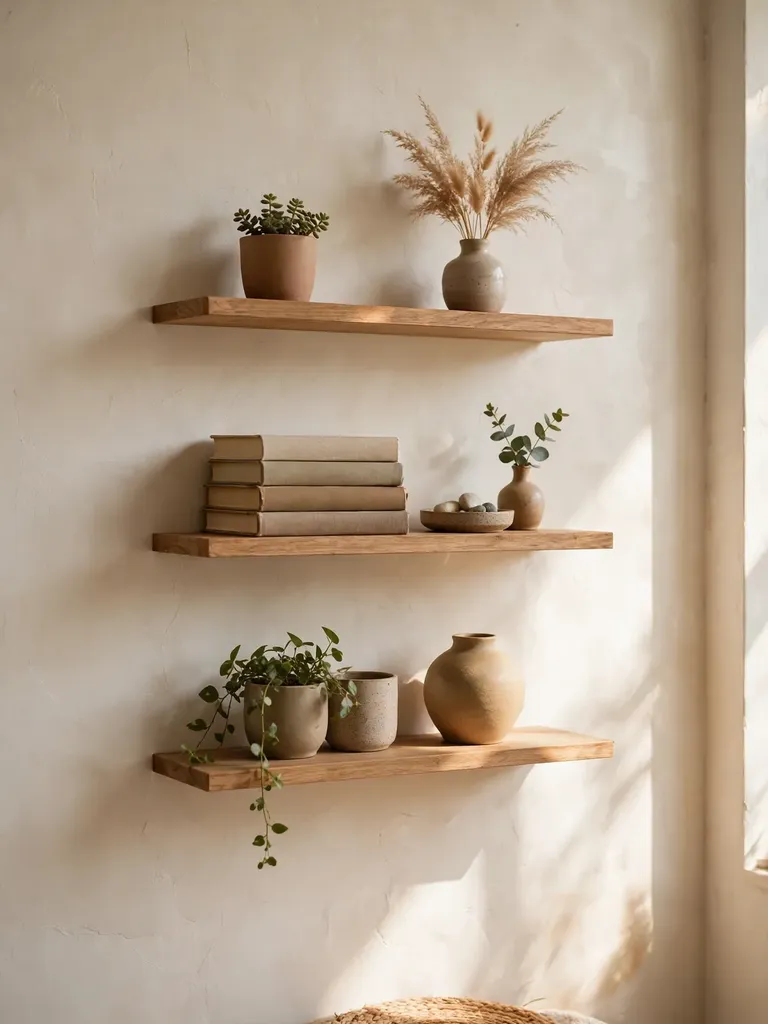
How to Make a Simple Centerpiece for Your Dining Table has more ideas for styling a tray as a table centerpiece, and DIY Decorative Shelves for Small Spaces shows how trays and shelves can work together in a small room. If you like finding cheap pieces to make over, Budget-Friendly DIY Home Decor Using Thrifted Finds will help you spot the best thrift store trays to start with. You might also like How to Make a Simple Centerpiece for Your Dining Table and Renter-Friendly DIY Decor Ideas That Avoid Permanent Changes.